Garmin offers a small group of radar products under the name Varia for cycling that are designed to detect approaching vehicles from behind. These range from the simple Varia RVR315, which is just a radar sensor, to the RTL 515, which adds a rear taillight along with the radar sensor, and then to the RCT 715, which has the light and a camera to record road incidents.
I’ve been interested in this product line since the original device - the RVR315 - first came out. The overwhelming majority of my riding is done on rural roadways here in northern Illinois, so I routinely share the road with a variety of vehicles - from motorcycles and tractors to 18-wheel grain trucks and combines. While people out here are generally polite and give room when they pass, I still spend a lot of time watching my mirrors. Politeness aside, it pays to know when something is coming up behind you.
Having a good set of mirrors goes a long way towards helping with this. Still, with the mirrors and vigilance, there are still those rare occasions where I find myself being startled by a vehicle as it passes me. This is what drove that interest in the Varia.
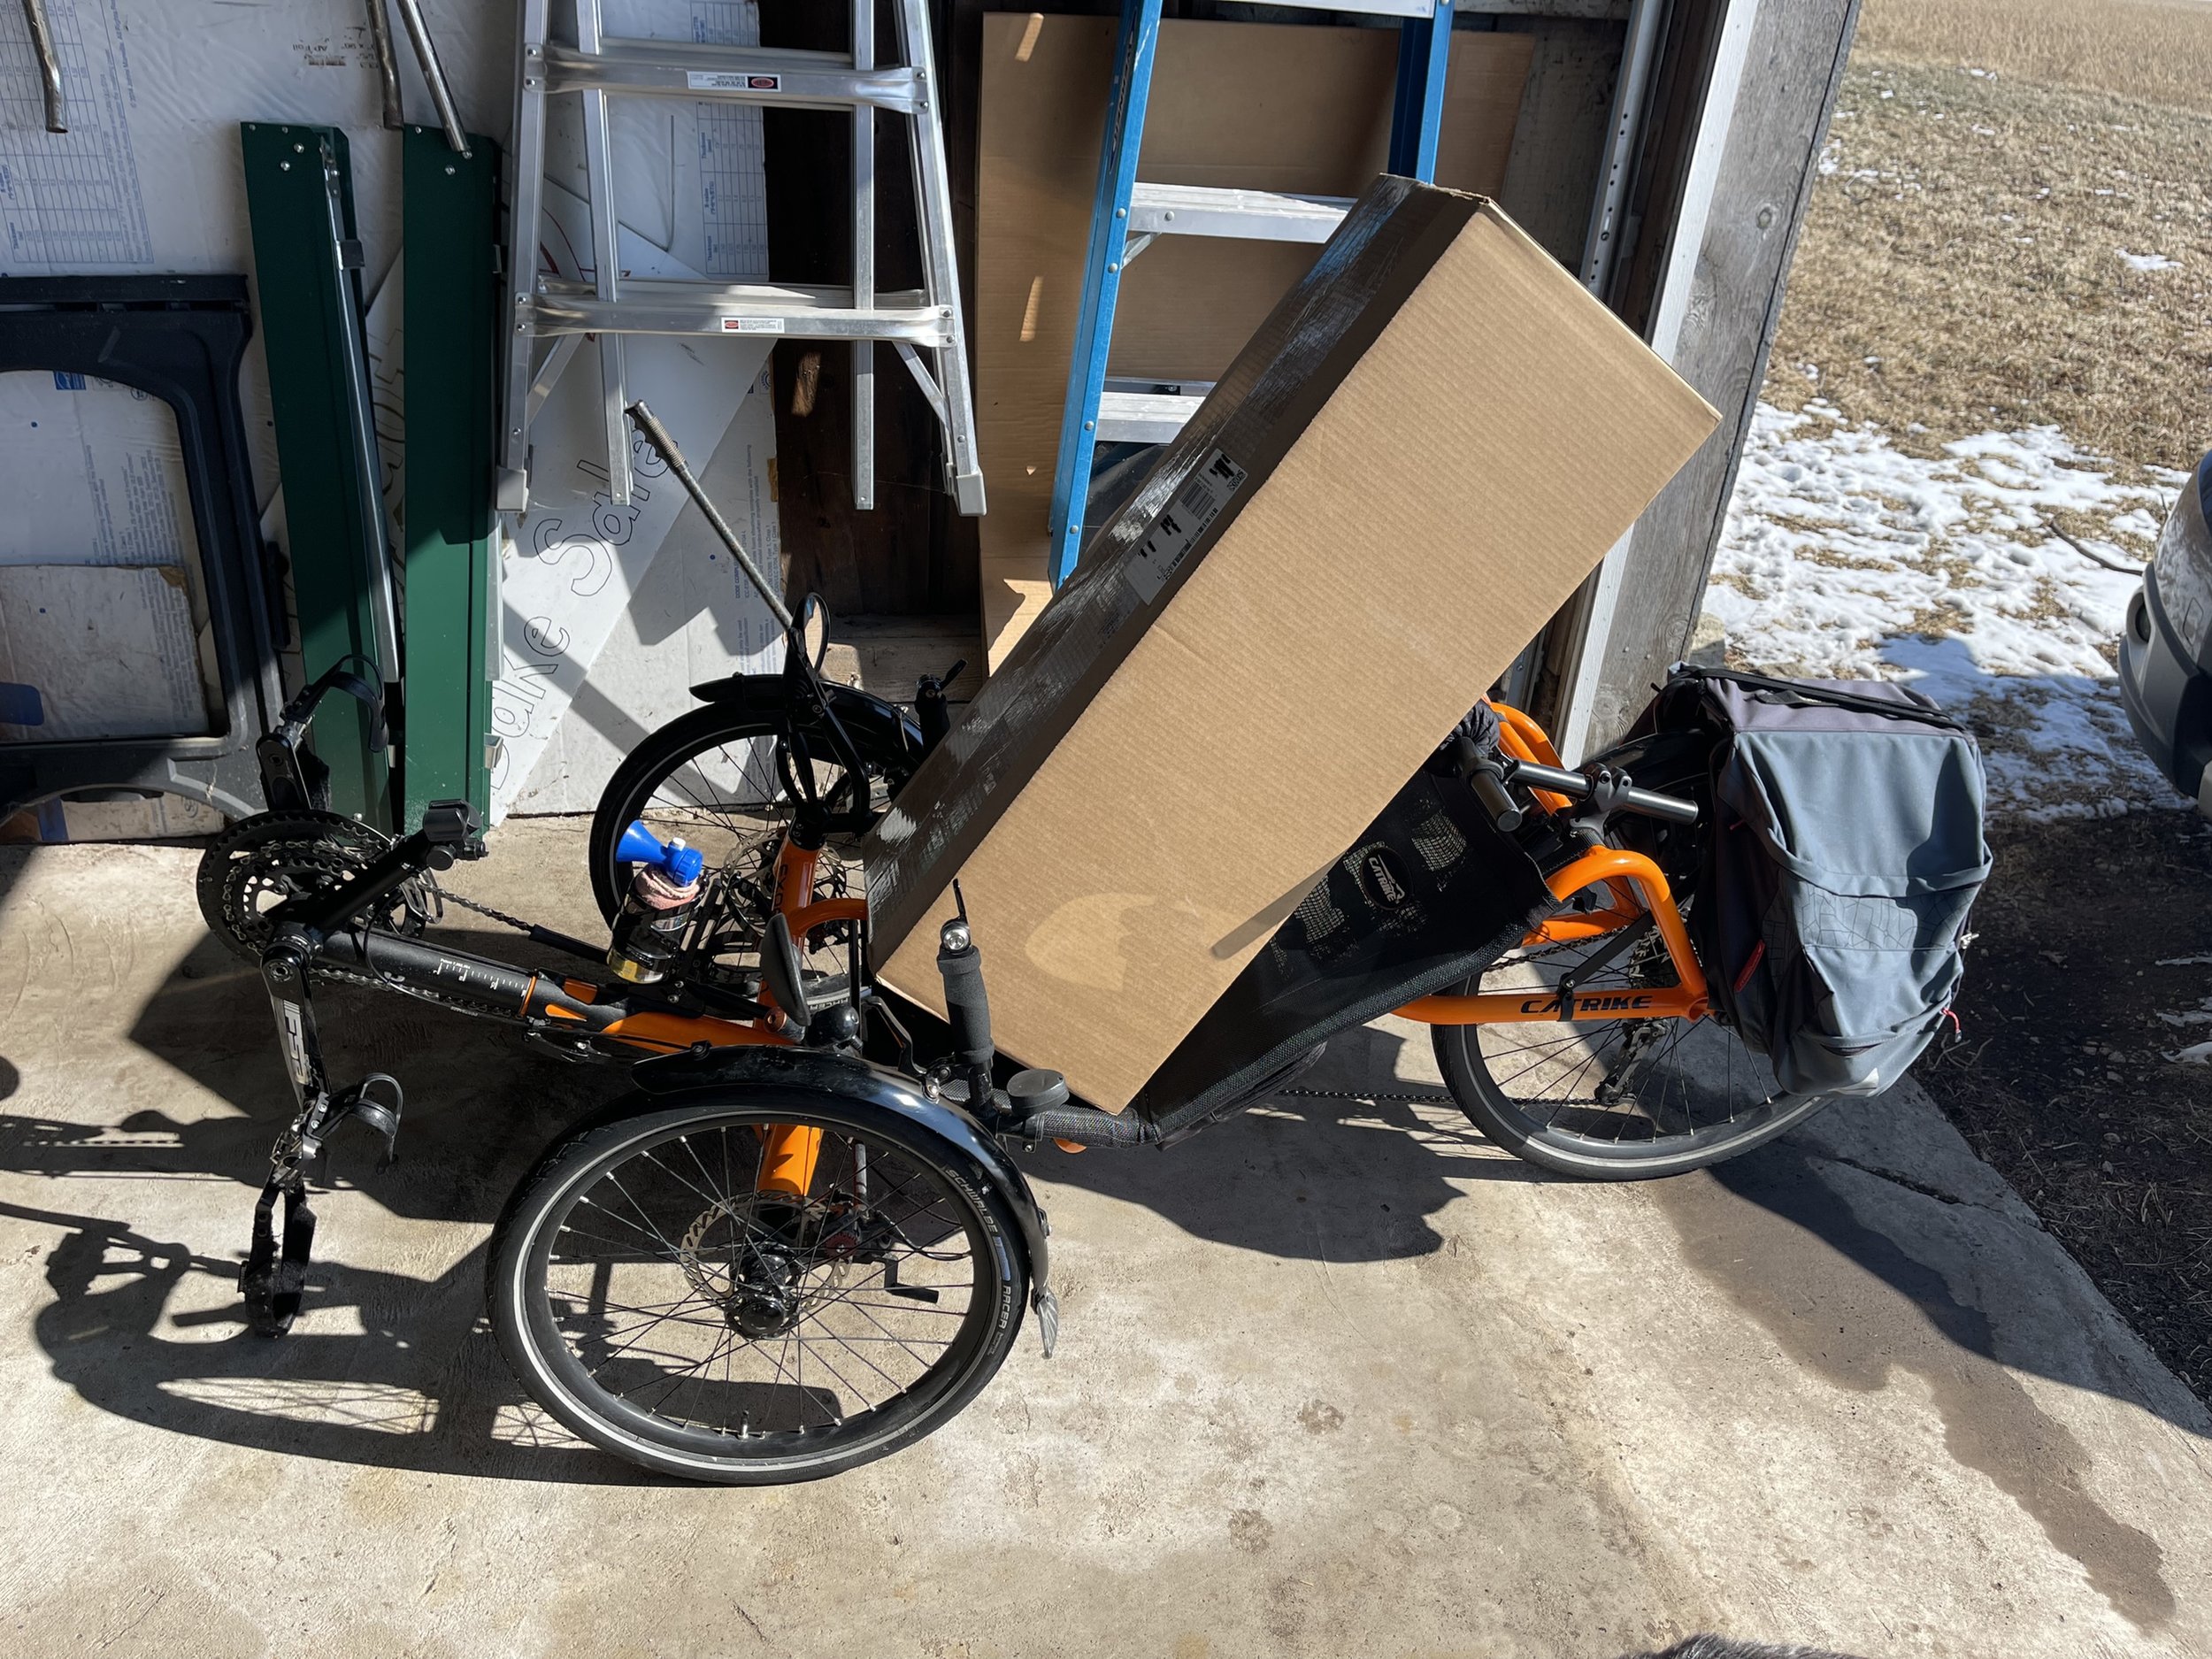
So I ordered one up this spring - I went with the middle ground and got the RTL 515, with the light but with no camera - and I was excited to start using it. Unfortunately, one of the immediate challenges was sorting out how to mount it on my Catrike Expedition.
On their website, Garmin says:
It’s small, it’s easy to mount, and it works with just about any bike.
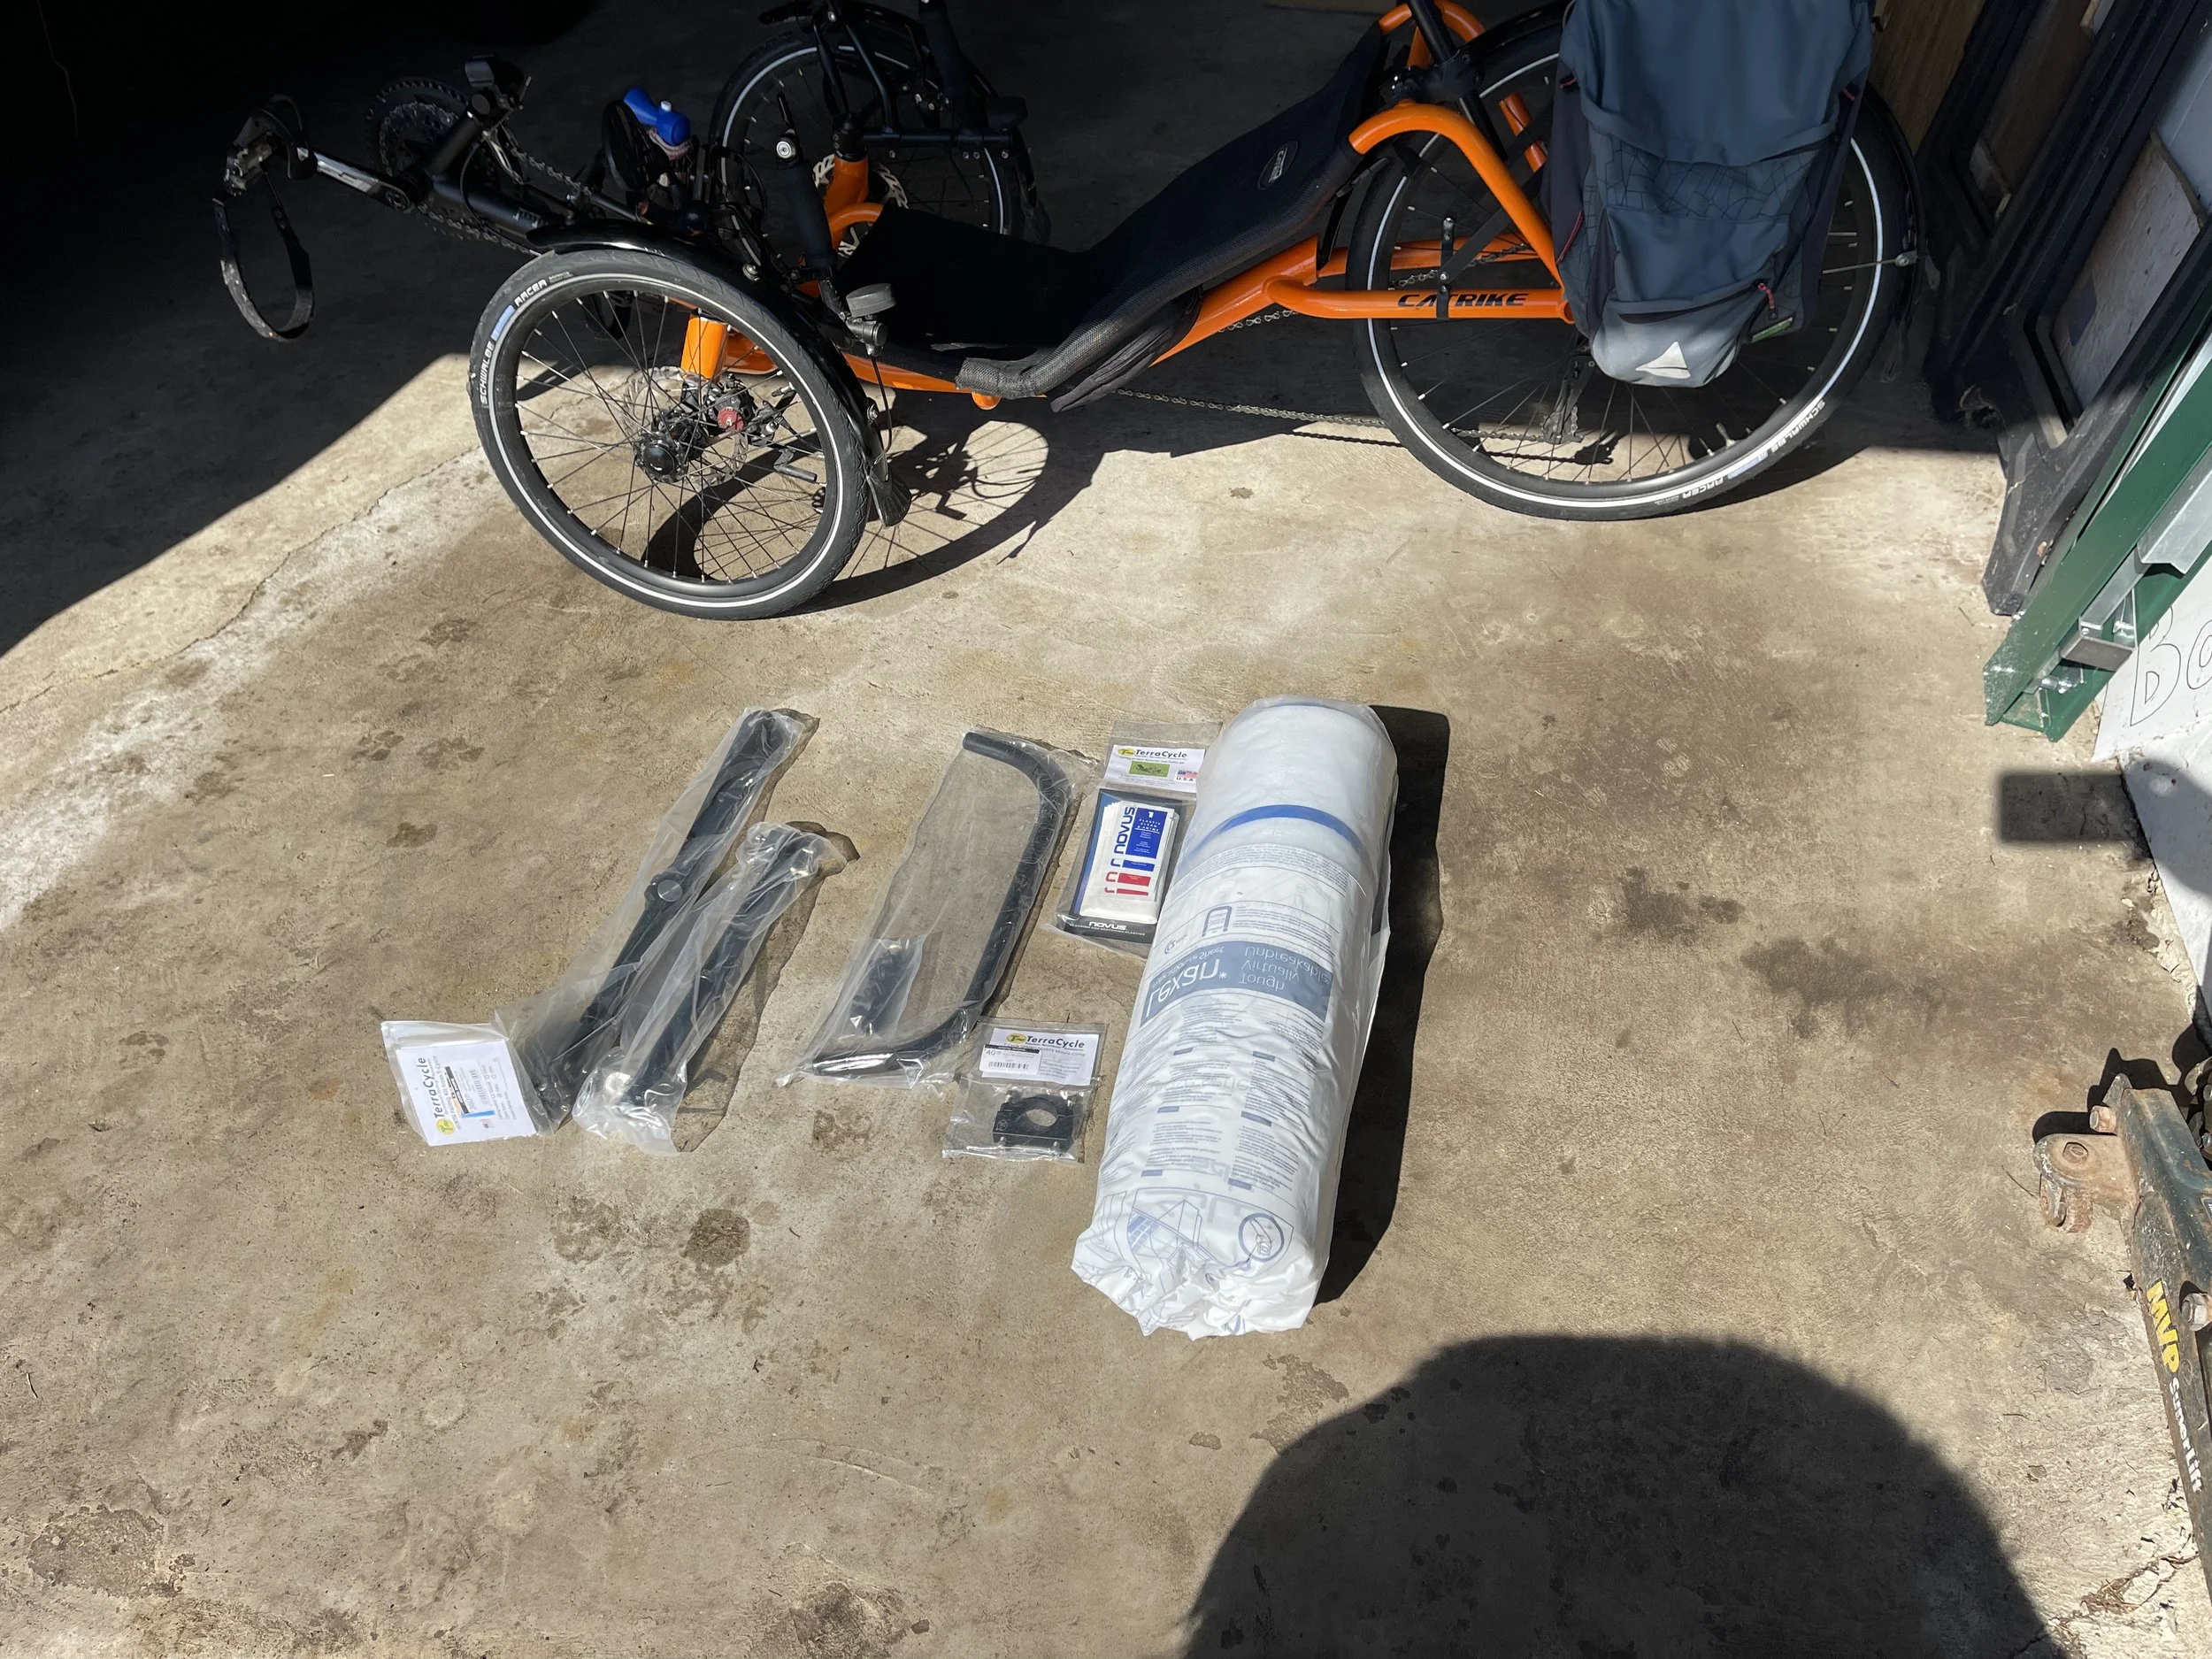
It is built to use Garmin’s specific quarter-turn mounting system, which in and of itself is a pretty cool setup. But what comes in the box is an seat-post mount with an array of adapters for different sizes of seat post:

Garmin Seat Post Mounts
Of course, recumbent trikes don’t have seat posts. So - When Garmin says “just about any bike”, it would appear recumbent trikes aren’t in that immediate mix.
So I set about sorting out how to get the mounts to work for my trike. And there are some additional requirements for the device that enter into the process. It is designed to be mounted vertically - the lengthwise aspect going up and down - and perpendicular to the road. And it is supposed to be between 250mm and 1200mm (9.84” to 47.24”) above the ground.
Oh - and also - buried in the product safety materials is an indication that it should be operated at least 5cm (2”) away from your body.
Long story short, there are no surfaces on my Expedition that will work with the included mounts and still meet these requirements. The rear frame arms coming down to hold the rear wheels are at too steep an angle to allow you to mount the Varia there, and my pannier bags would have been in the way of it anyway. Mounting it to either my PowerOn Cycling headrest (where I have another light mounted) or the rear rack would have been feasible, but the seat post mounts would have had to have gone on sideways, which would have mounted the unit sideways as well - horizontally rather than vertically.
My initial approach was to dig into my batch of bike accessories and to repurpose an accessory mount that I had previously used on my Catrike Pocket. On the Pocket I’d attached it to the accessory mount to get my front light a little higher, and leave room for my phone mount. Here, however, I figured I could use it to approximate a seat post off the back of the rear rack. It took some finagling, but I was actually pretty pleased with the results:

Varia on a faux seat post
I liked that it got it all the way to the back of the trike - well beyond that 5 cm threshold, and much further back than it would have been on an upright bike. And I liked that the articulated arm allowed me to center it over the rear wheel…

Varia centered over the rear wheel
But the proof, as they say, is in the pudding (tho I don’t know why they would put it there - isn’t that kind of messy?). In practice, what I found was that bumps and vibrations would rotate the Varia around the post, causing it to be “looking” off to one side or the other. Sometimes I’d notice this at breaks in riding, but at other times I caught it because it was alerting to things that were not directly behind me, while missing approaching cars.
I did try using tighter rubber bands with it, but the issue persisted. I also found a couple of adhesive items to stick to the tube alongside the mount, but it managed to move around them as well. It just wasn’t working.
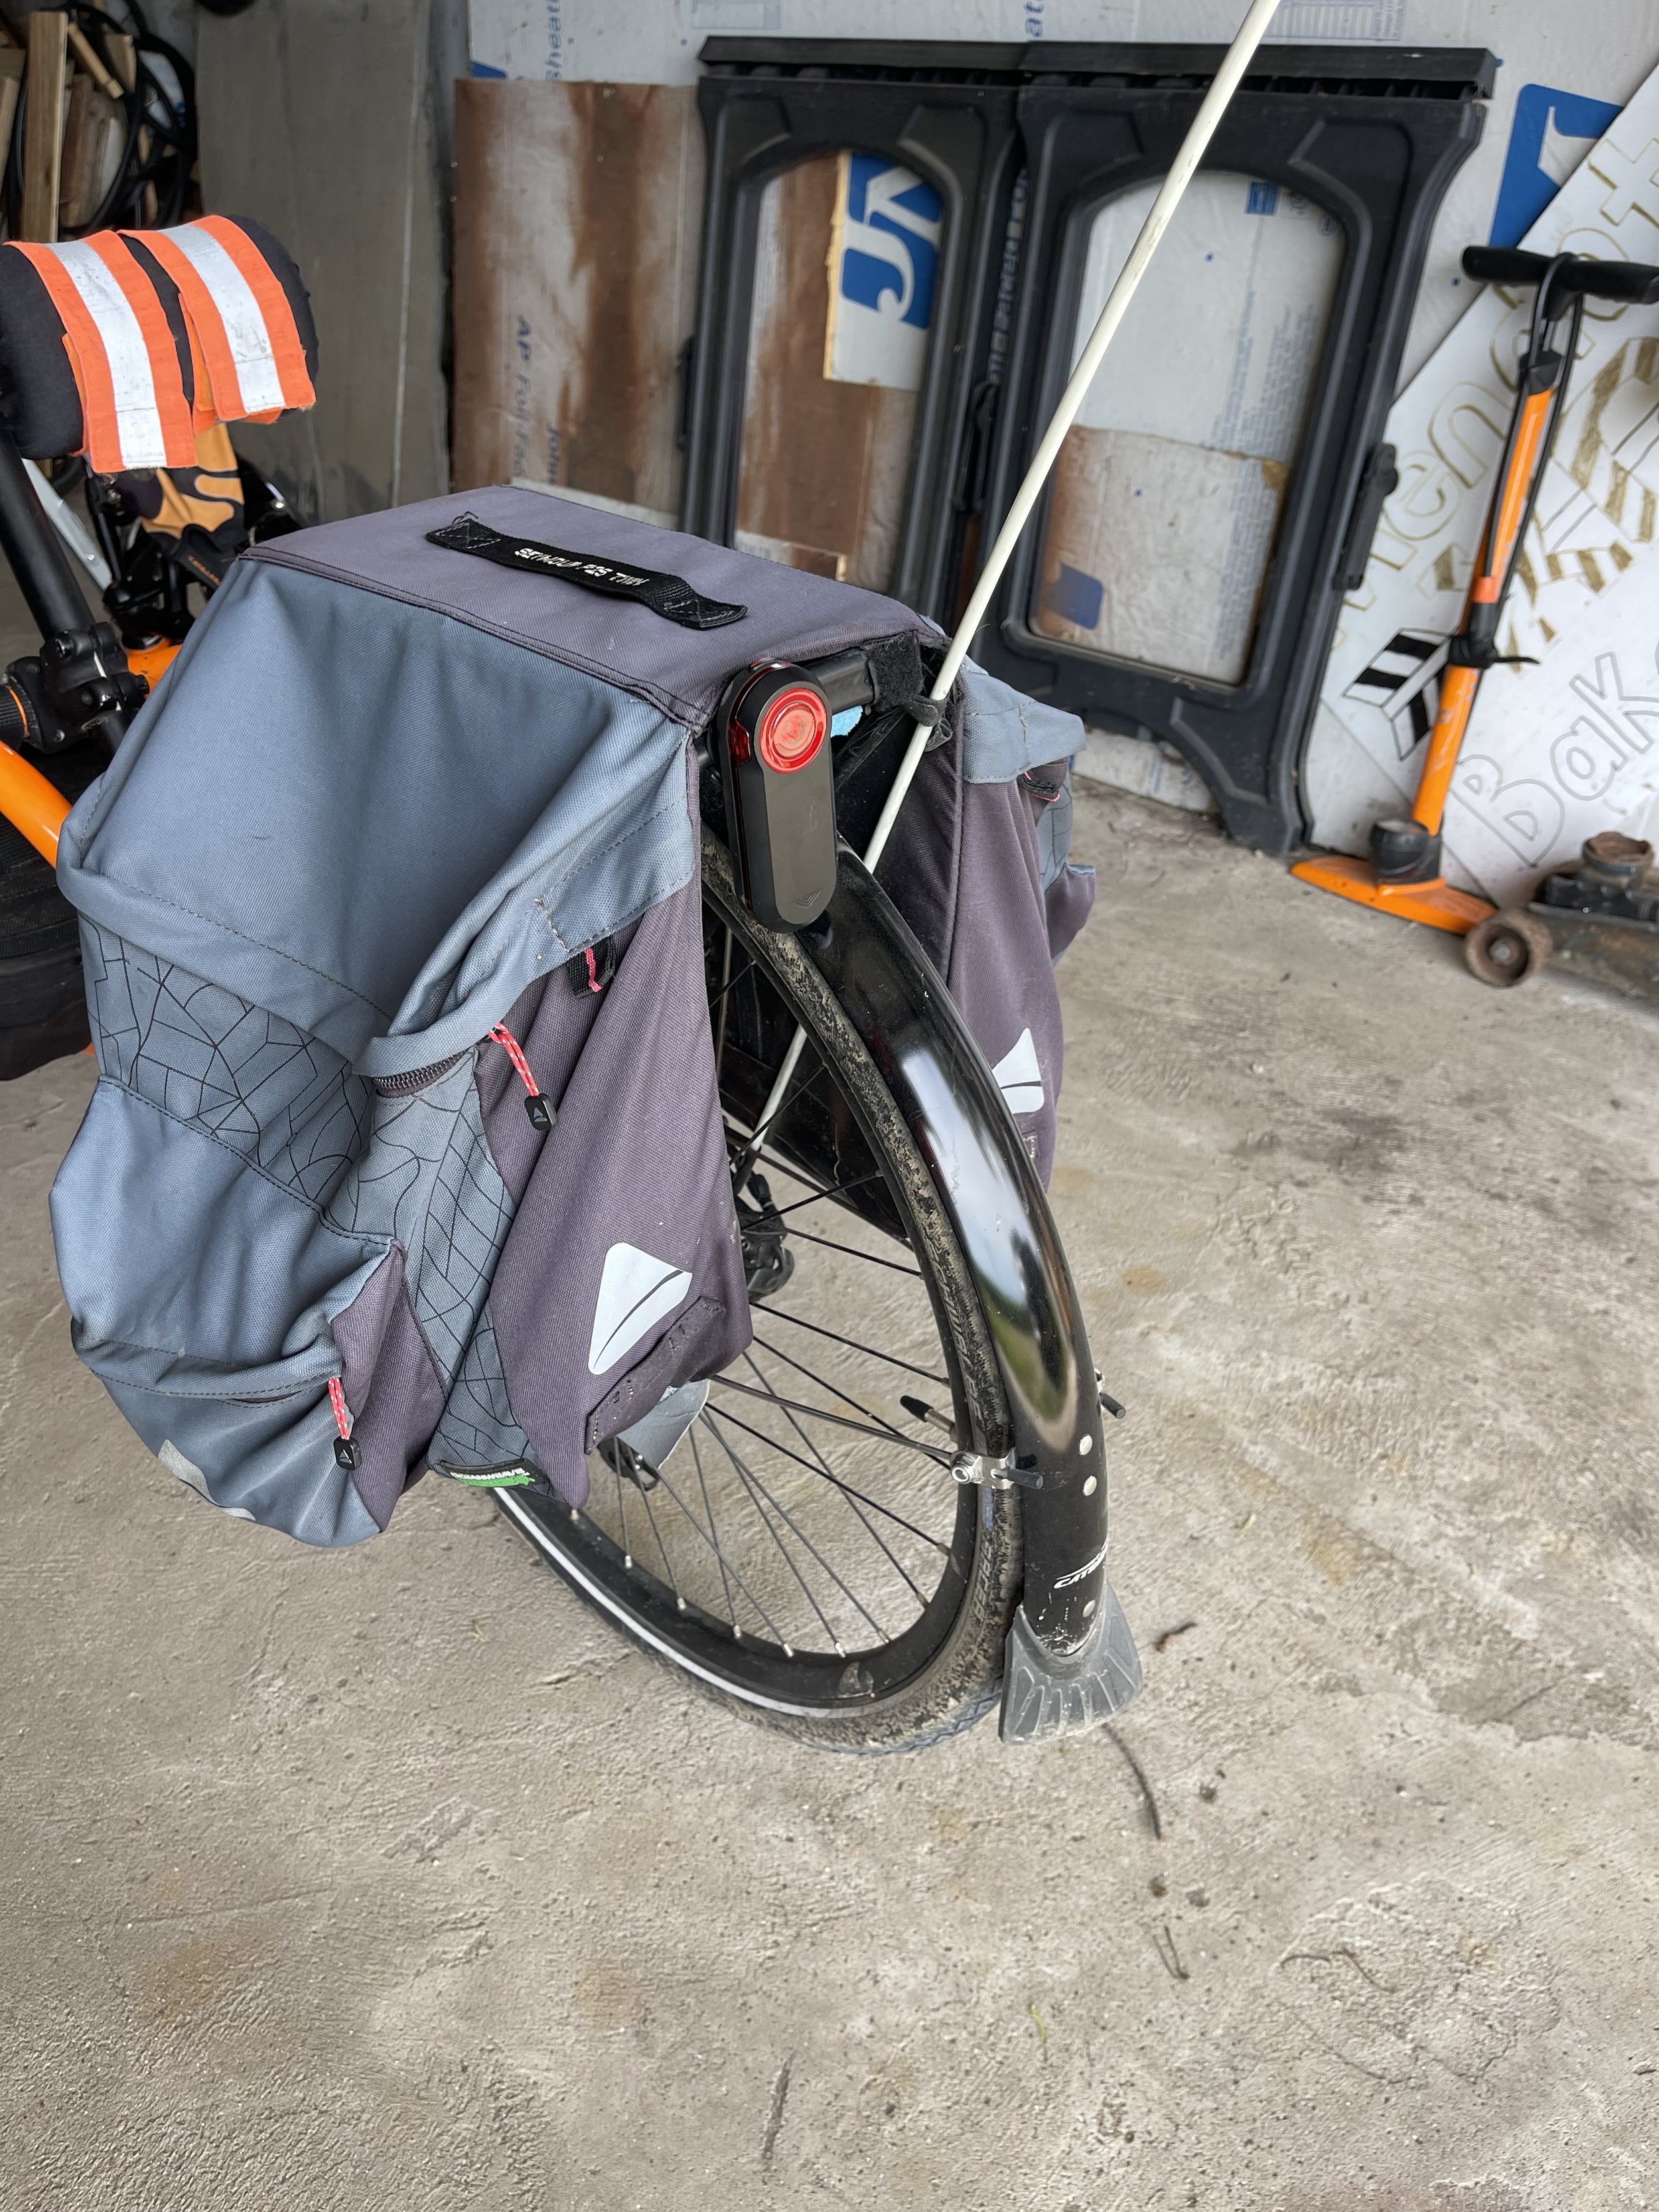
So it was off to YouTube to search for solutions - I figured someone else might have come across this issue. I… didn’t find much, initially. But I did find Monty at Sportive Cyclist with this video that described how to mount it to the flap on a cargo bag. I don’t have the seat bag he shows in the video, but my panniers do have similar flaps at the back.

Rear pannier flaps
They are lower than I’d like, but do sit above the lower limit for the device. I set that aside as a fallback while it tried the other solutions I described above.
When they failed, I came back to Monty’s video, watched it again, and went out to try it on my panniers. The fabric flaps on my panniers are horizontal to the ground, as is the one in the video, but try as I might - and this at various times involved pliers and invariably a fair amount of swearing - I could not find any way to get the seat post mount to attach for a vertical orientation with the rubber bands going thru the flap.
Enjoying this post? Check out our Cycling page for links to other cycling articles on Applied Life
So I went back and watched the video again. Looking closely this time at the quarter-turn mount he attached to the bag, what became clear is that it wasn’t the seat post mount.
Now, I found Monty to be delightful in this video, but at no point did he mention that the mount he was using was not the one that comes with the Varia (I watched it again as part of writing this to make sure and nope - it’s not in there). It is possible, I suppose, that people who use a lot of Garmin products just have these other types of mounts laying about. The Varia is the first and only Garmin product I’ve ever owned, so this was non-obvious to me.
First I looked thru the box to make sure they did not include this mount with the device, and it was not to be found. So it was off to Amazon where, sure enough, they were readily available under the name Garmin Bike Mount, Quick Release, Quarter Turn.
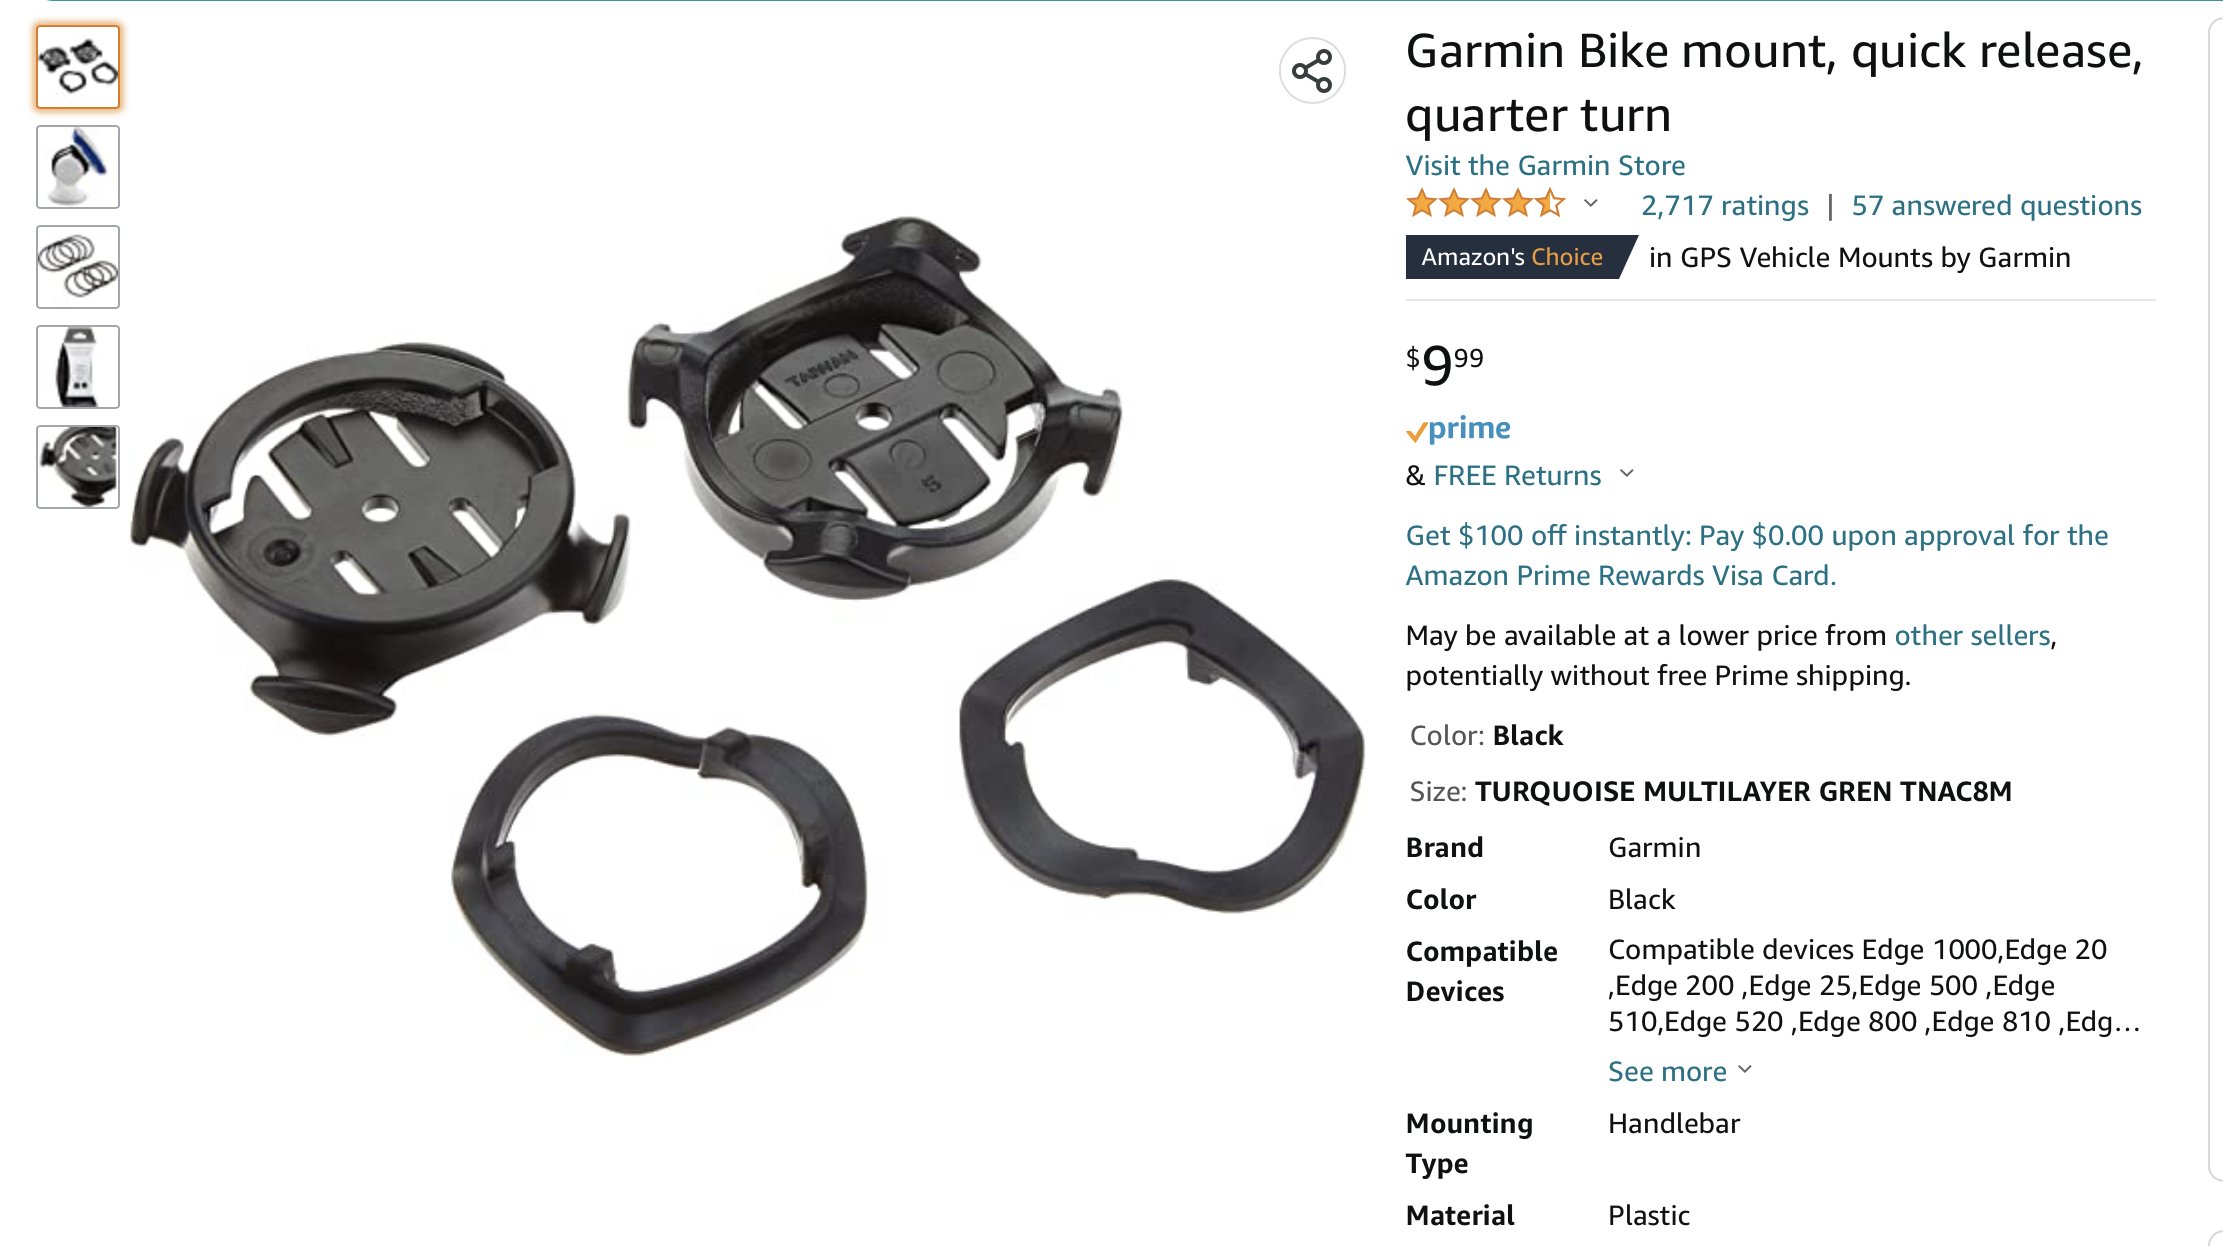
Garmin Bike Mount, Quick Release, Quarter Turn
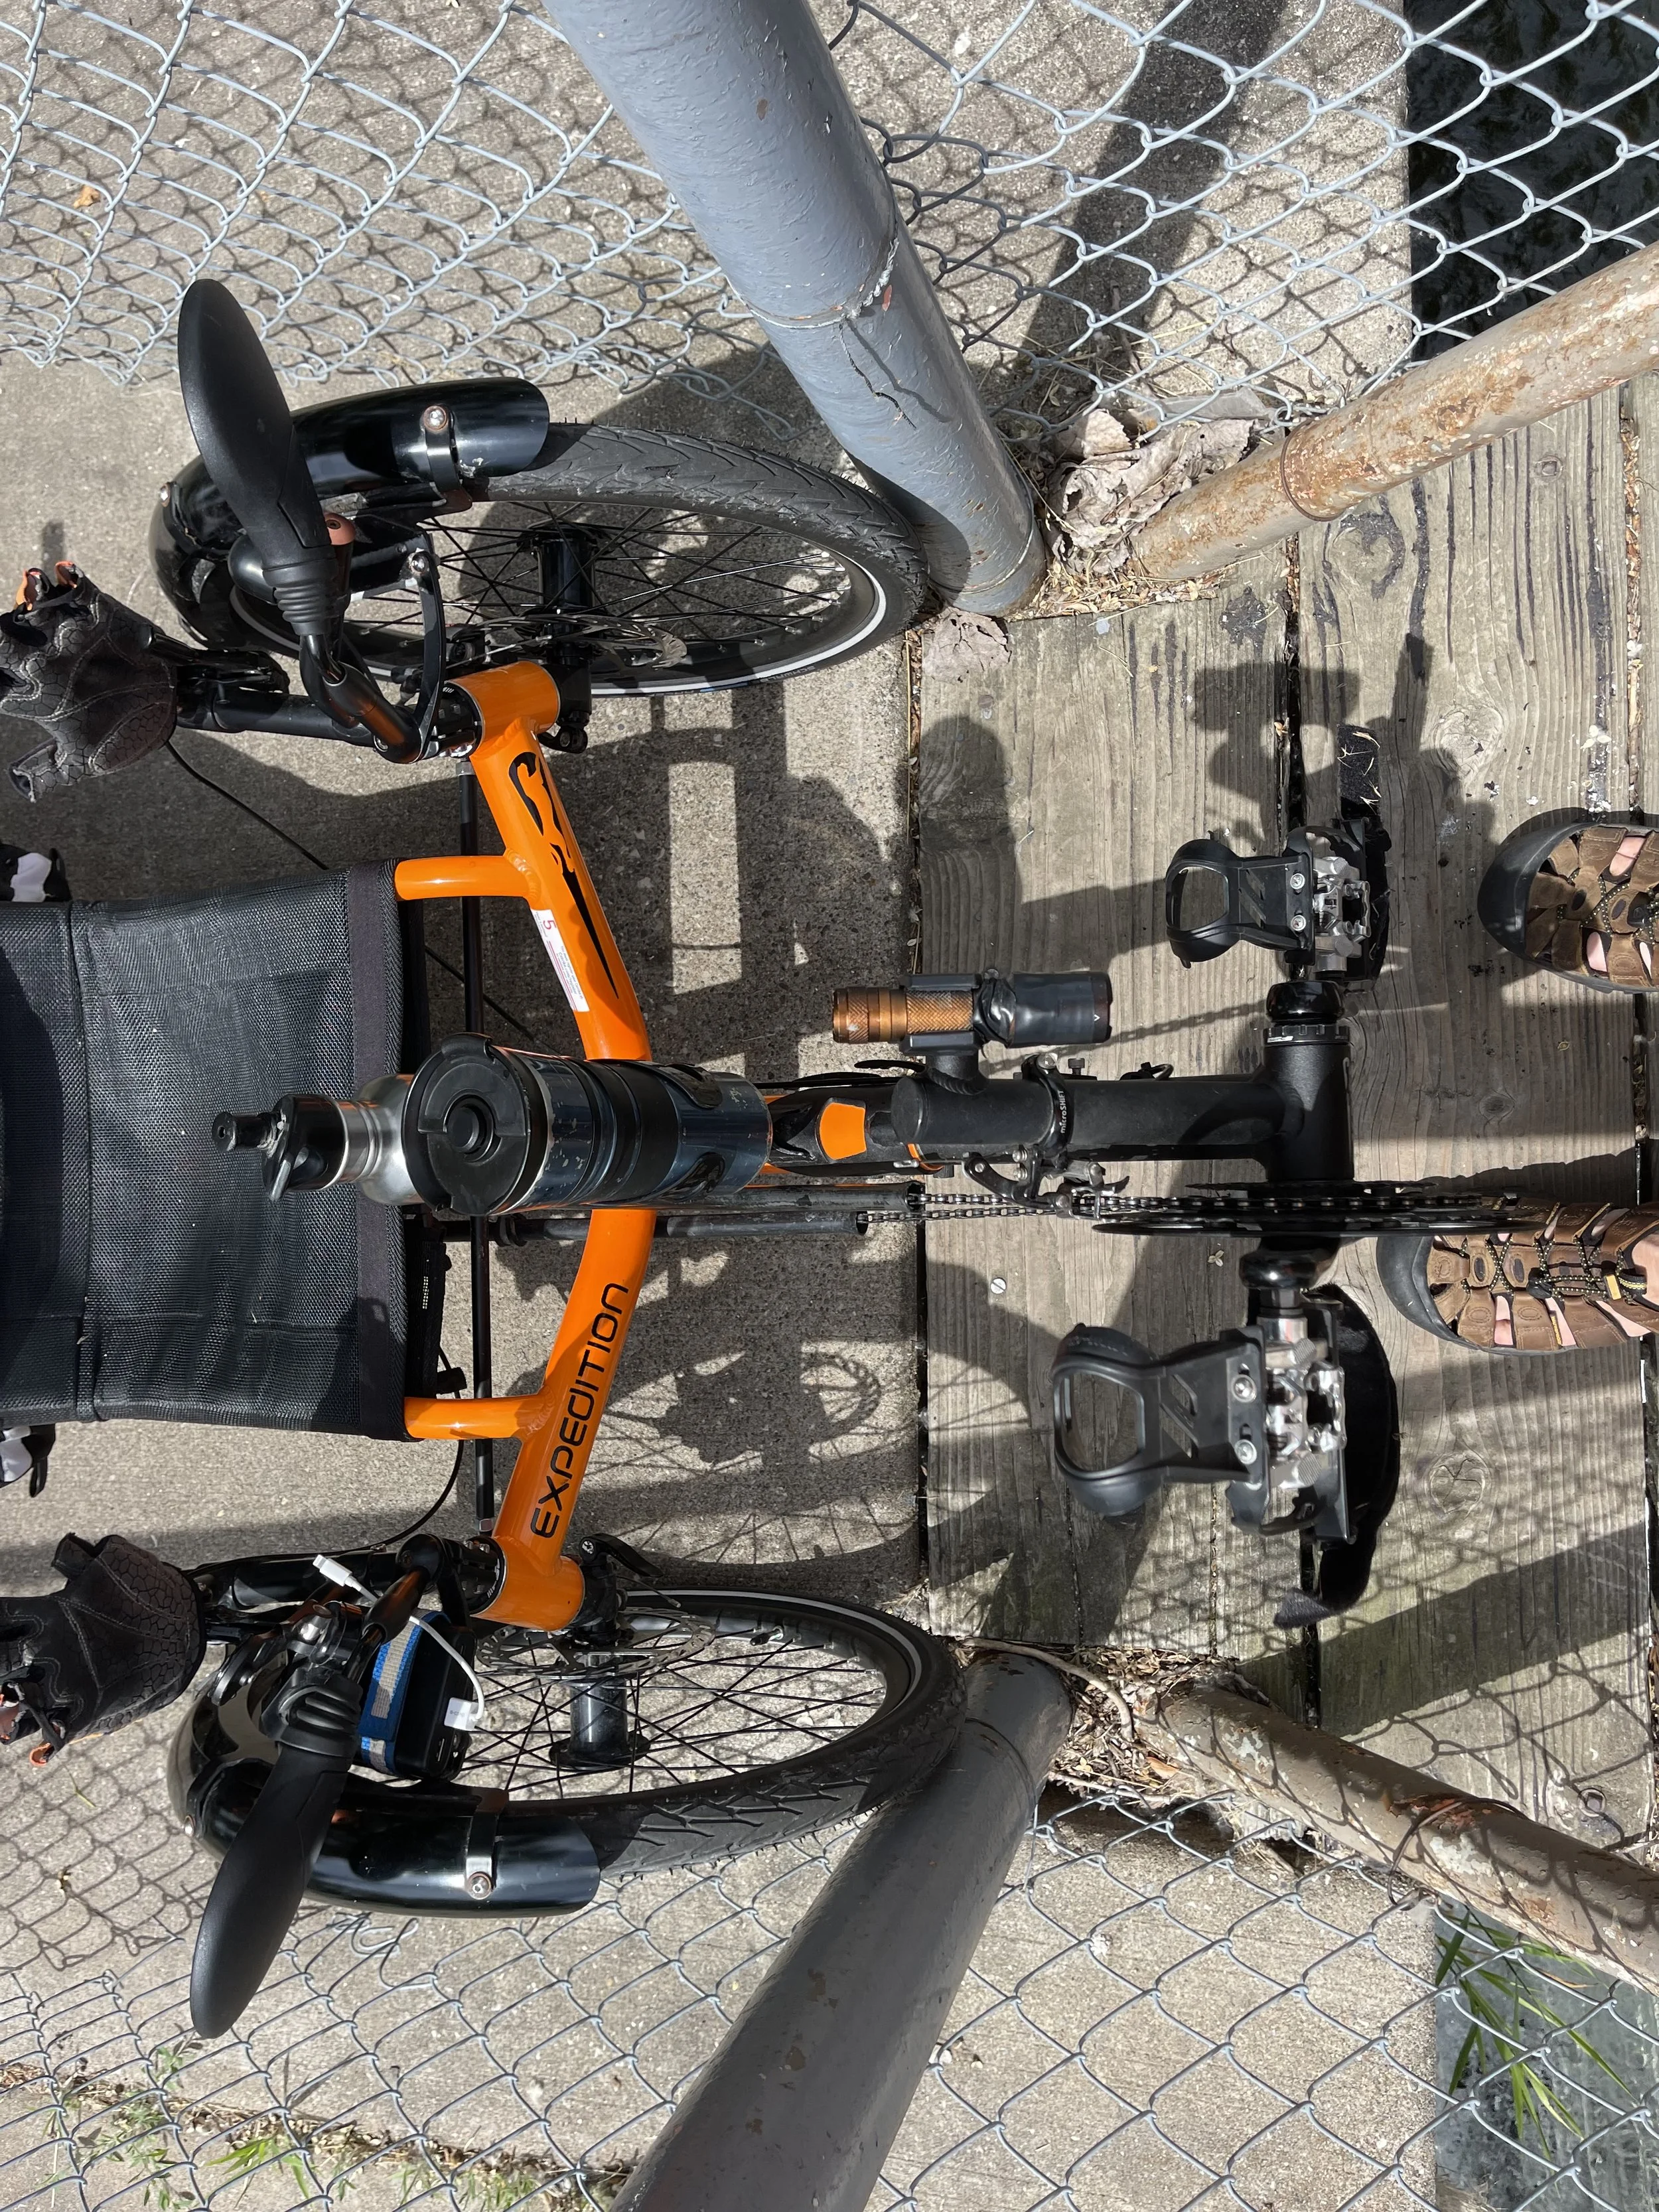
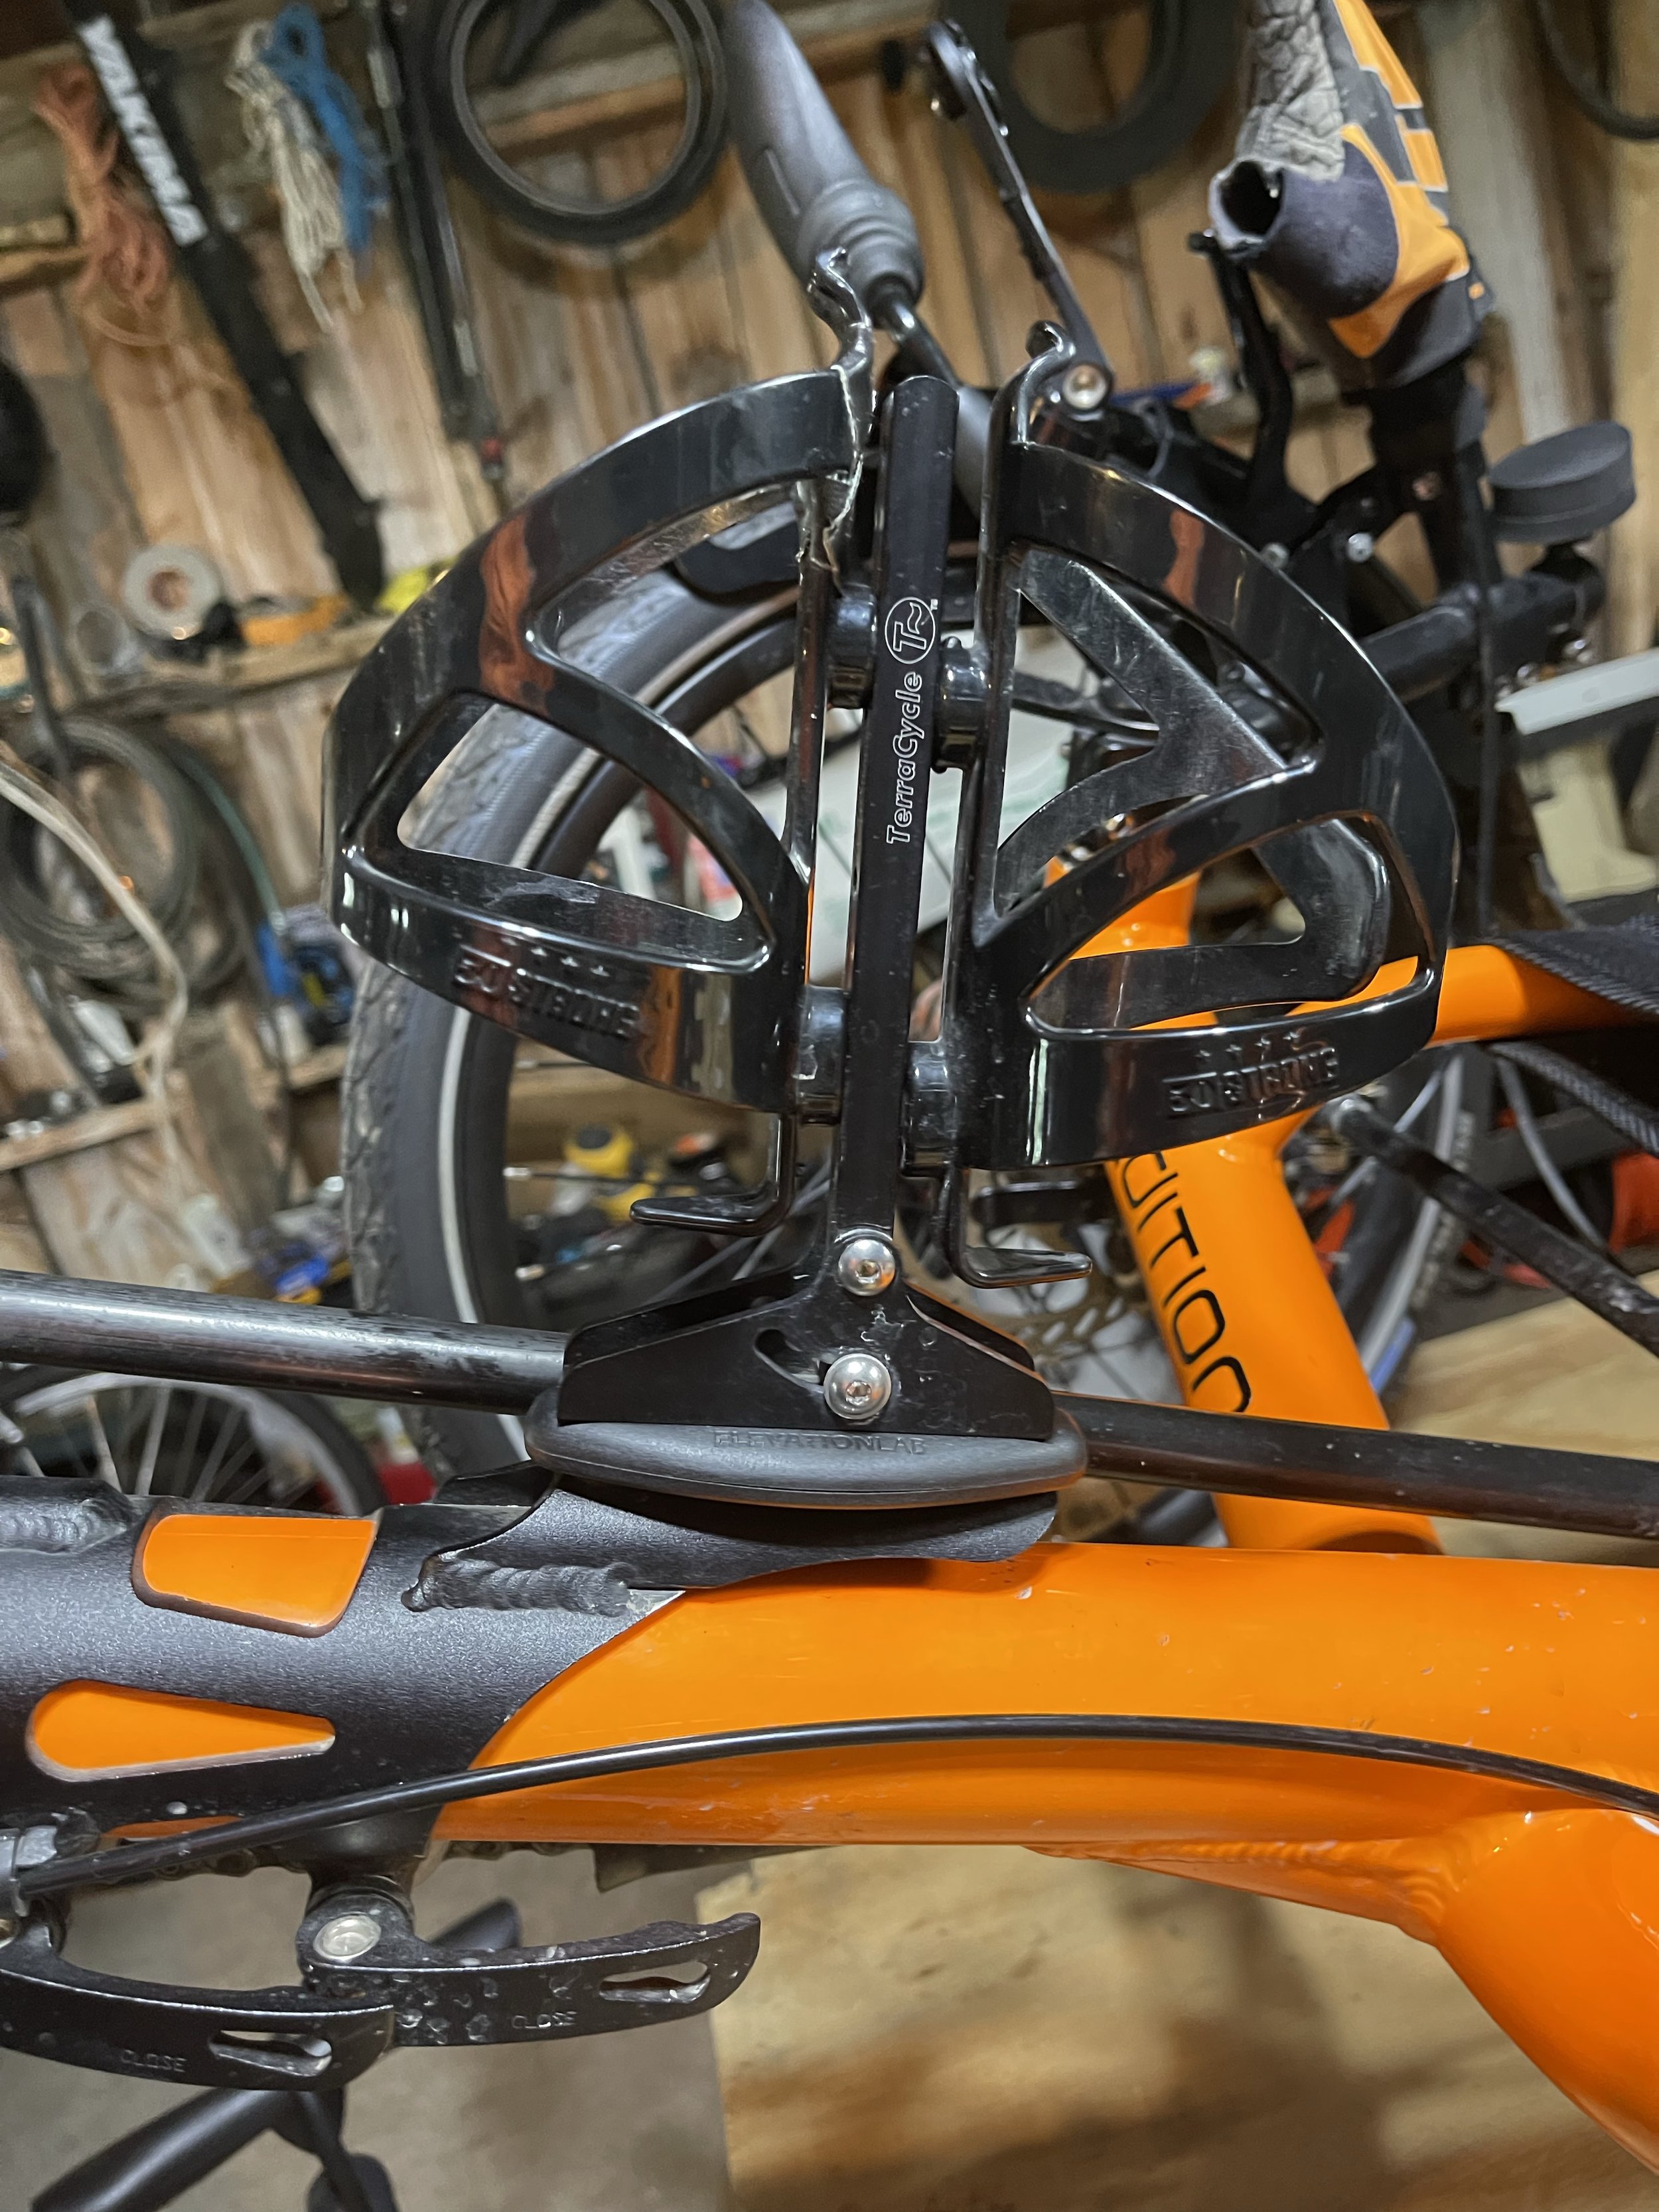
Once they came in and I looked at them I realized that they were much more flexible than the seat post mount, and that I had options now besides the very low-sitting flaps on the back of the pannier. And, in fact, I was able to set the light on my rack in a similar position to what I’d gotten with the accessory mount:

Mount attached to the rack
Garmin Varia in Place
It’s not centered over the rear wheel, so I lose some of that symmetry, but sitting to the left side of the trike actually puts it a tiny bit further out into the lane of travel.
I like this position because it puts it up at a reasonable height for the radar to pick up oncoming vehicles, and to make the light visible. And it actually puts it nearly an entire wheel further back on the trike than it would be on a diamond frame’s seat post so, hypothetically speaking, I should be getting alerts a little sooner than the upright riders are. The package from Amazon had two mounts, so I can easily transfer the Varia to my Pocket when I’m using that, and I can still use the seat post mount for my Cannondale if I ever ride it again (my poor, neglected Cannondale).
Now, this is a popular product, so there are a ton of reviews out there explaining how it works and so on, so I won’t trouble you with a lot of detail on that here. But I can offer a few tidbits on how it works for me in my usage.
First - as I said, I own no other Garmin products. I use Cyclemeter on my iPhone as a bike computer. For this setup there is a Garmin app that you must use to pair to the Varia via Bluetooth, and if you use the app it will give you visual alerts in addition to audio alerts for oncoming traffic. Unfortunately, to see those alerts you must have the Garmin app active on the screen, which precludes seeing the information on Cyclemeter. There are some apps that work with the Garmin - Ride with GPS among them - and add the visual alerts in those apps. Cyclemeter does not offer integration with it at this time.
However, once you open the app to connect the phone to the Varia, the app continues to run in the background and give audible alerts. I find this works very well for me, because the audio alert automatically cues me to check my mirrors. This is going to offer more real-world information than looking at the phone in that moment. And I generally ride with one earbud in (right ear, away from traffic), so the audio alerts are loud and clear for me.
In terms of protection, I find that the majority of the time I see the vehicles in my mirrors before the Varia detects them. This is due both to a long-developed habit of frequently looking in the mirrors, and abetted by living in the relatively flat territory of Illinois - there aren’t a ton of hills to block the view. But it has largely eliminated any moments of being surprised as I’m being passed, and the device has a separate auditory alert for vehicles which are approaching very quickly, which is a nice cue as well.
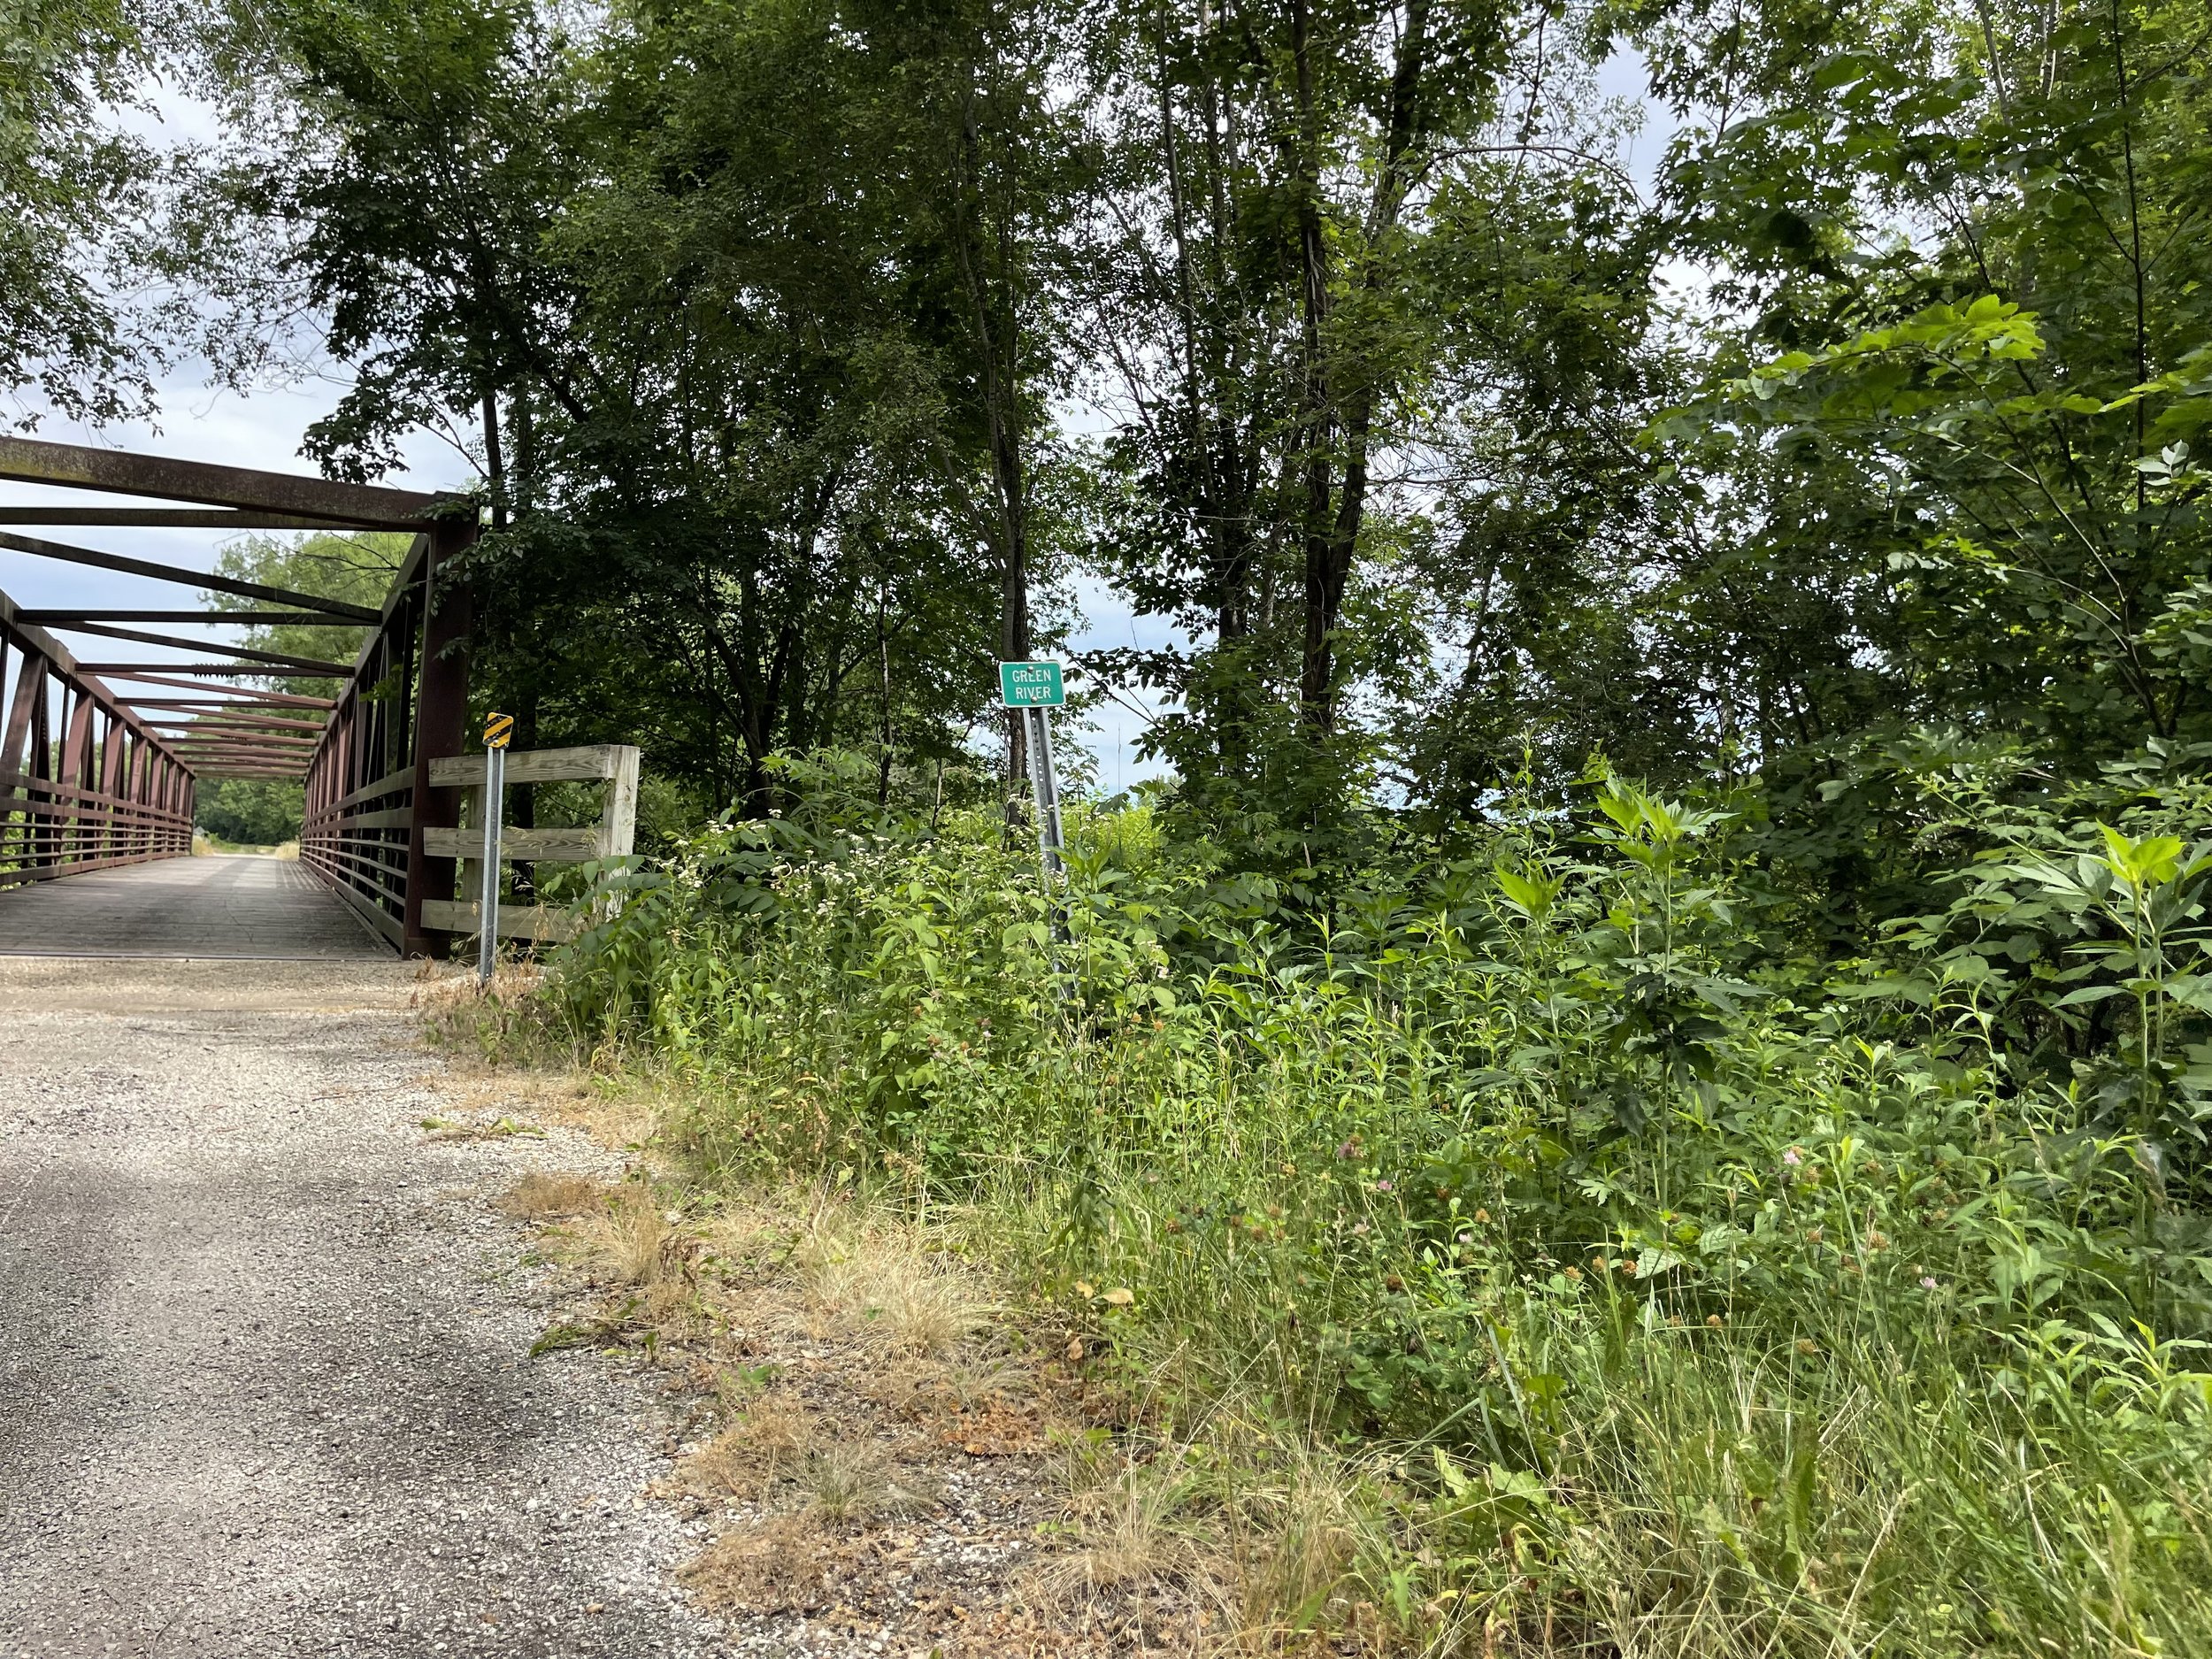
So - it works just about perfectly for my application. I did have it in place - albeit on the accessory mount that I later replaced - during my Hennepin Canal Trail ride. I didn’t really use it for the ride out and home, which was virtually entirely on the trail. But for the second part of day two I spent a fair amount of time on unfamiliar, heavily traveled roadways. In areas with a medium level of traffic it worked fairly well, but on busy roads it essentially alerted all the time. In that situation the light flashing on it was probably a benefit, but the alerts were not. But then again, in that sort of a scenario you are watching your mirrors the entire time as well (and trying to get out of the situation as soon as possible).
All-in-all, it works well. It can be mounted on a recumbent trike, and arguably further back, extended the radar range further behind the machine. But for most trikes you are probably going to need to order the additional mounts as well. They aren’t terribly expensive - less than $10 before tax - but for the price of these devices, I frankly think Garmin should include one or two of them in with the box along with the seat post mounts. But now at least I have a way to use it on all our rides - even the one I don’t ride any more.