At the end of June of this year I took a ride along the Hennepin Canal Trail from the trailhead at Bureau Junction to the western end - or what I thought was the western end (more on that a little further down) - of the Hennepin Canal Trail and back.
This three day, 150+ mile ride, involving two overnight stays at Geneseo Campground in Geneseo, and took me across the Mississippi into downtown Davenport, Iowa, was my first real foray into trikepacking. The closest I’d come to it before this was car camping for the overnight stay at the Hilly Hundred last year, but that didn’t require me to carry everything on my ride. All in all I think I was fairly well prepared for the trip, but there were definitely a few things to learn from it as well.
Distances
As those who are clever with the maths will already have sorted out, my ride was set at about 50 miles per day. Or at least that was the average across the three. It was a little lopsided in practice, with 48-mile distances on days 1 and 3, and 58 miles on day two.
I’ve taken many 50~ish mile rides over the past few years, and I’ve gotten to the point at which, while it still feels like a long ride, this type of distance isn’t daunting. And those distances usually take me around four and a half hours, including a couple of breaks for snacks and to get up off the trike and move around.
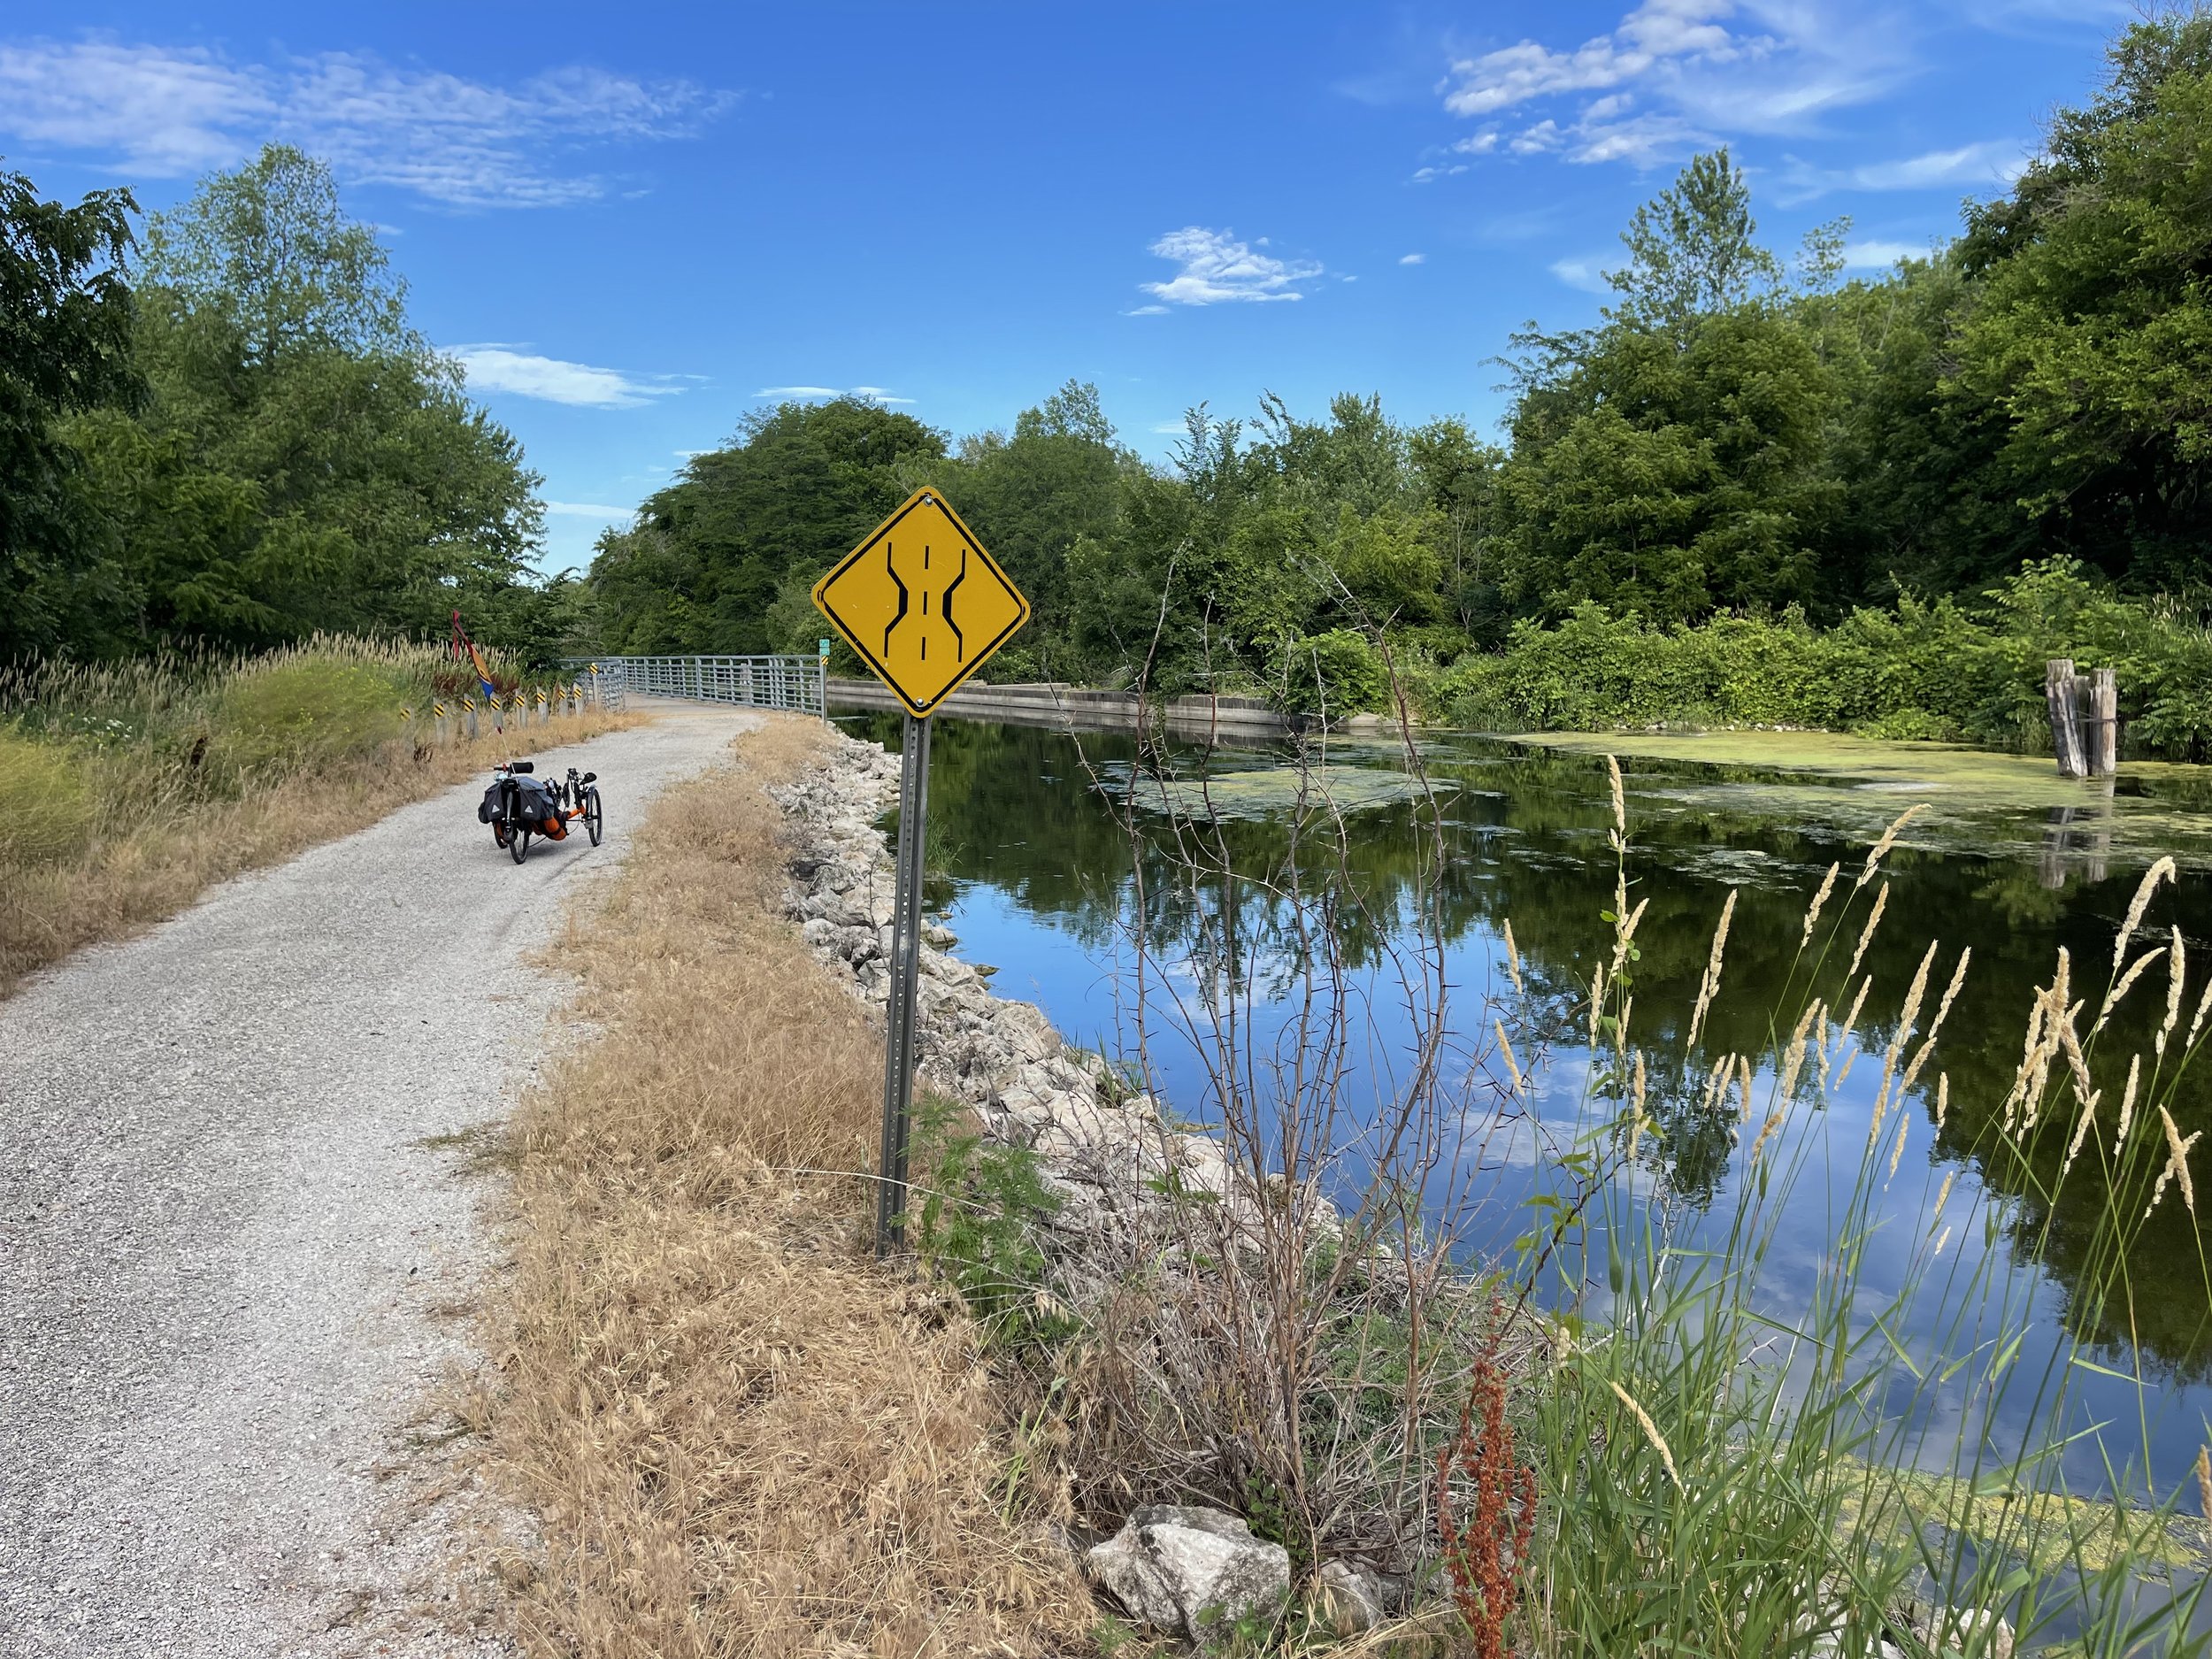
I knew the canal trail would be slower - it always is. The softer surfaces over the first two-thirds of it just make for lower speeds. I thought I’d mentally compensated for that.
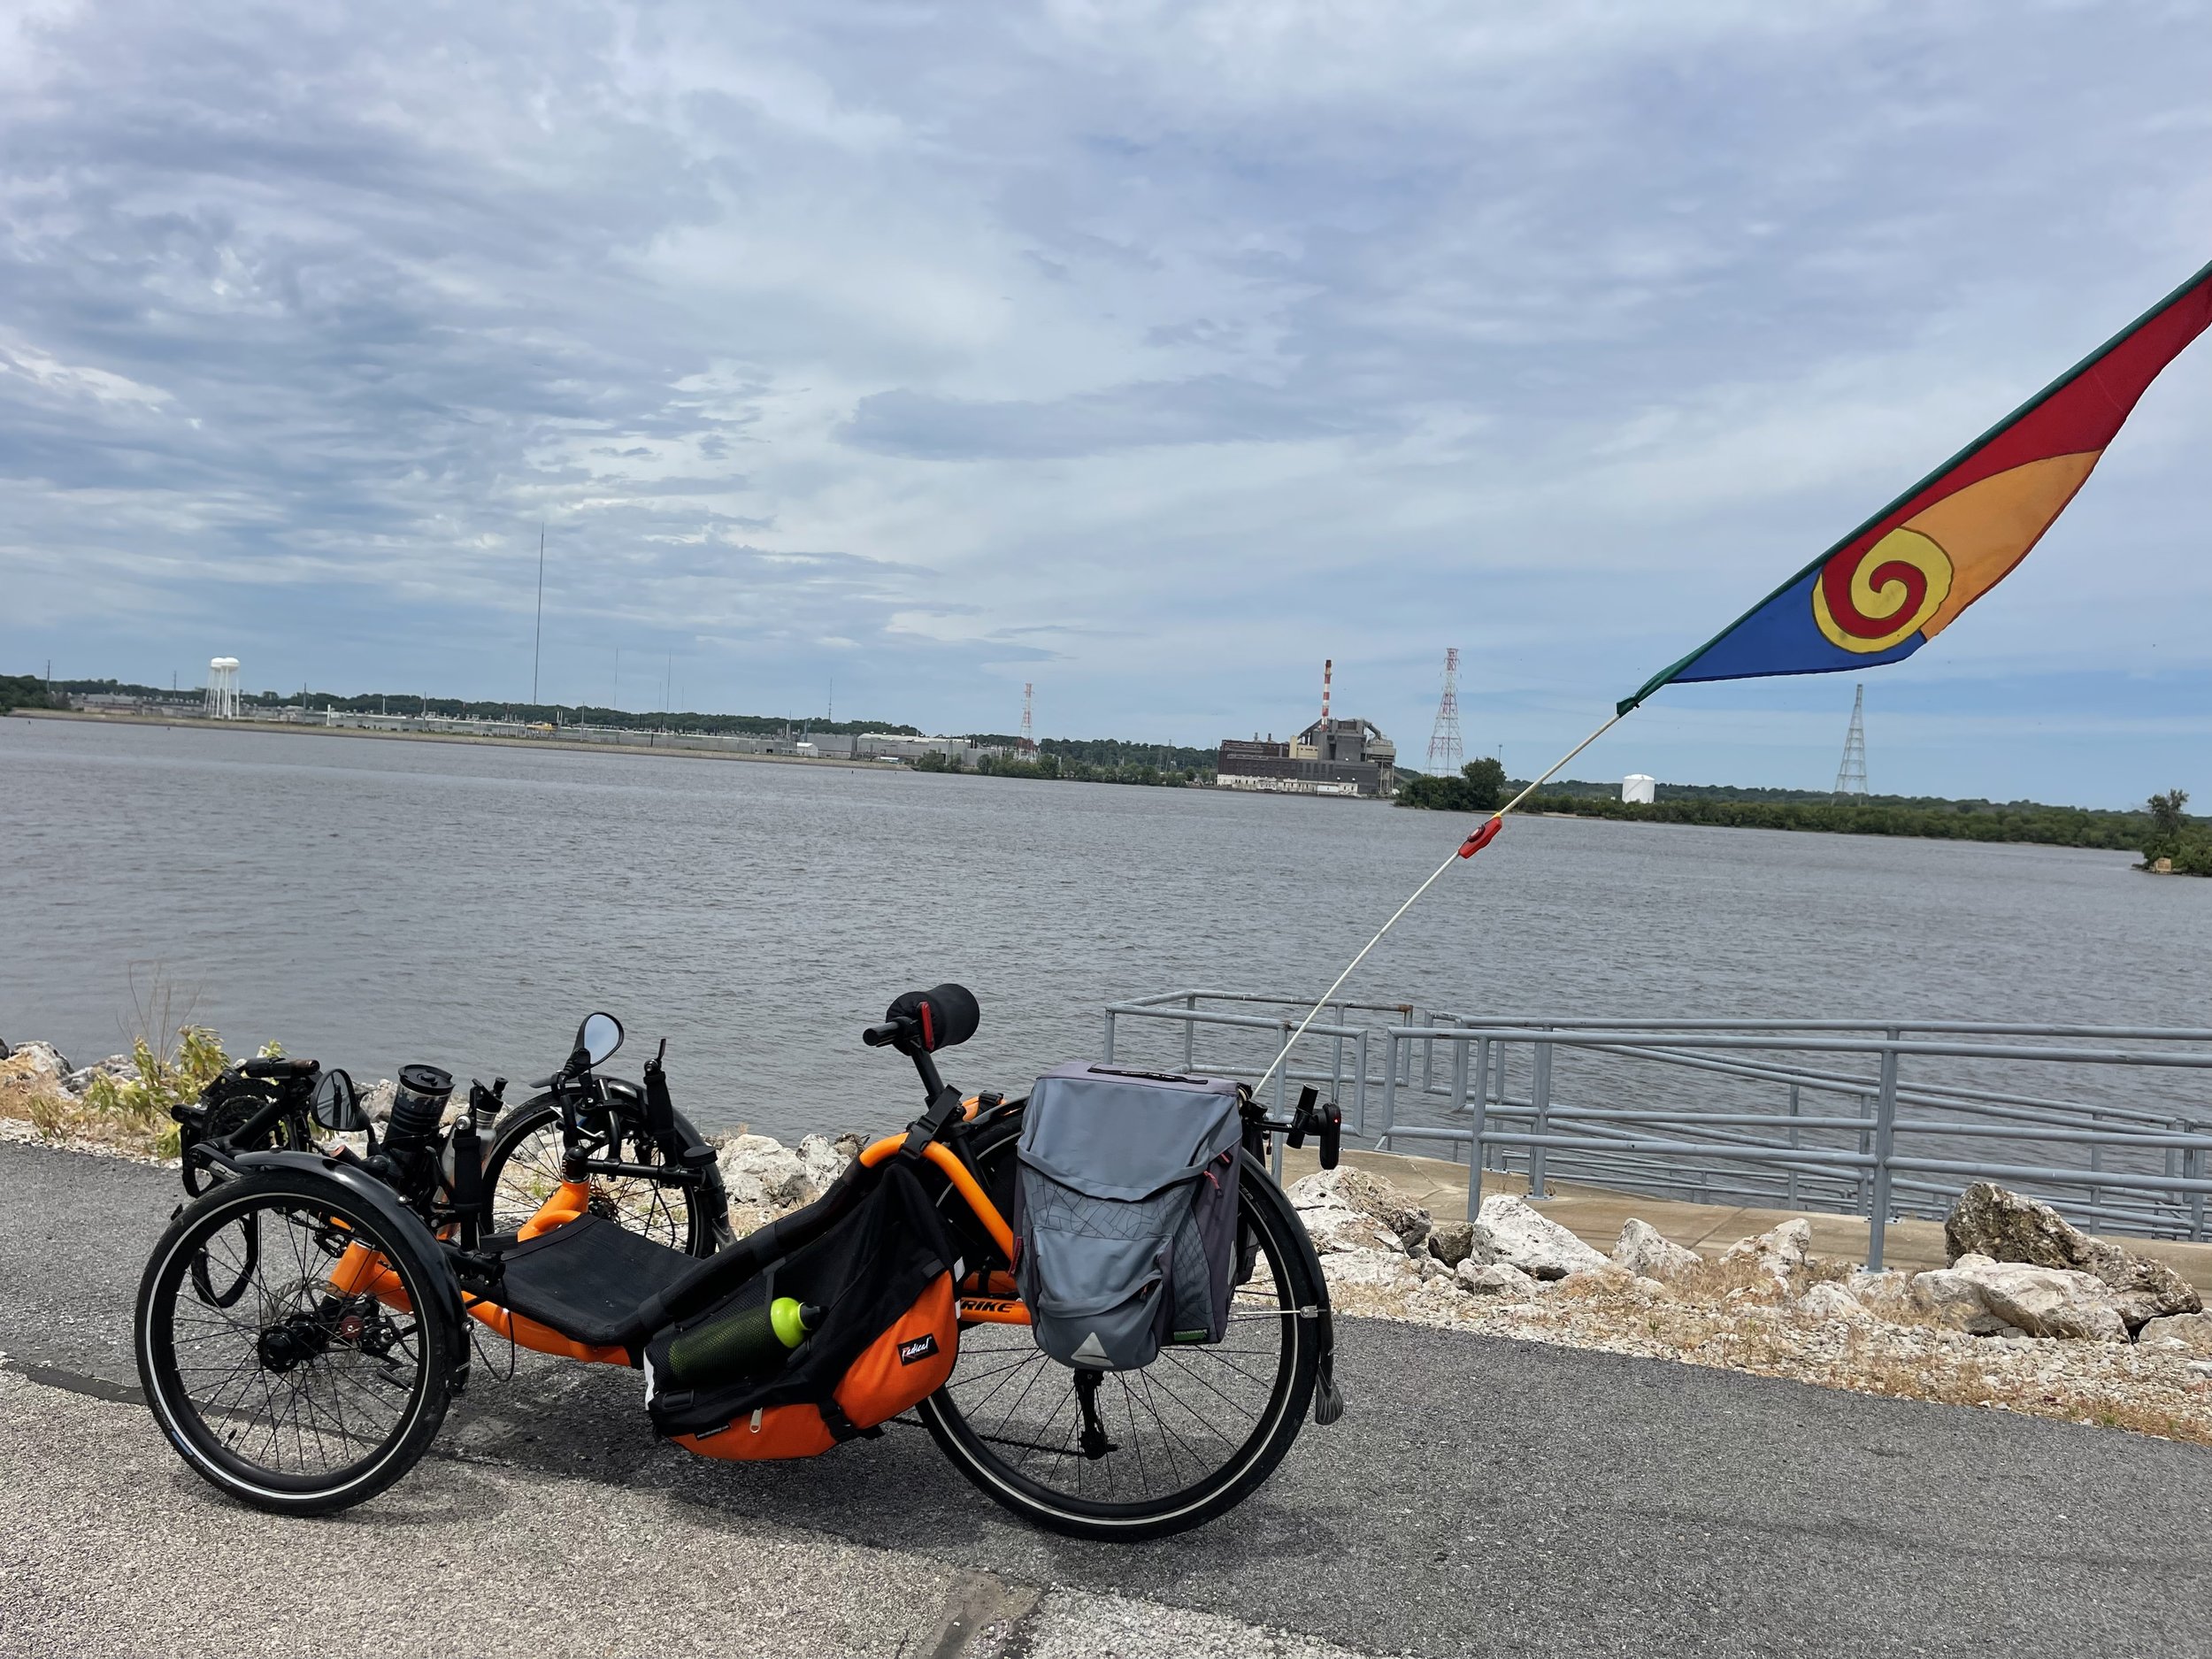
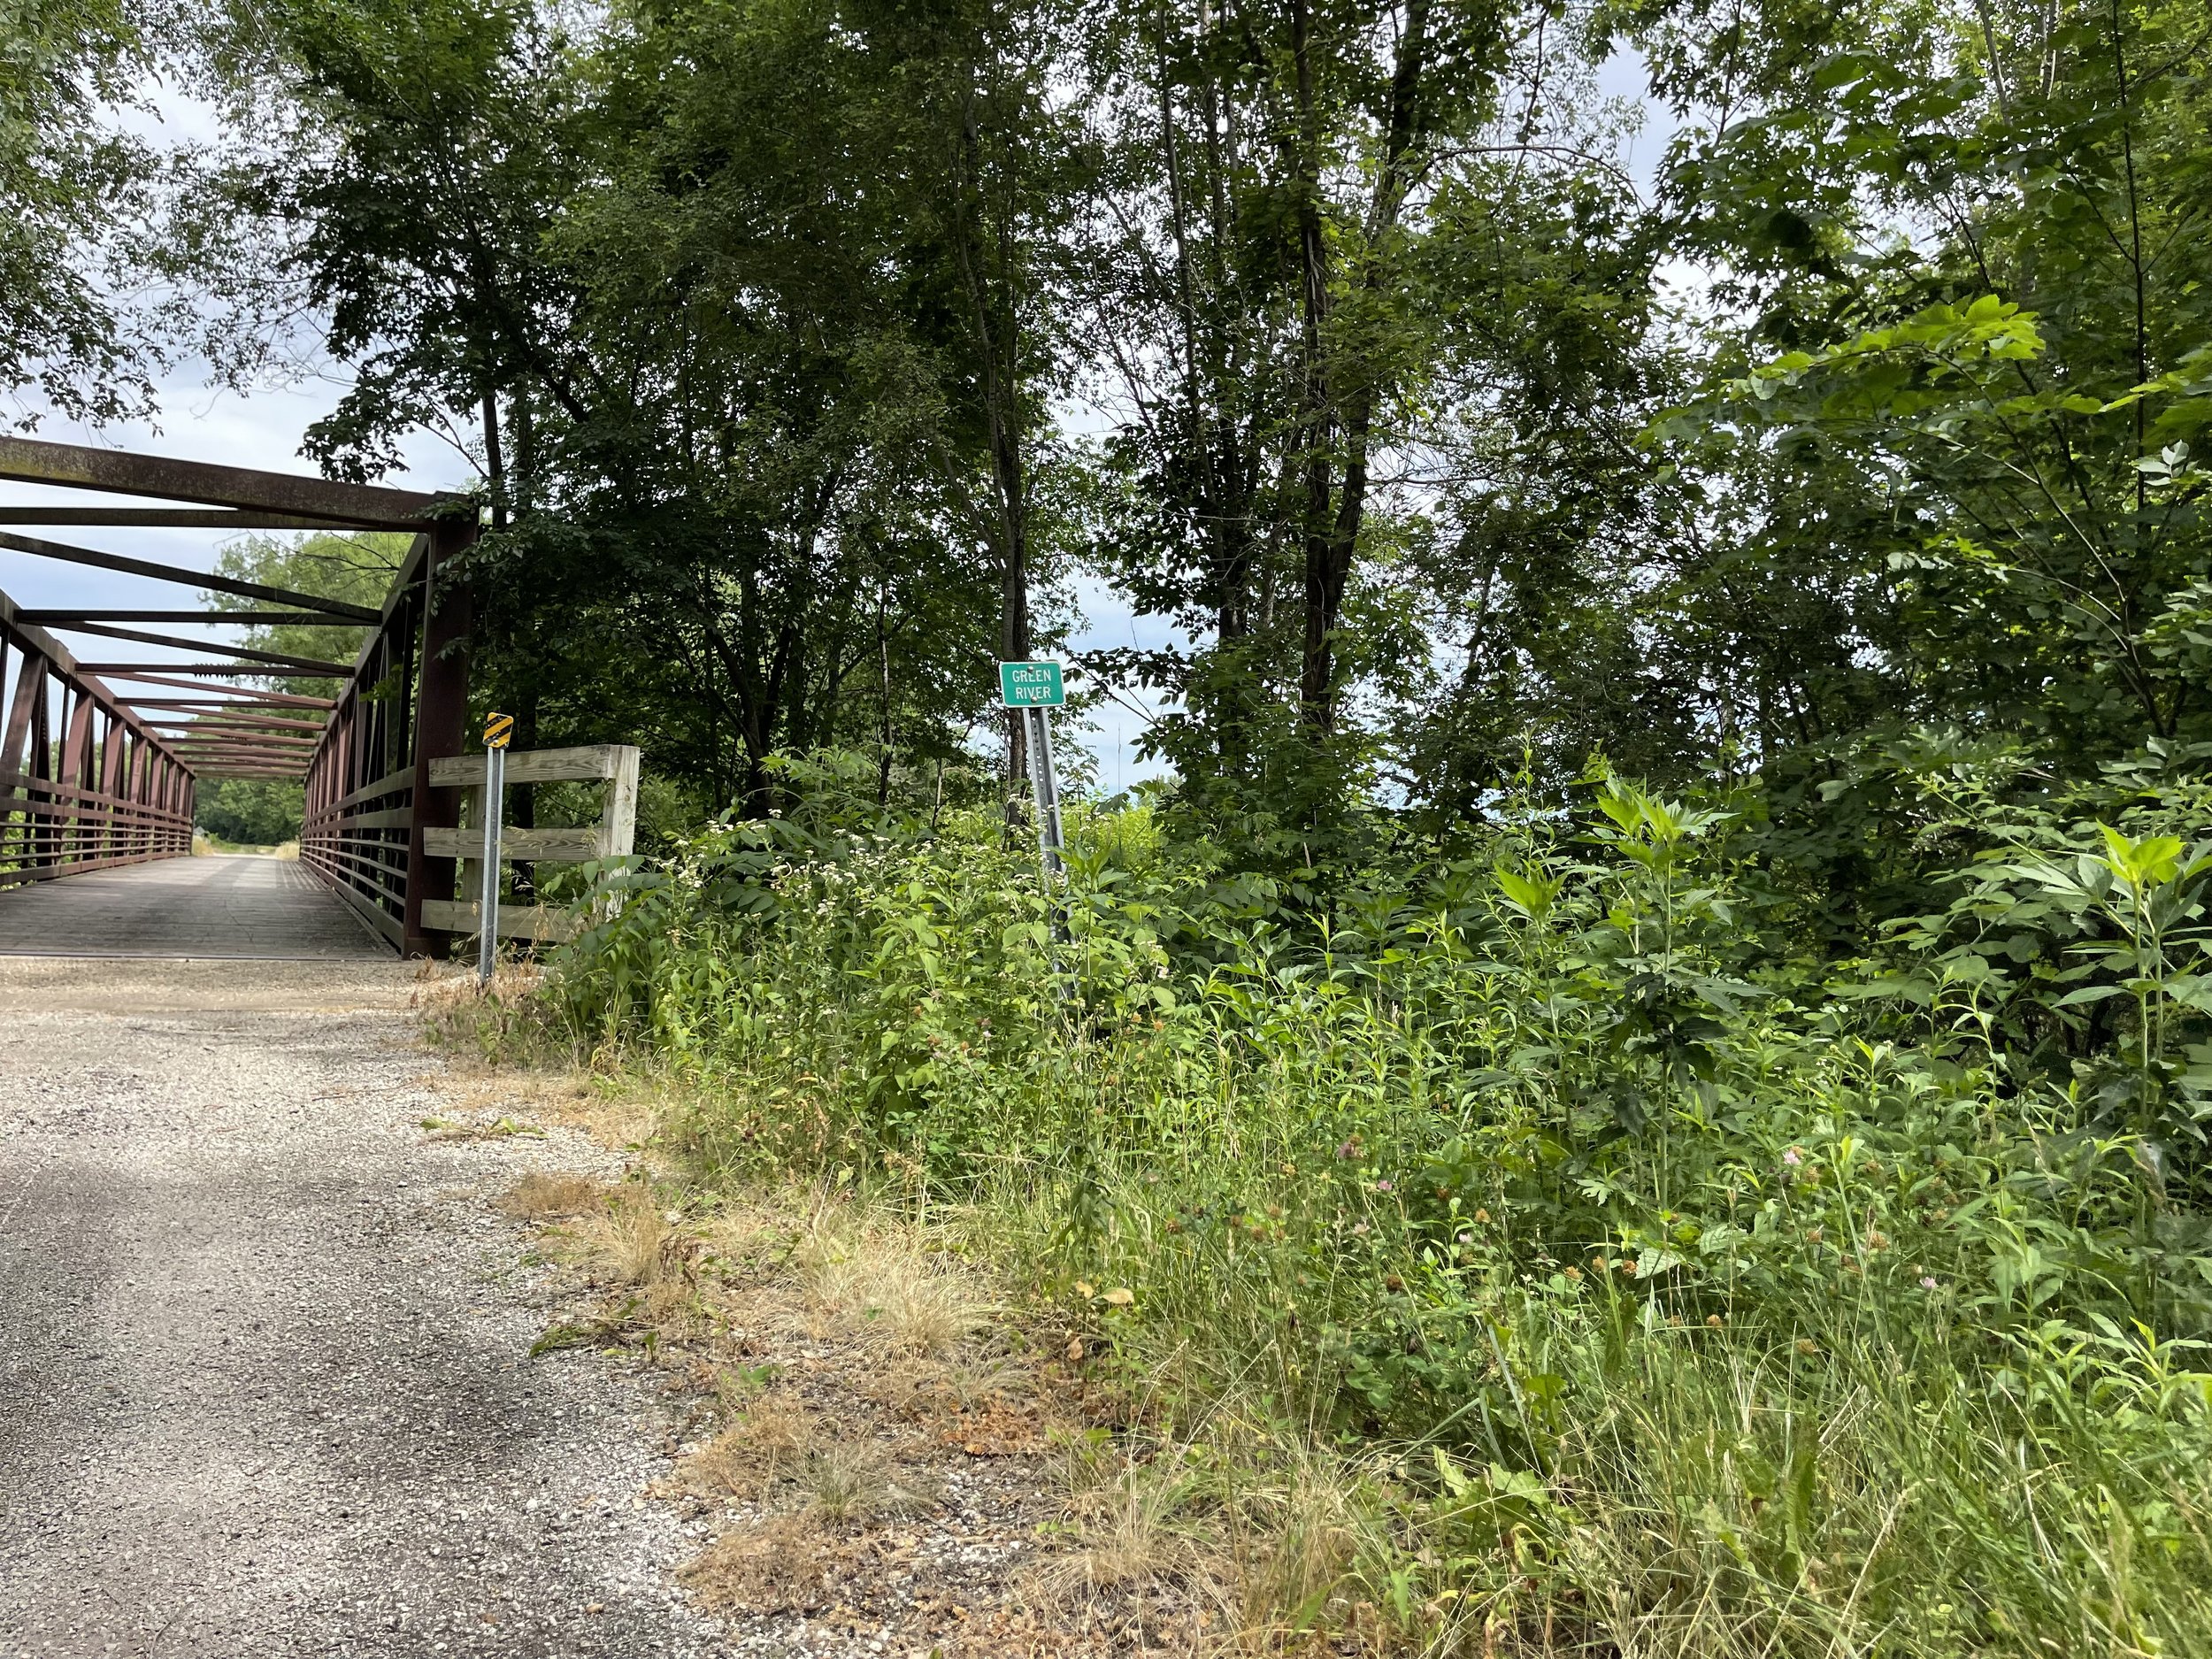
But I went into the ride planning to take my time, to stop and take pictures, pose the trike strategically…

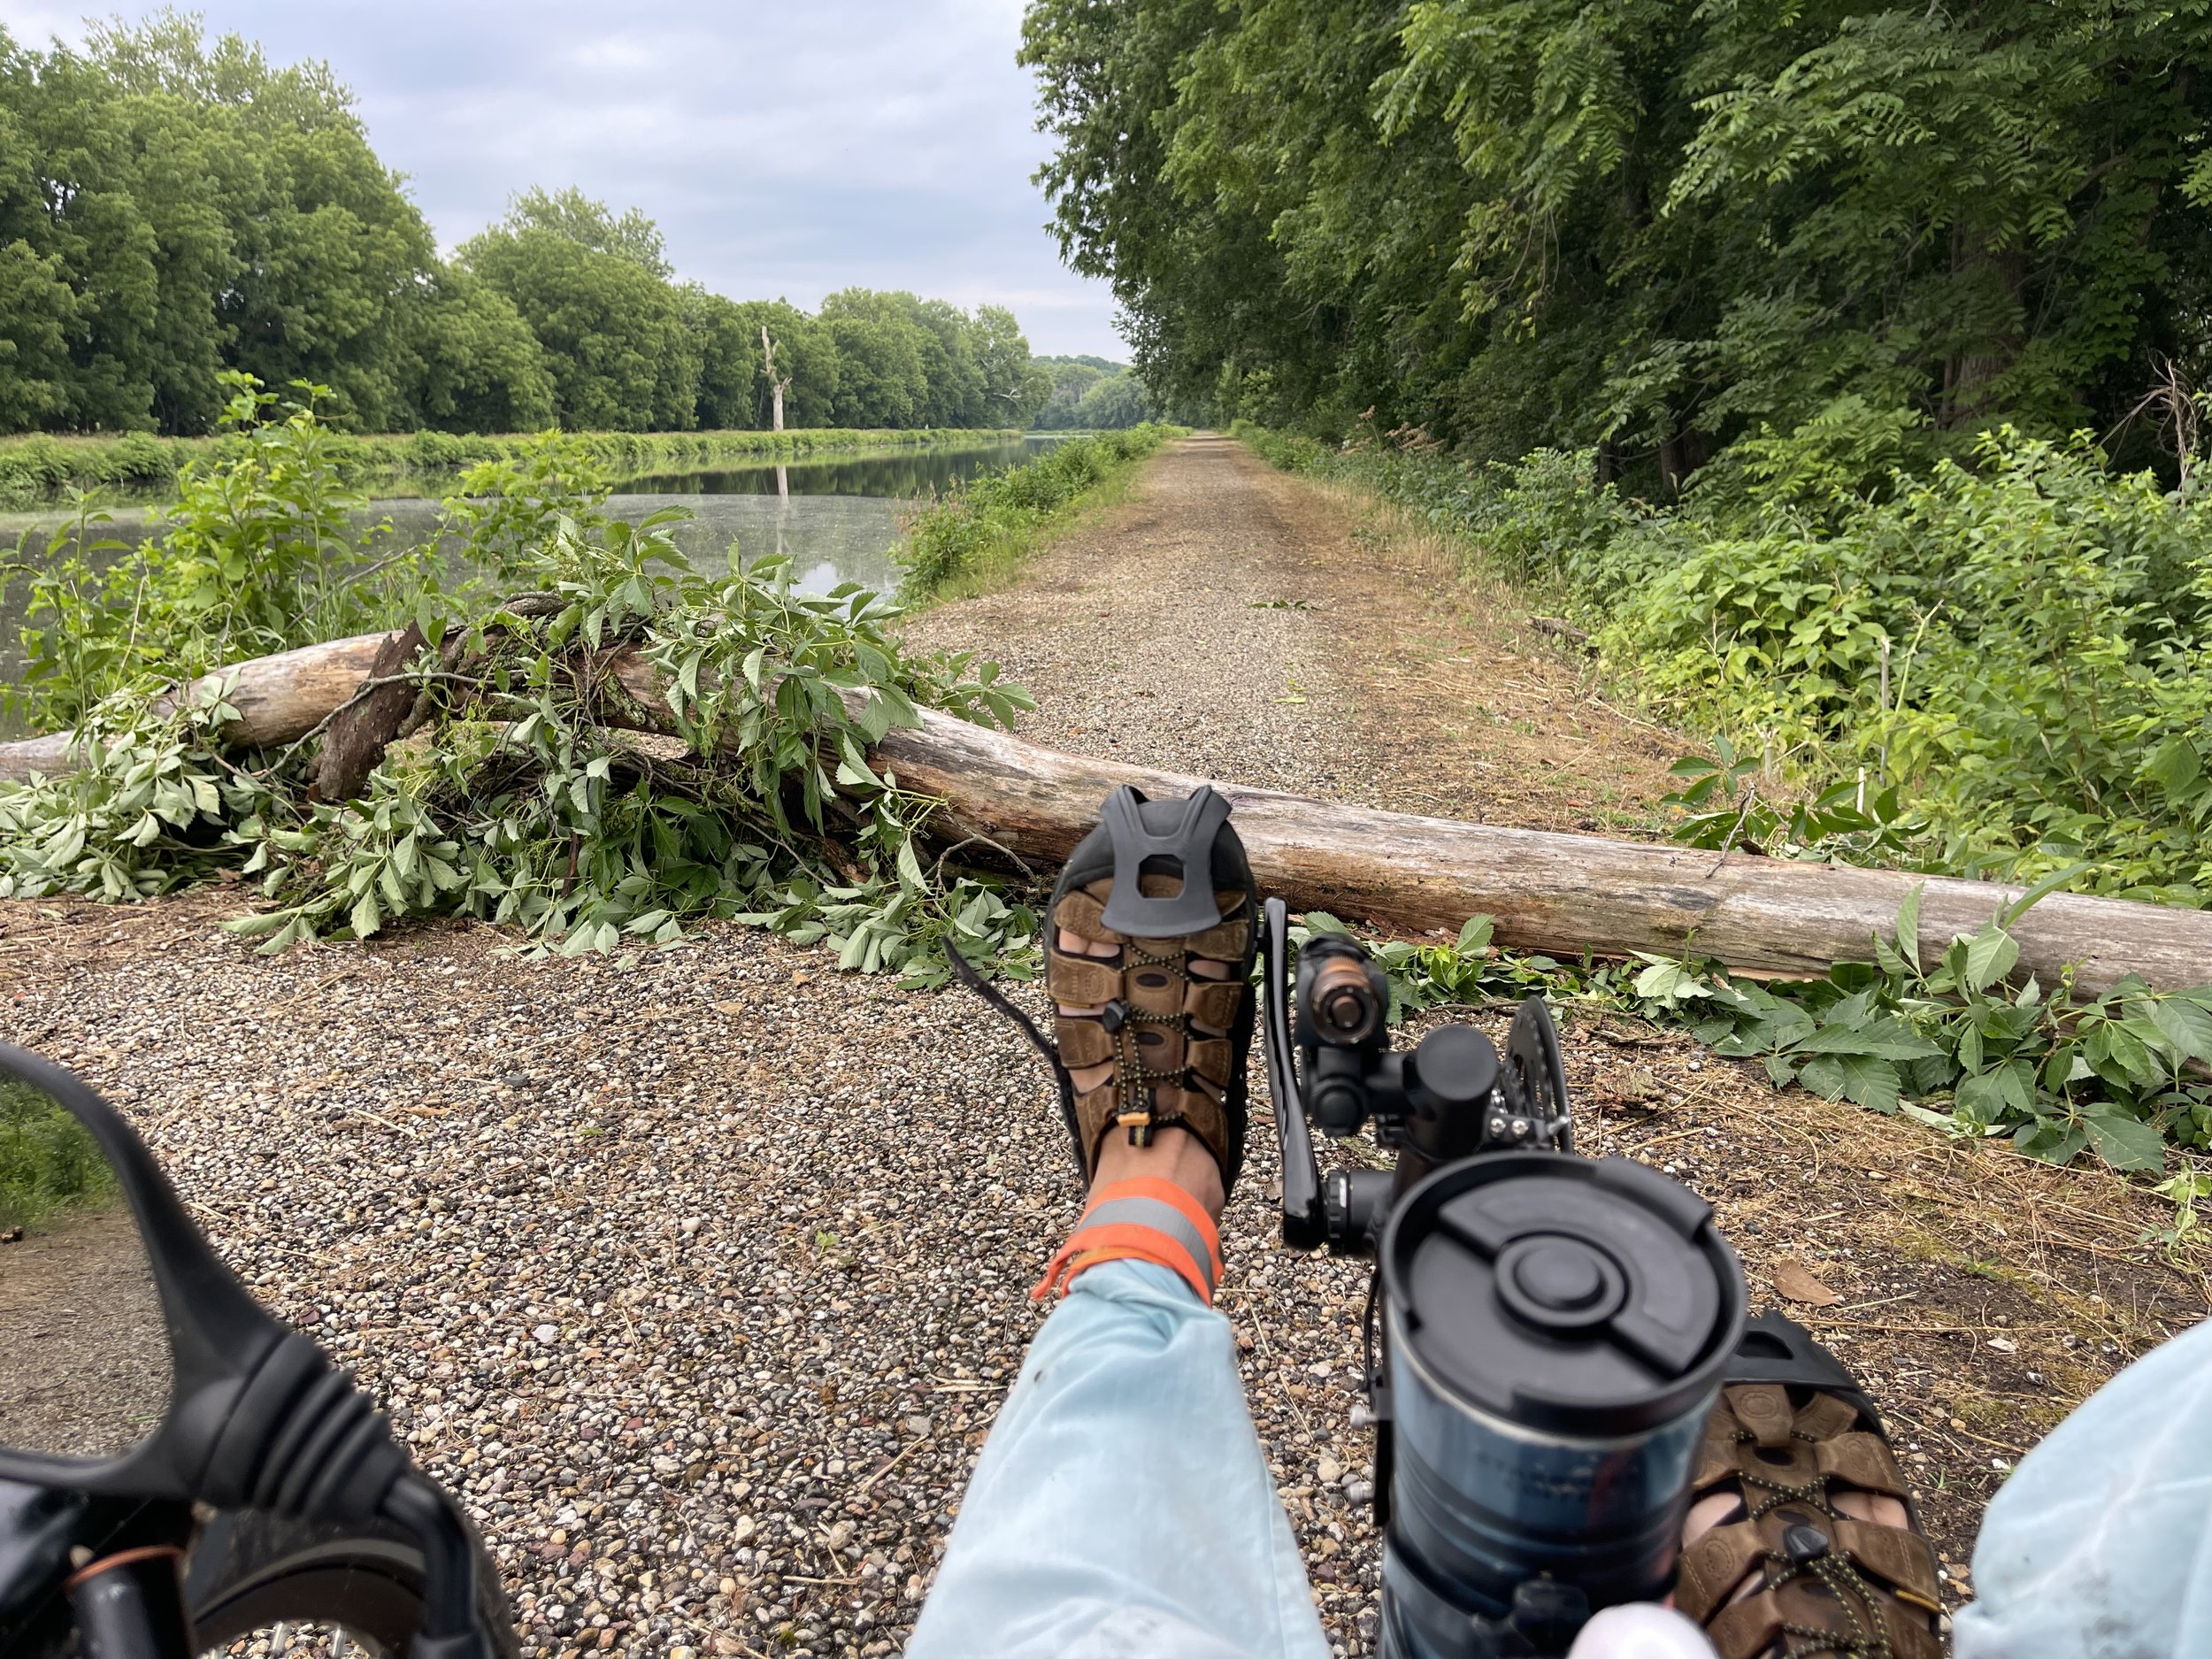
Valencia on the Canal
…because this was supposed to be fun and relaxing. But I didn’t account for the amount of time this would add. So - when I got just past the halfway point on day one and realized that I was going to be running out of daylight for setting up my tent at the campground, what had been a very enjoyable ride up to that point now became one where I felt I had to push and make distance. What had been fun rapidly became more like being at work, which was the opposite of what I’d intended.
So - for future overnight rides, I think I’ll set the distances in relation to travel time a little shorter to account for that, especially on any day where I have to set up camp at the end of the day. Better, it seems, to have a little extra down time at camp than to be pushing to get there ahead of sunset.
Equipment
Overall, I have to say that the equipment that I put together for my trip performed flawlessly. Everything worked exactly as designed.
The Peak meals were all good, and with one exception - Chicken Teriyaki and Rice - I would actually qualify them as excellent. I will be bringing them along on future trips, cycling or otherwise.
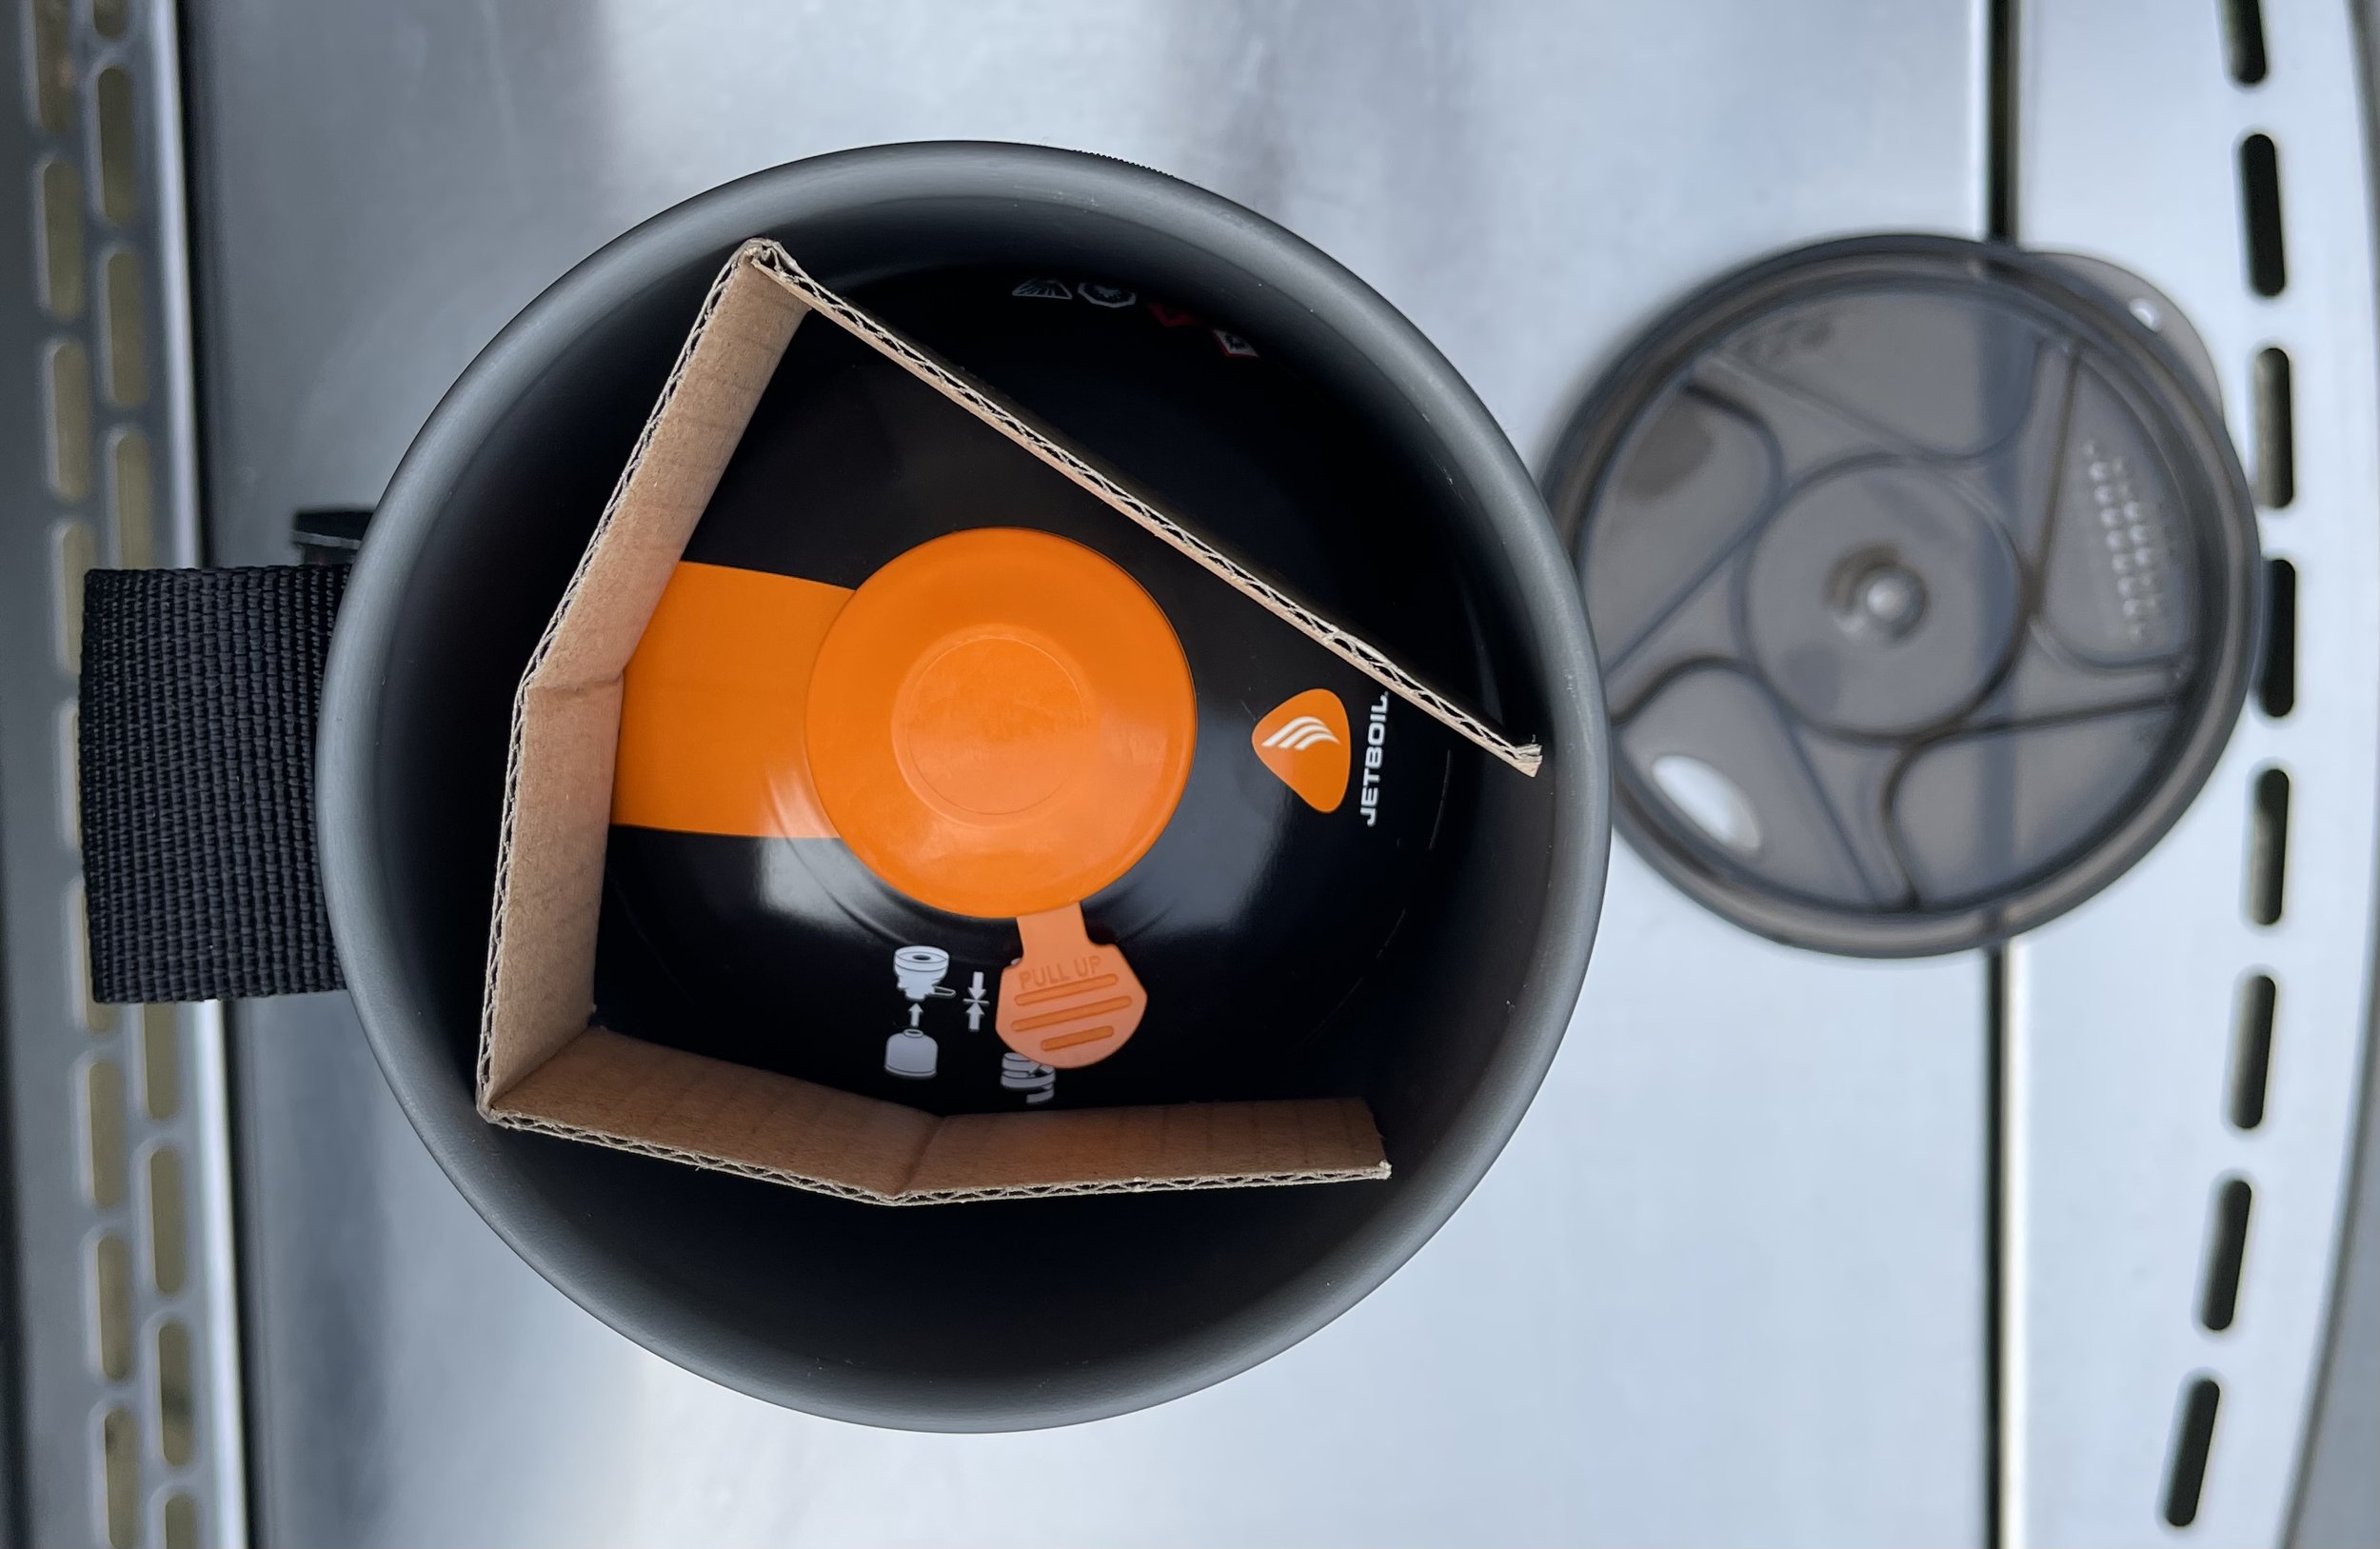
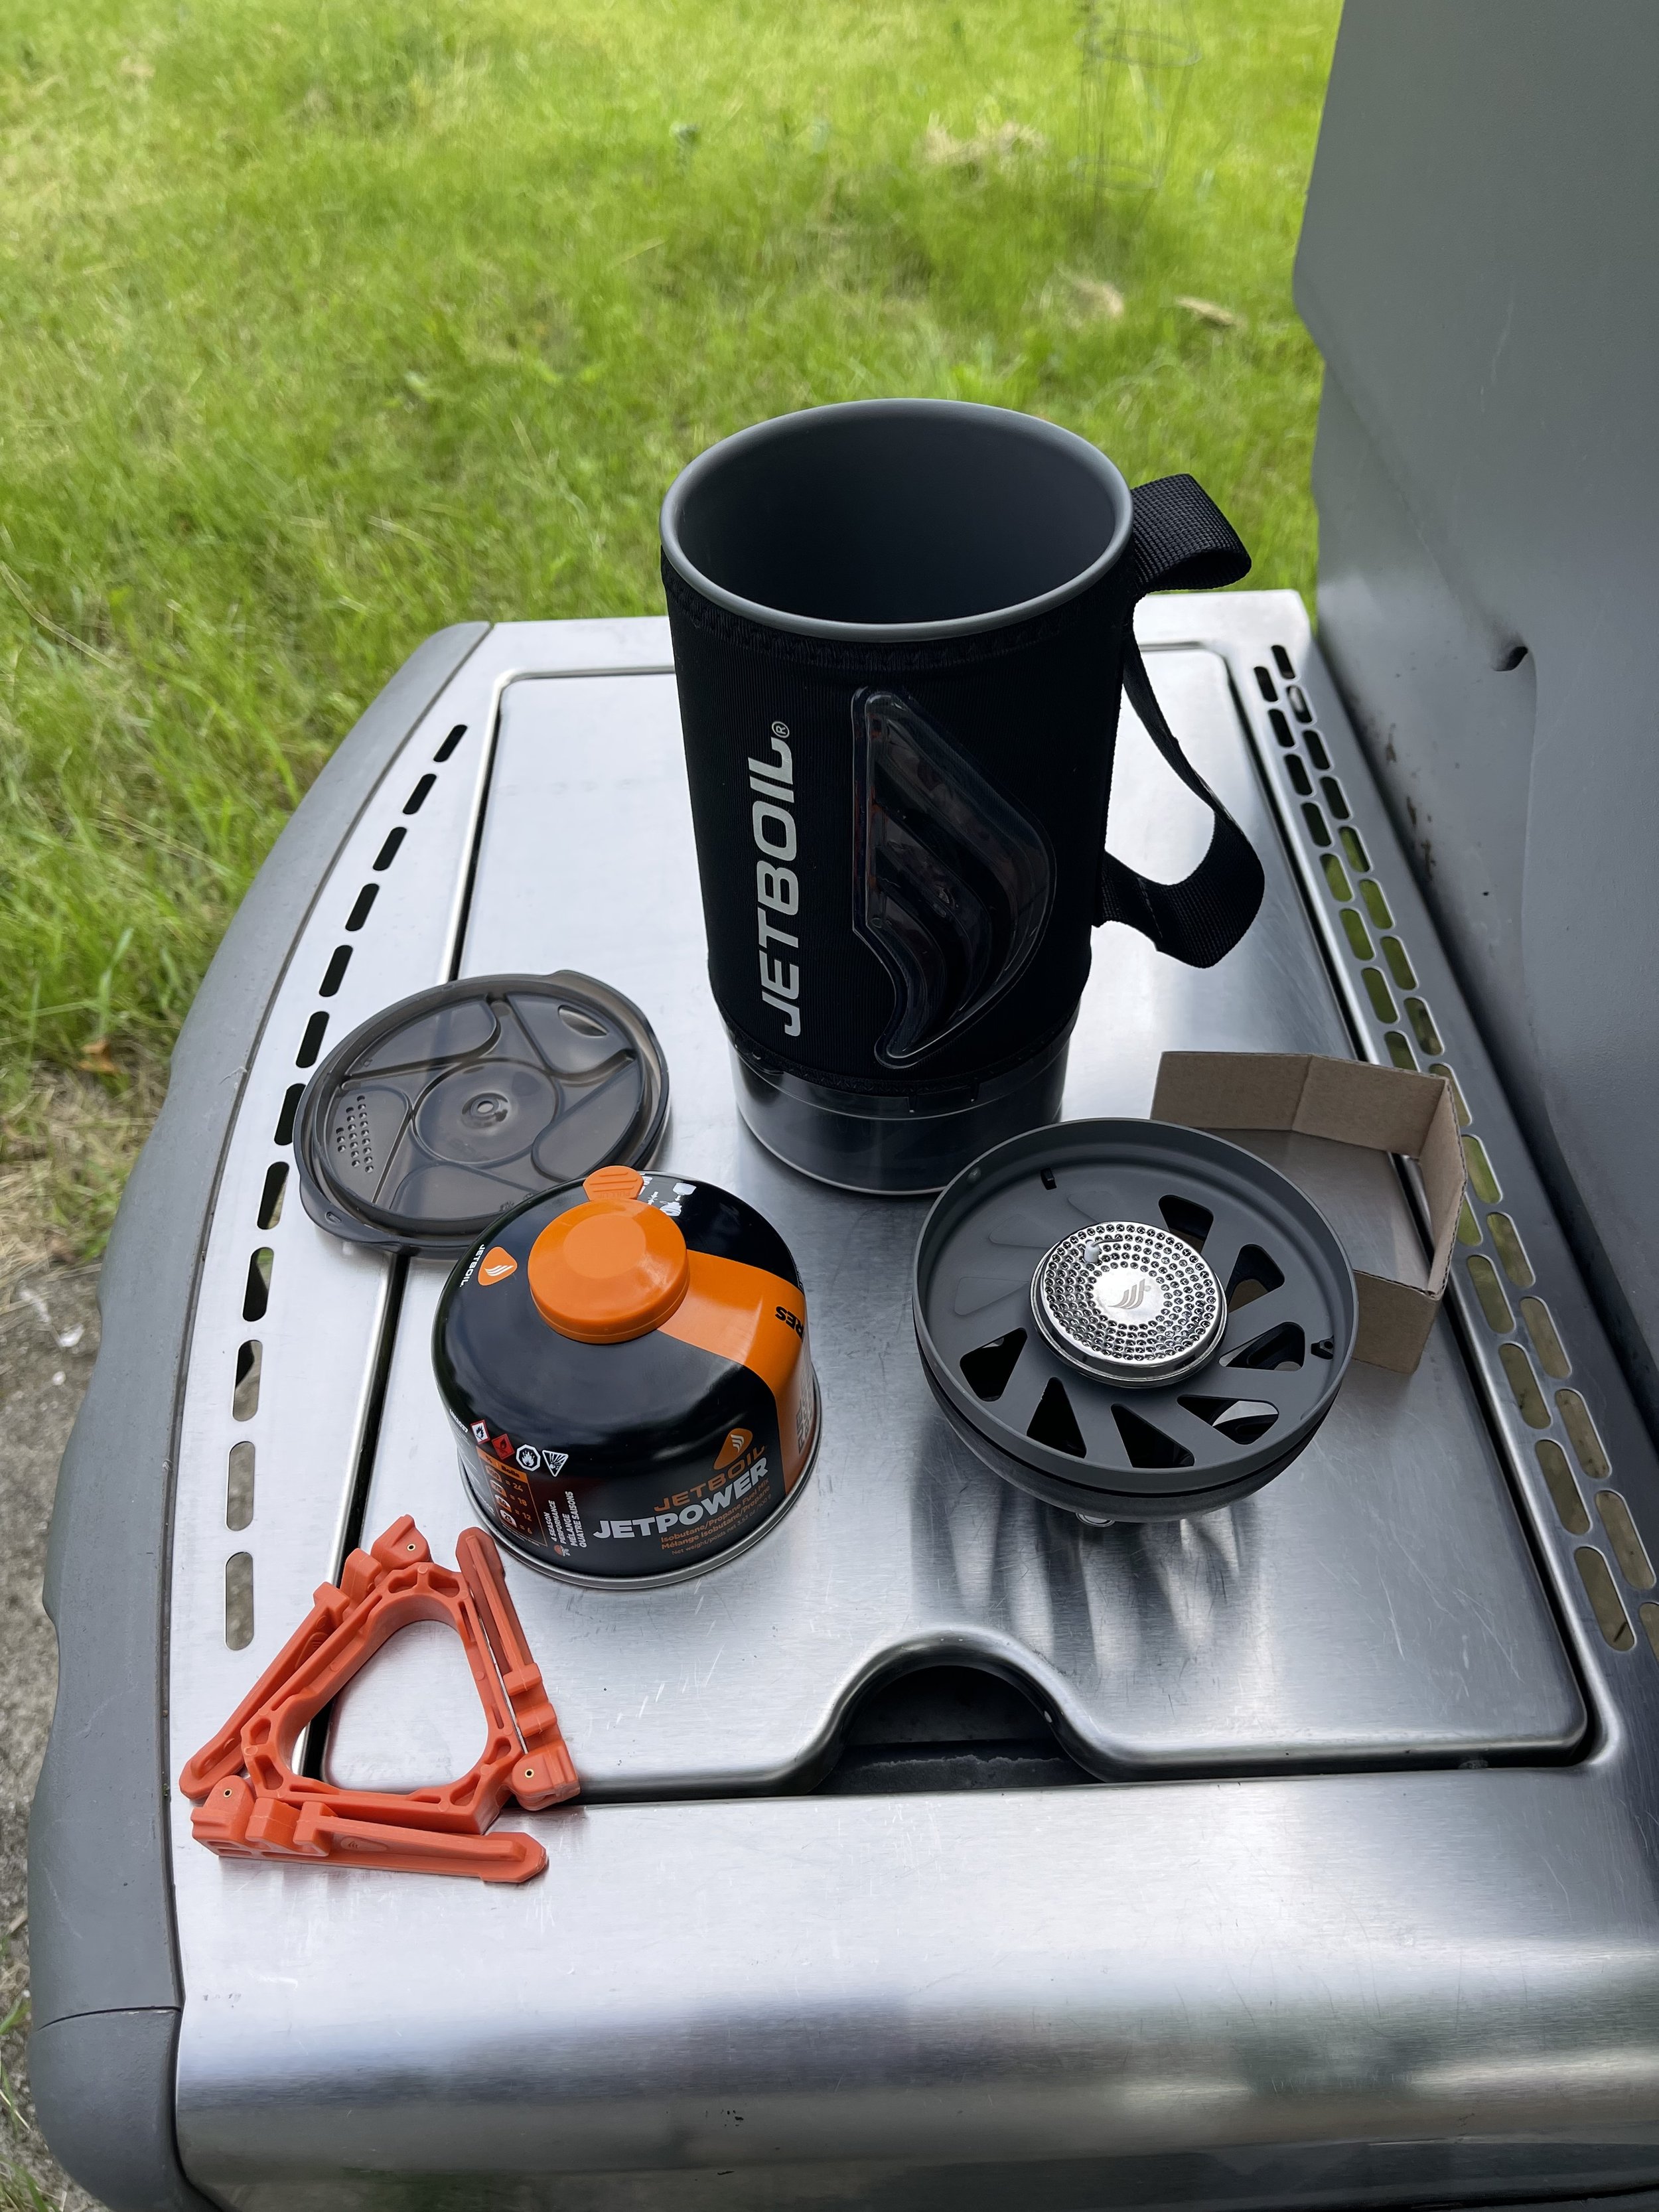
The little Jetboil camp stove worked as designed, rapidly heating up water for those meals and for coffee, making for multiple satisfying camp meals. It was also efficient - I made four meals and two travel mugs worth of coffee across the three days, and did not even use up the first fuel cell.
I brought along three portable batteries to charge devices, as well as cables to charge the devices and the batteries themselves. This was overkill. Because my campsite had electricity I was able to charge my battery, and one turned out to be more than enough. I could have saved a little weight in that area. Otherwise I used nearly everything I added for the trip.
MLW bought me a clothesline, which was great for hanging clothes that I’d rinsed out from day one, and a little battery fan with a light on it which did an excellent job of moving air in my single-person tent. This was a good thing too, because I ended up spending a lot more time than I planned in the tent on the morning of day three.
Which brings me to the only equipment concern that I encountered - the tent.

One single-person bright orange tent - check!
I say “concern” here, because the tent also performed nearly flawlessly. It held me and had enough room to provide protection for some of my things that I wanted in out of the weather. Paired with the lightweight inflatable pad I brought along it was comfortable - the all mesh top, paired with the little fan allowed for airflow and star gazing in the night, and the separate rain fly provided cover and protection from the elements when it was needed. It did develop a small leak during the heavy storms, but nothing unmanageable, and which probably could be resolved with a little seam sealer (which one might argue I should have applied before packing it anyway). It worked well, it worked as designed.
It’s the design itself that I’m having second thoughts about. It protected me well, even during storms. But it was clearly designed just for you to sleep in. Having to spend several waking hours inside it because of the rain pointed out to me that you cannot sit up in it. This resulted in a lot of time leaning on one elbow and then the next, swapping when the pain was finally too much to bear. For future overnight rides I may need to invest in something slightly larger to allow for the option of sitting upright.
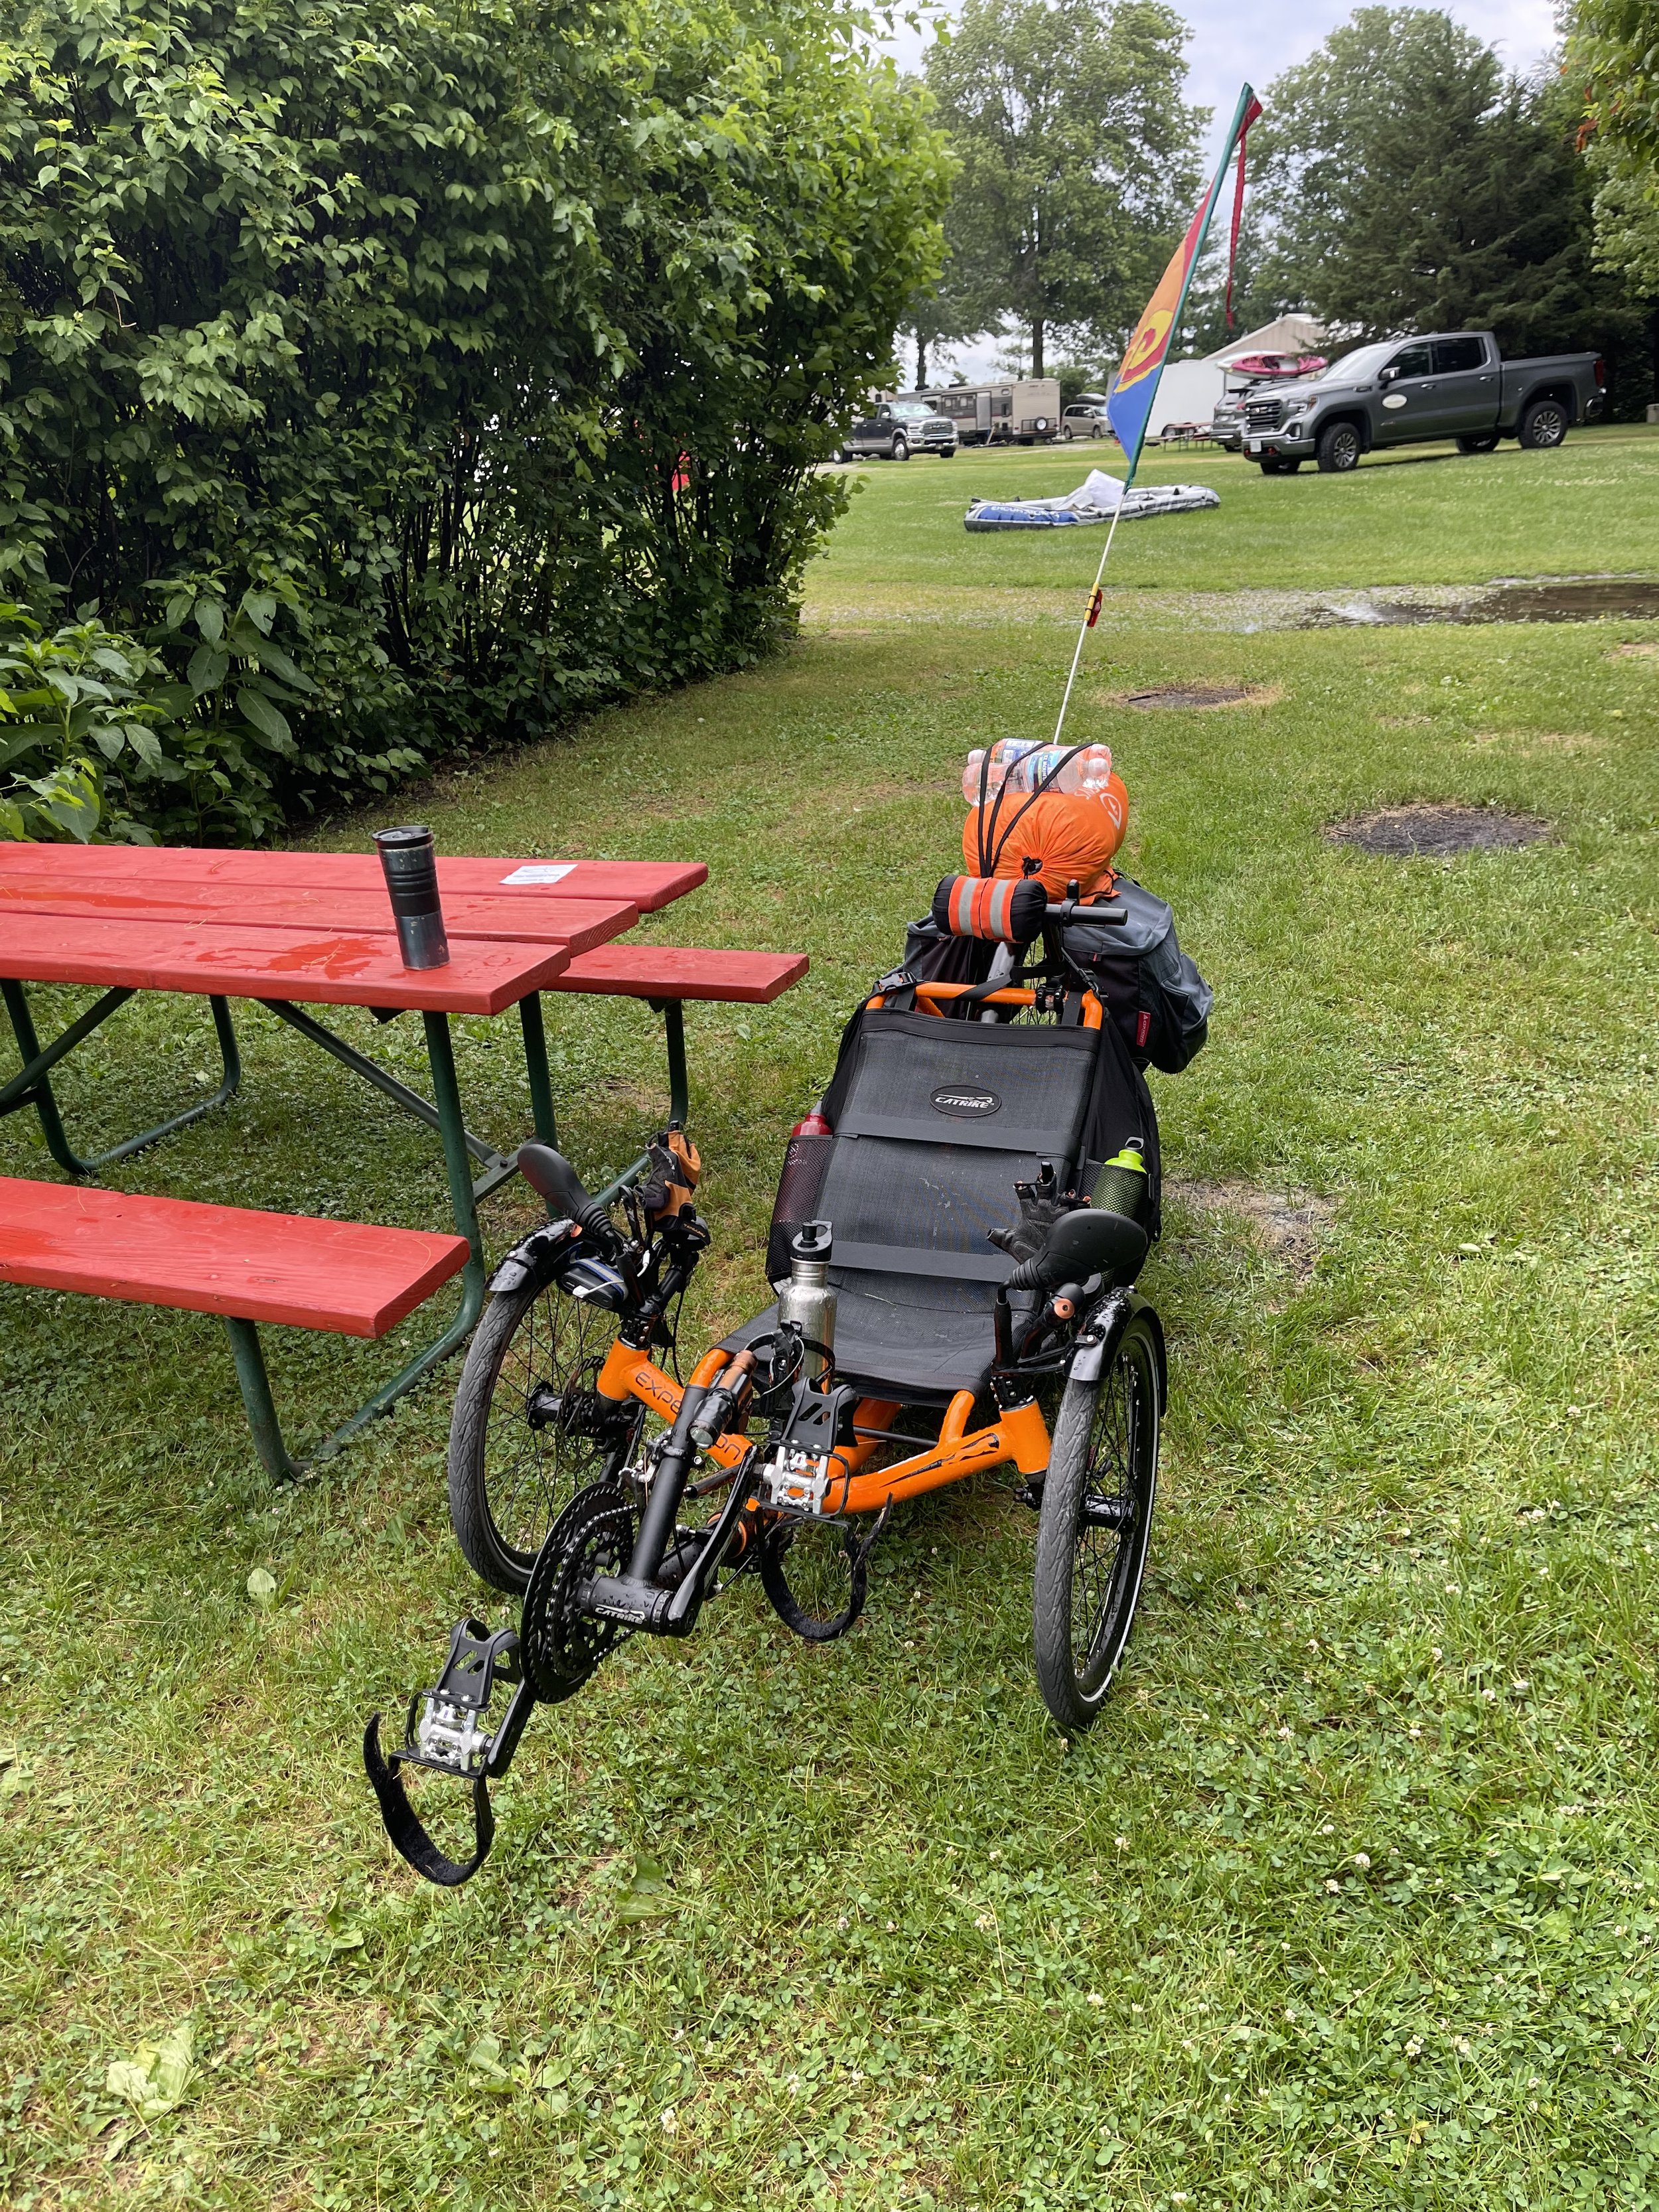
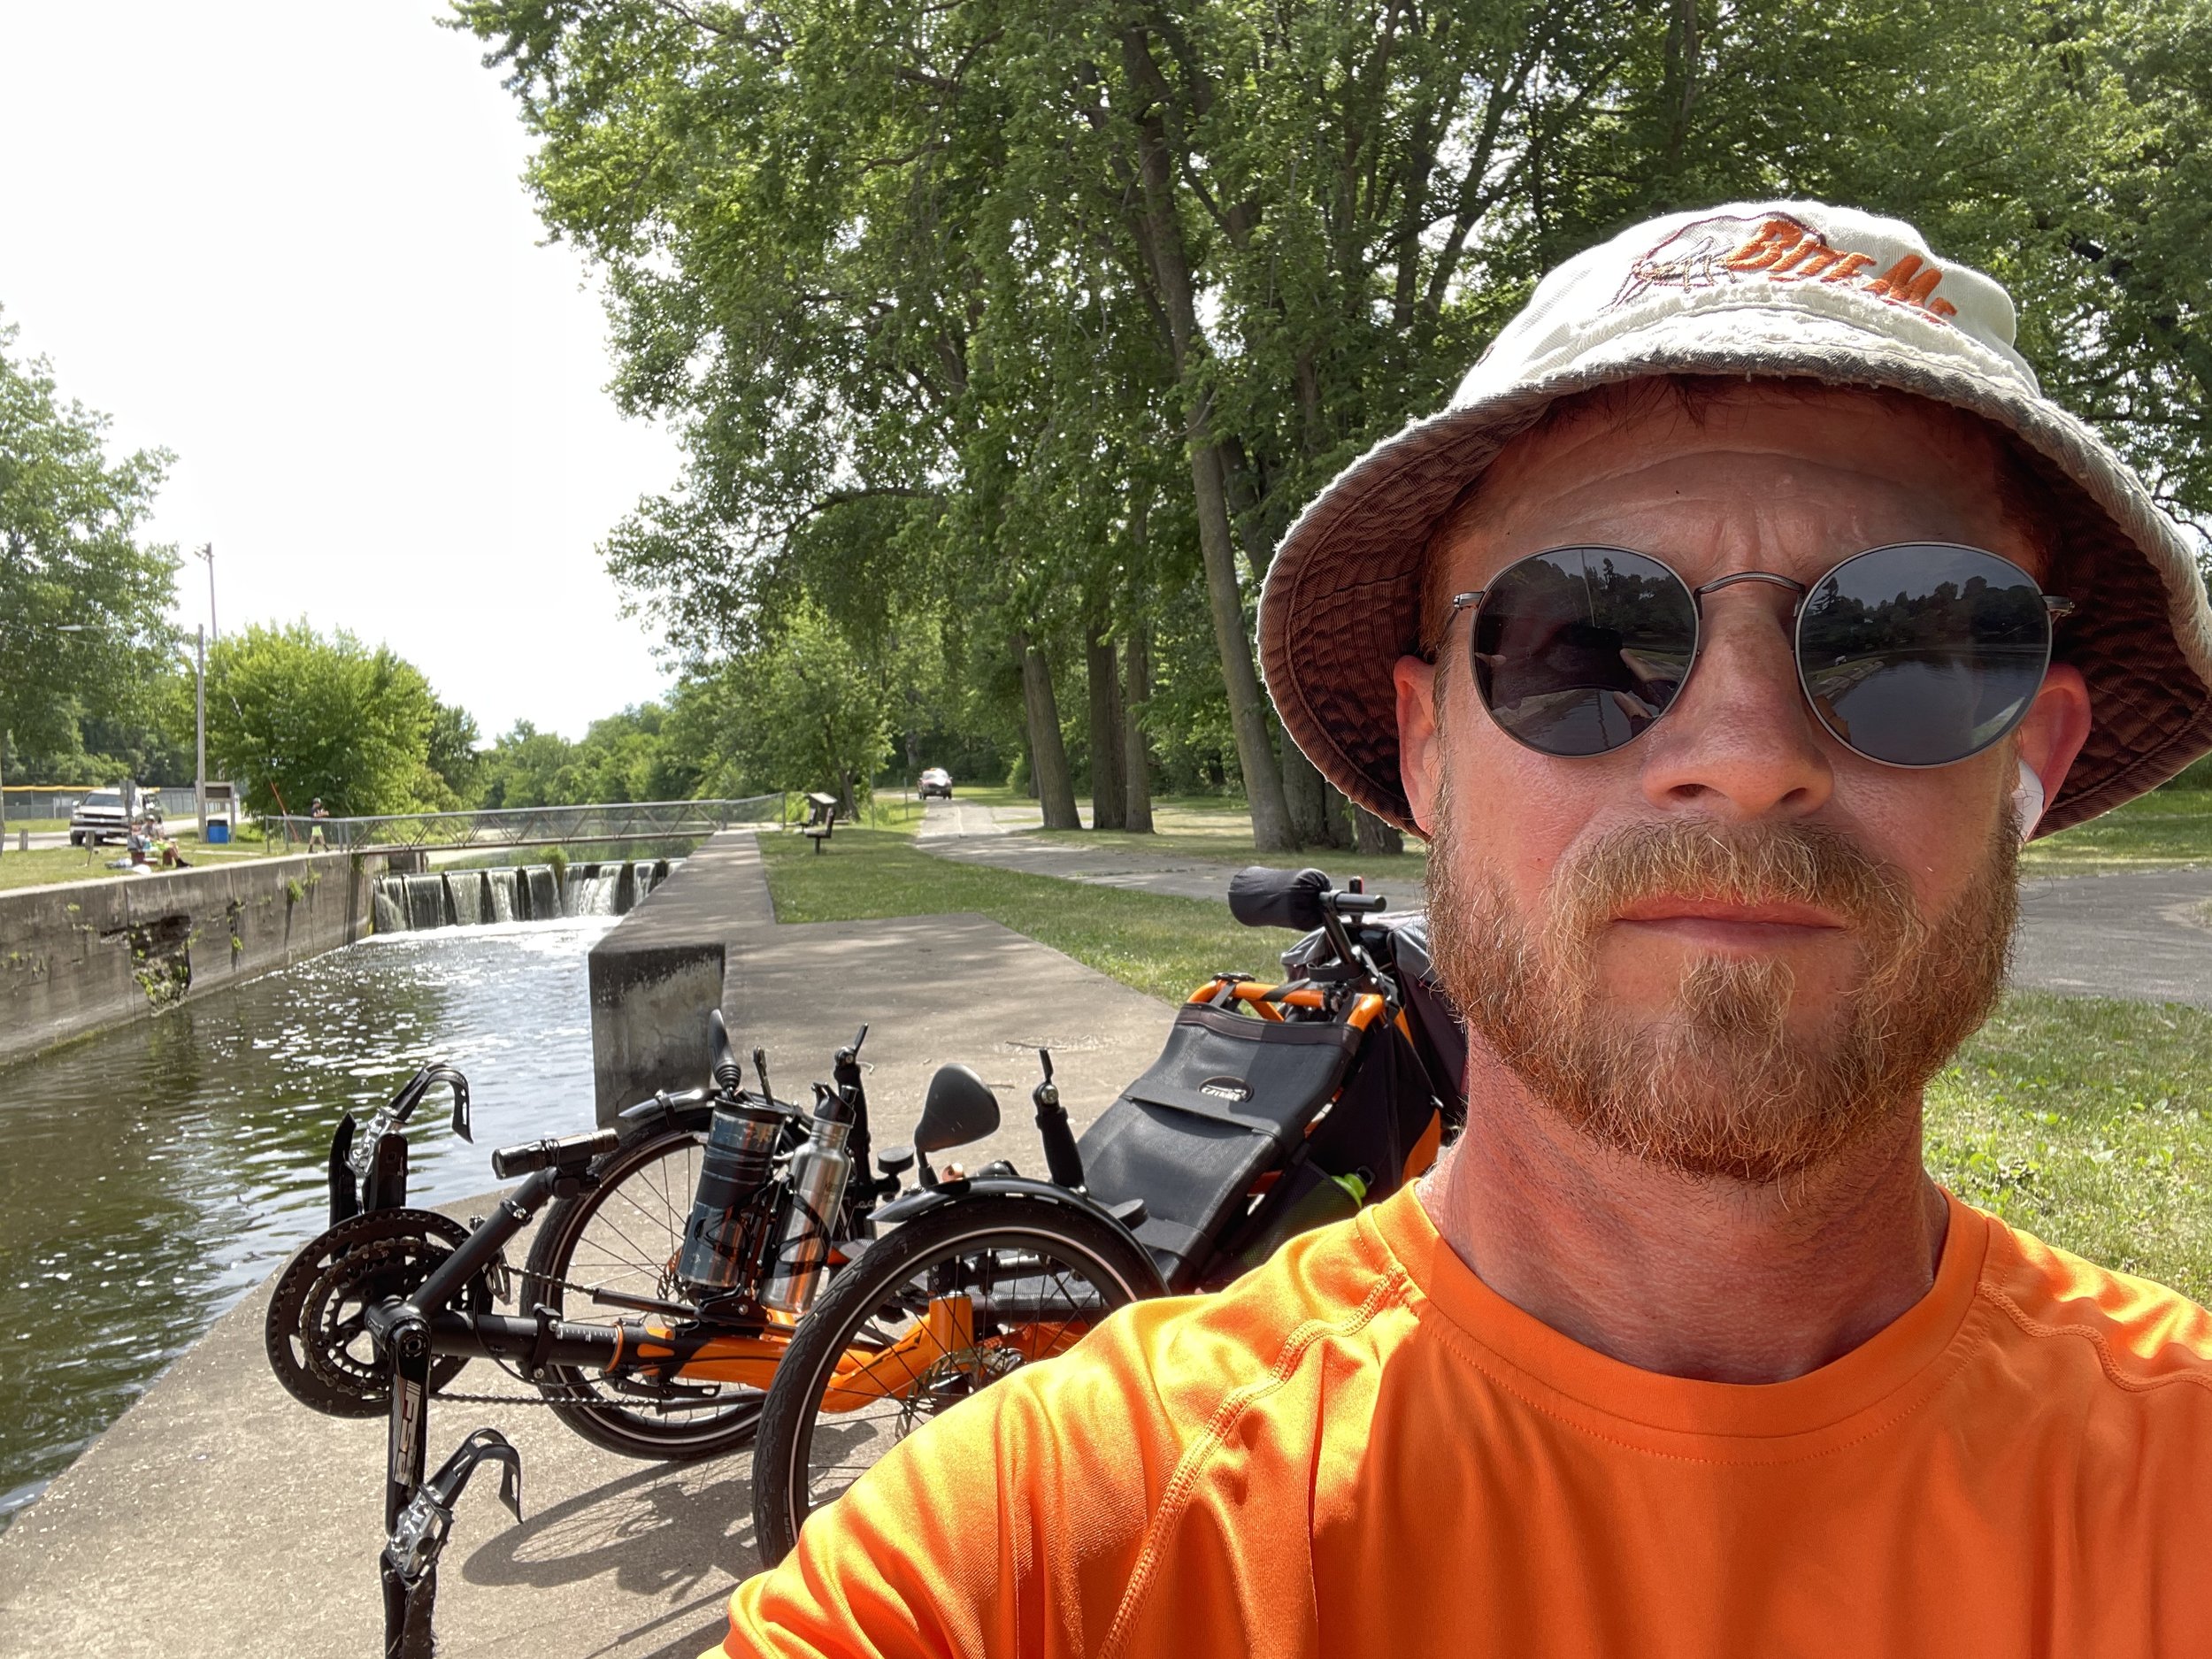
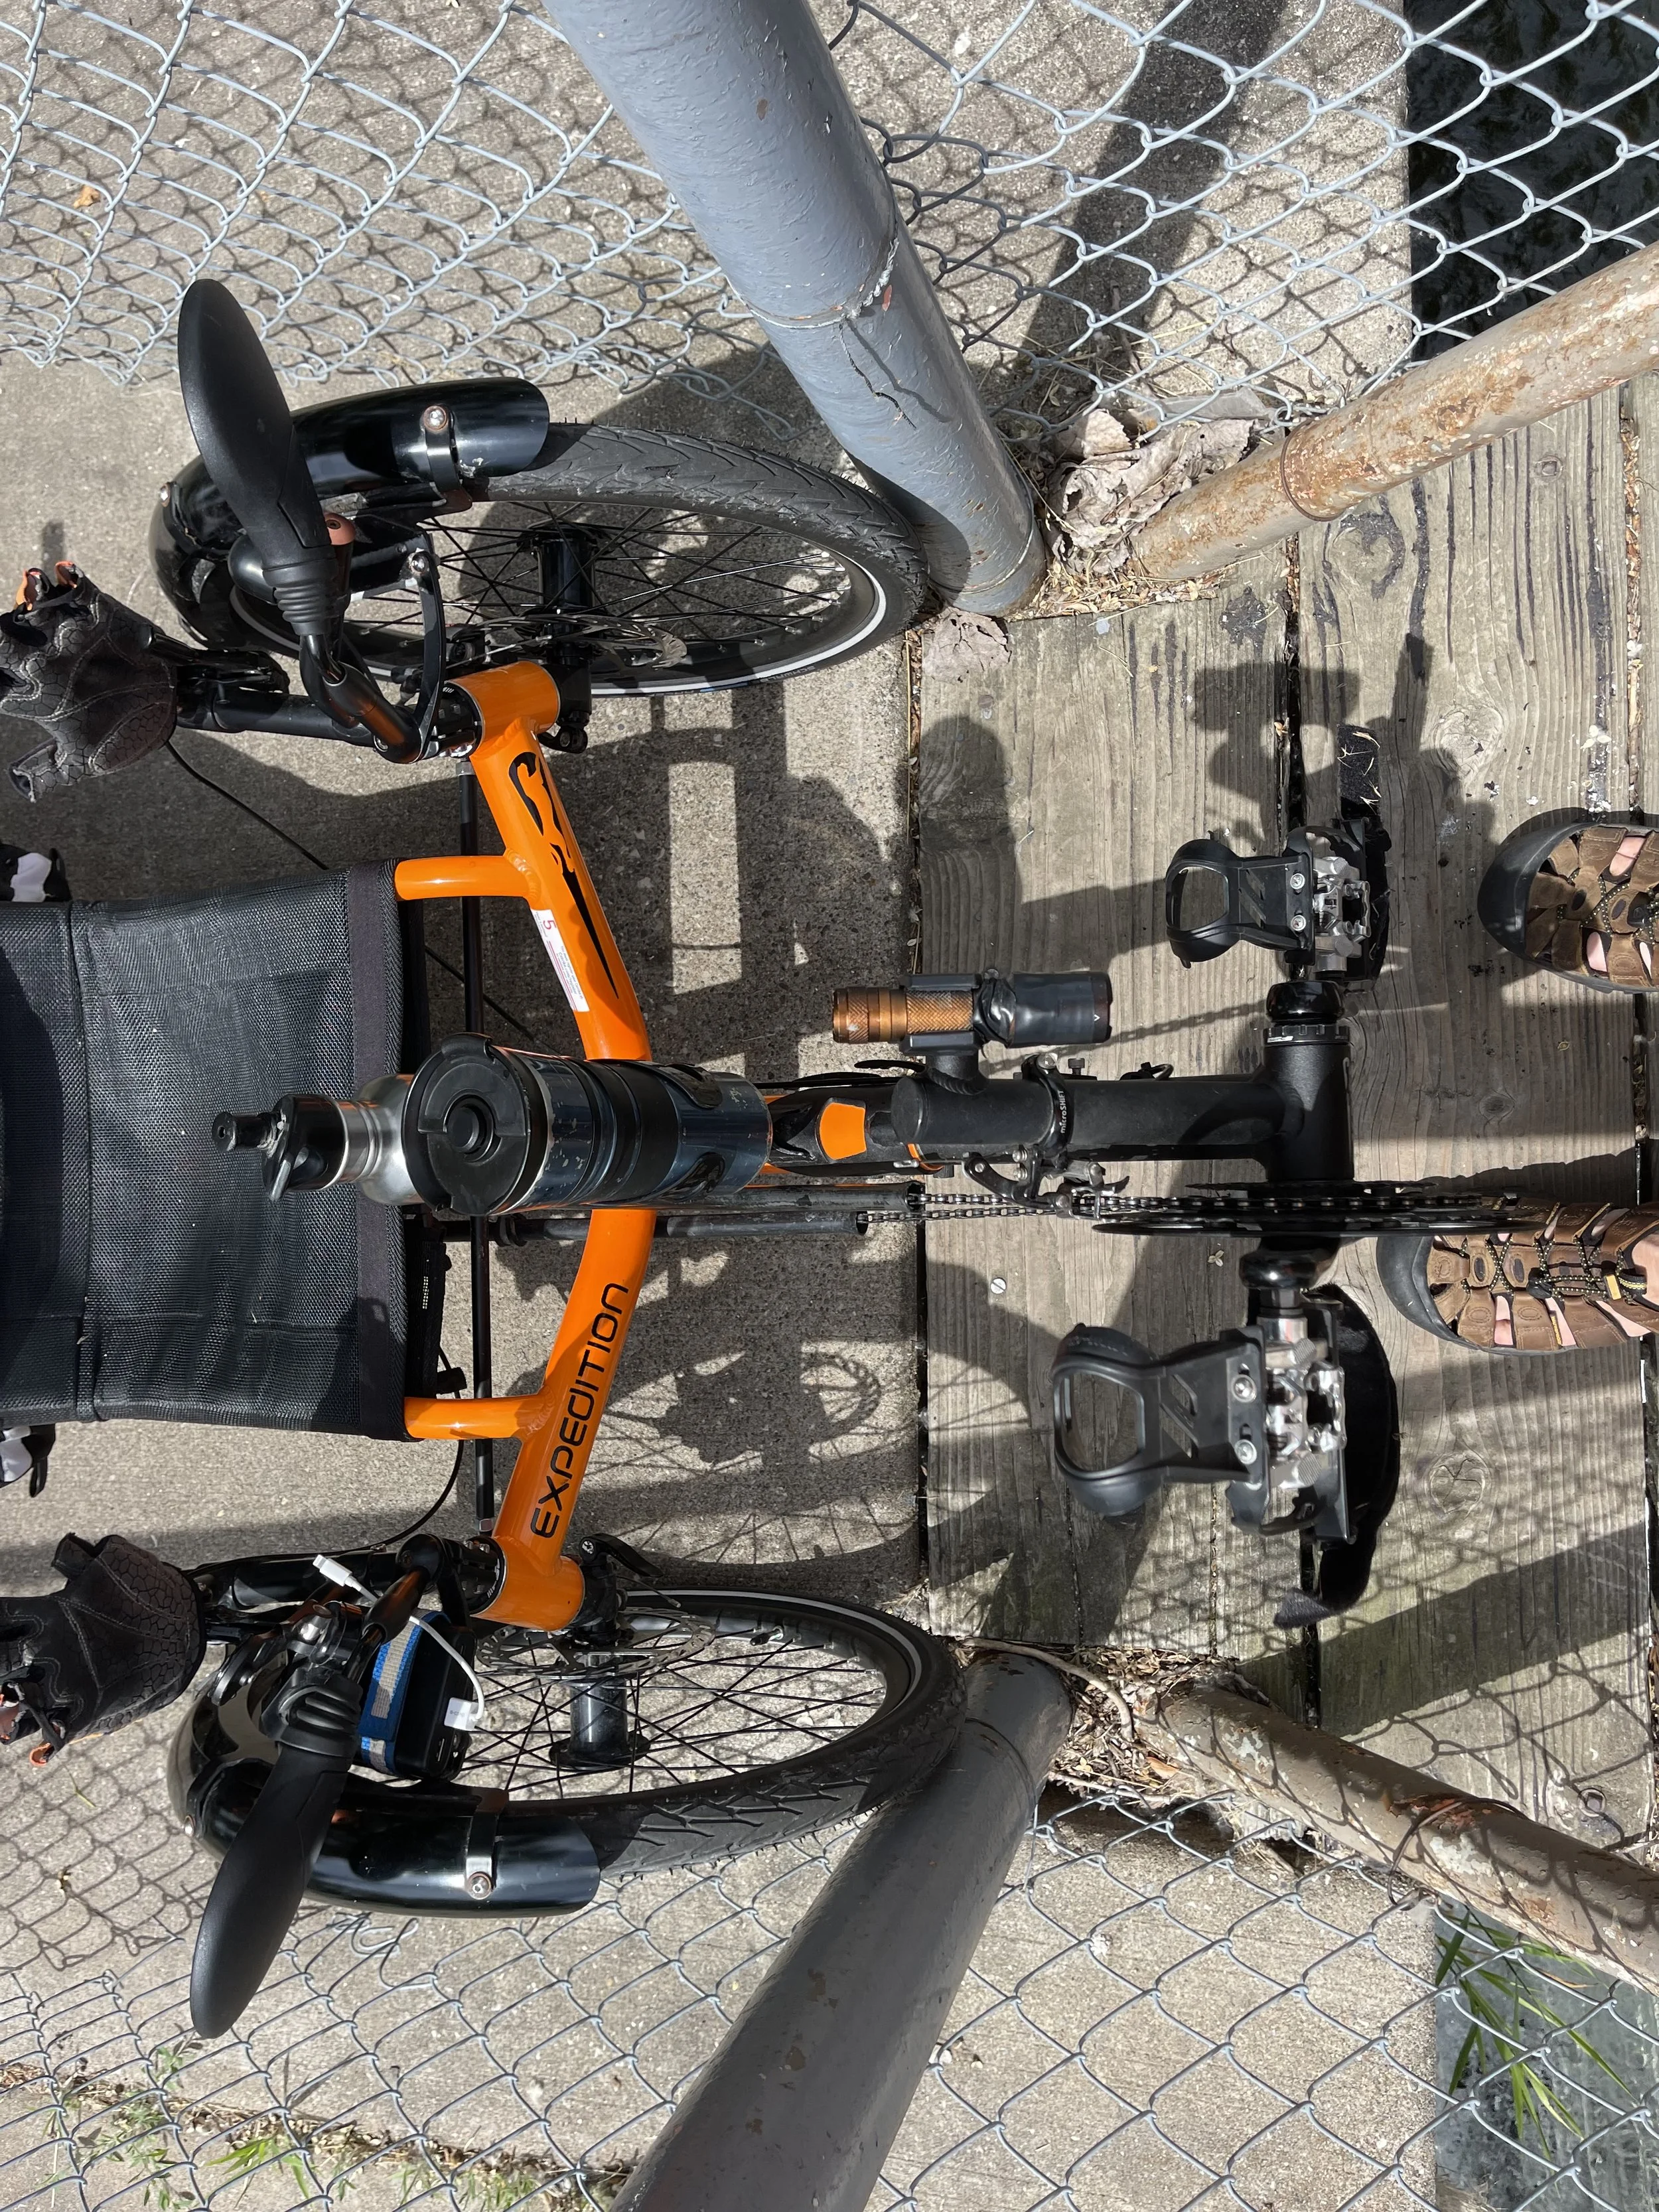
The Trike
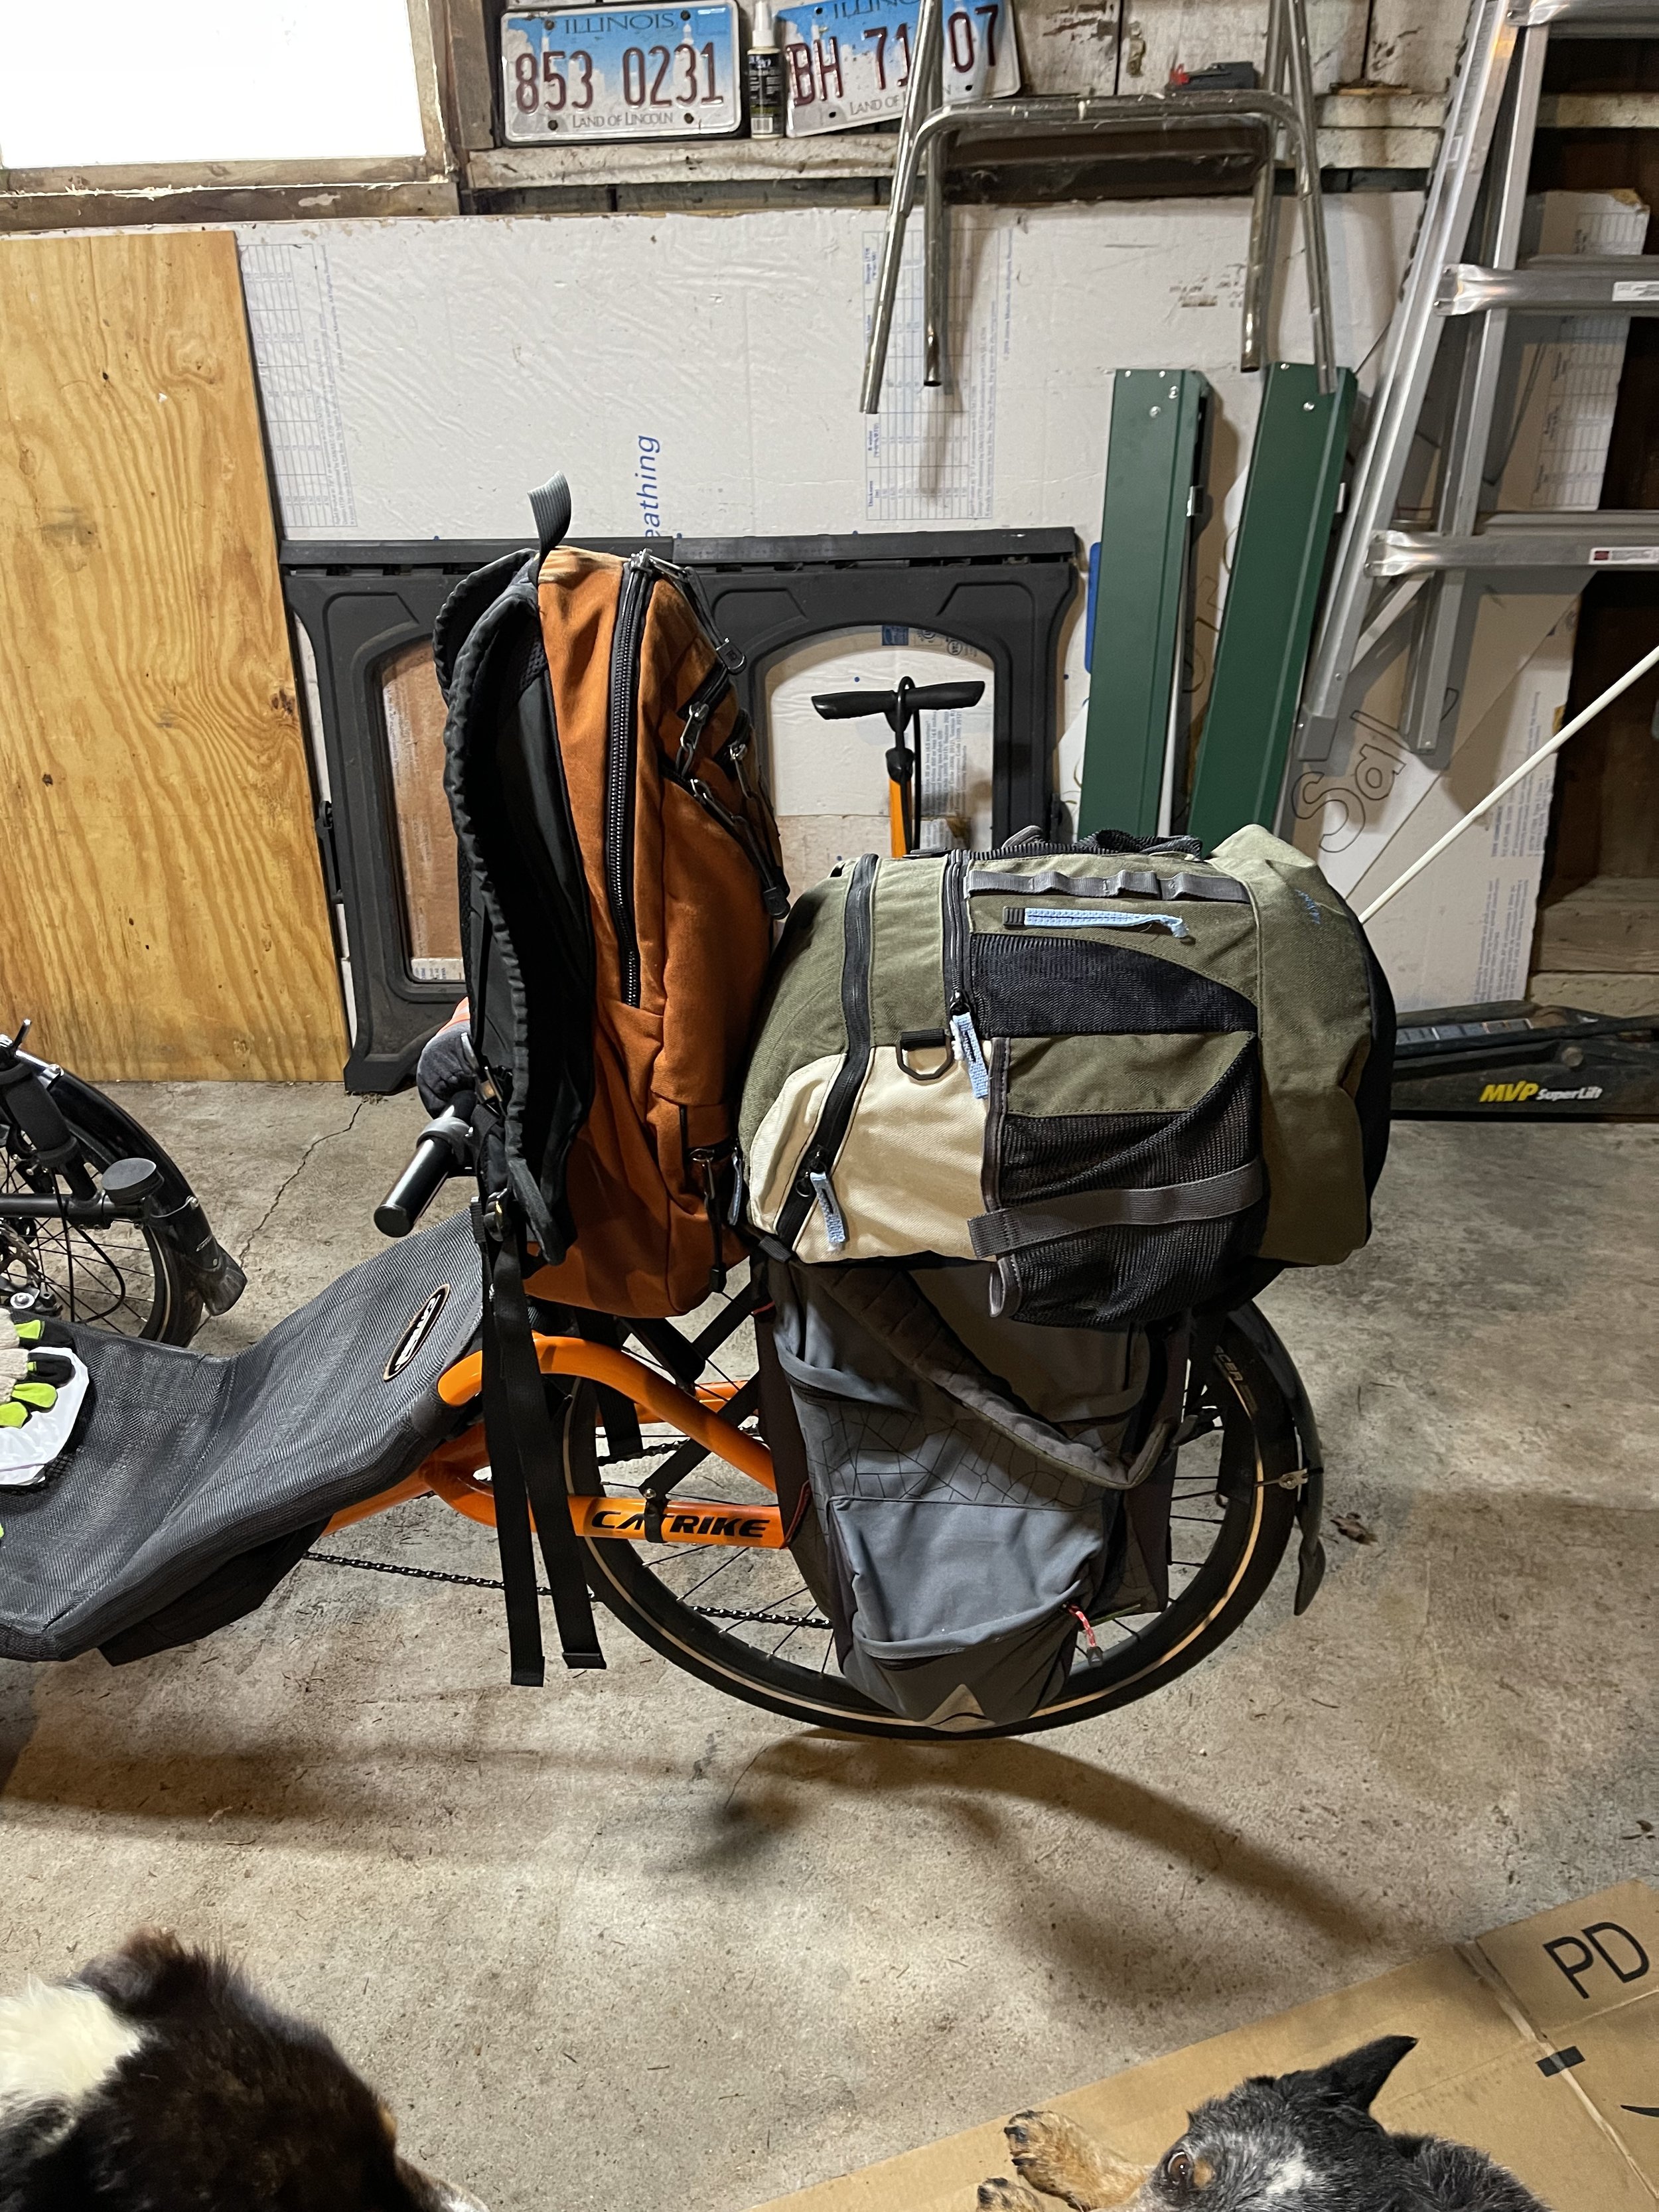
My ride for this adventure was my 2019 Catrike Expedition. Back when I bought it in the summer of 2019 I’d ordered it with this sort of riding in mind. That meant including a rear rack and a set of pannier bags, and I’ve routinely been riding it in that fashion since it arrived. But for this trip I needed more cargo capabilities. I considered pulling a trailer, and then did some experimentation with stacking items on the back of the rack. However, the post about that experiment led some folks to suggest a couple of different options of supplemental bags that hang across the back of the trike’s seat, bringing the weight down lower for a more advantageous center of gravity. I went with the Radical Designs Banana Racers, which the Hostel Shoppe in Steven’s Point, Wisconsin special-ordered for me in Orange (naturally).
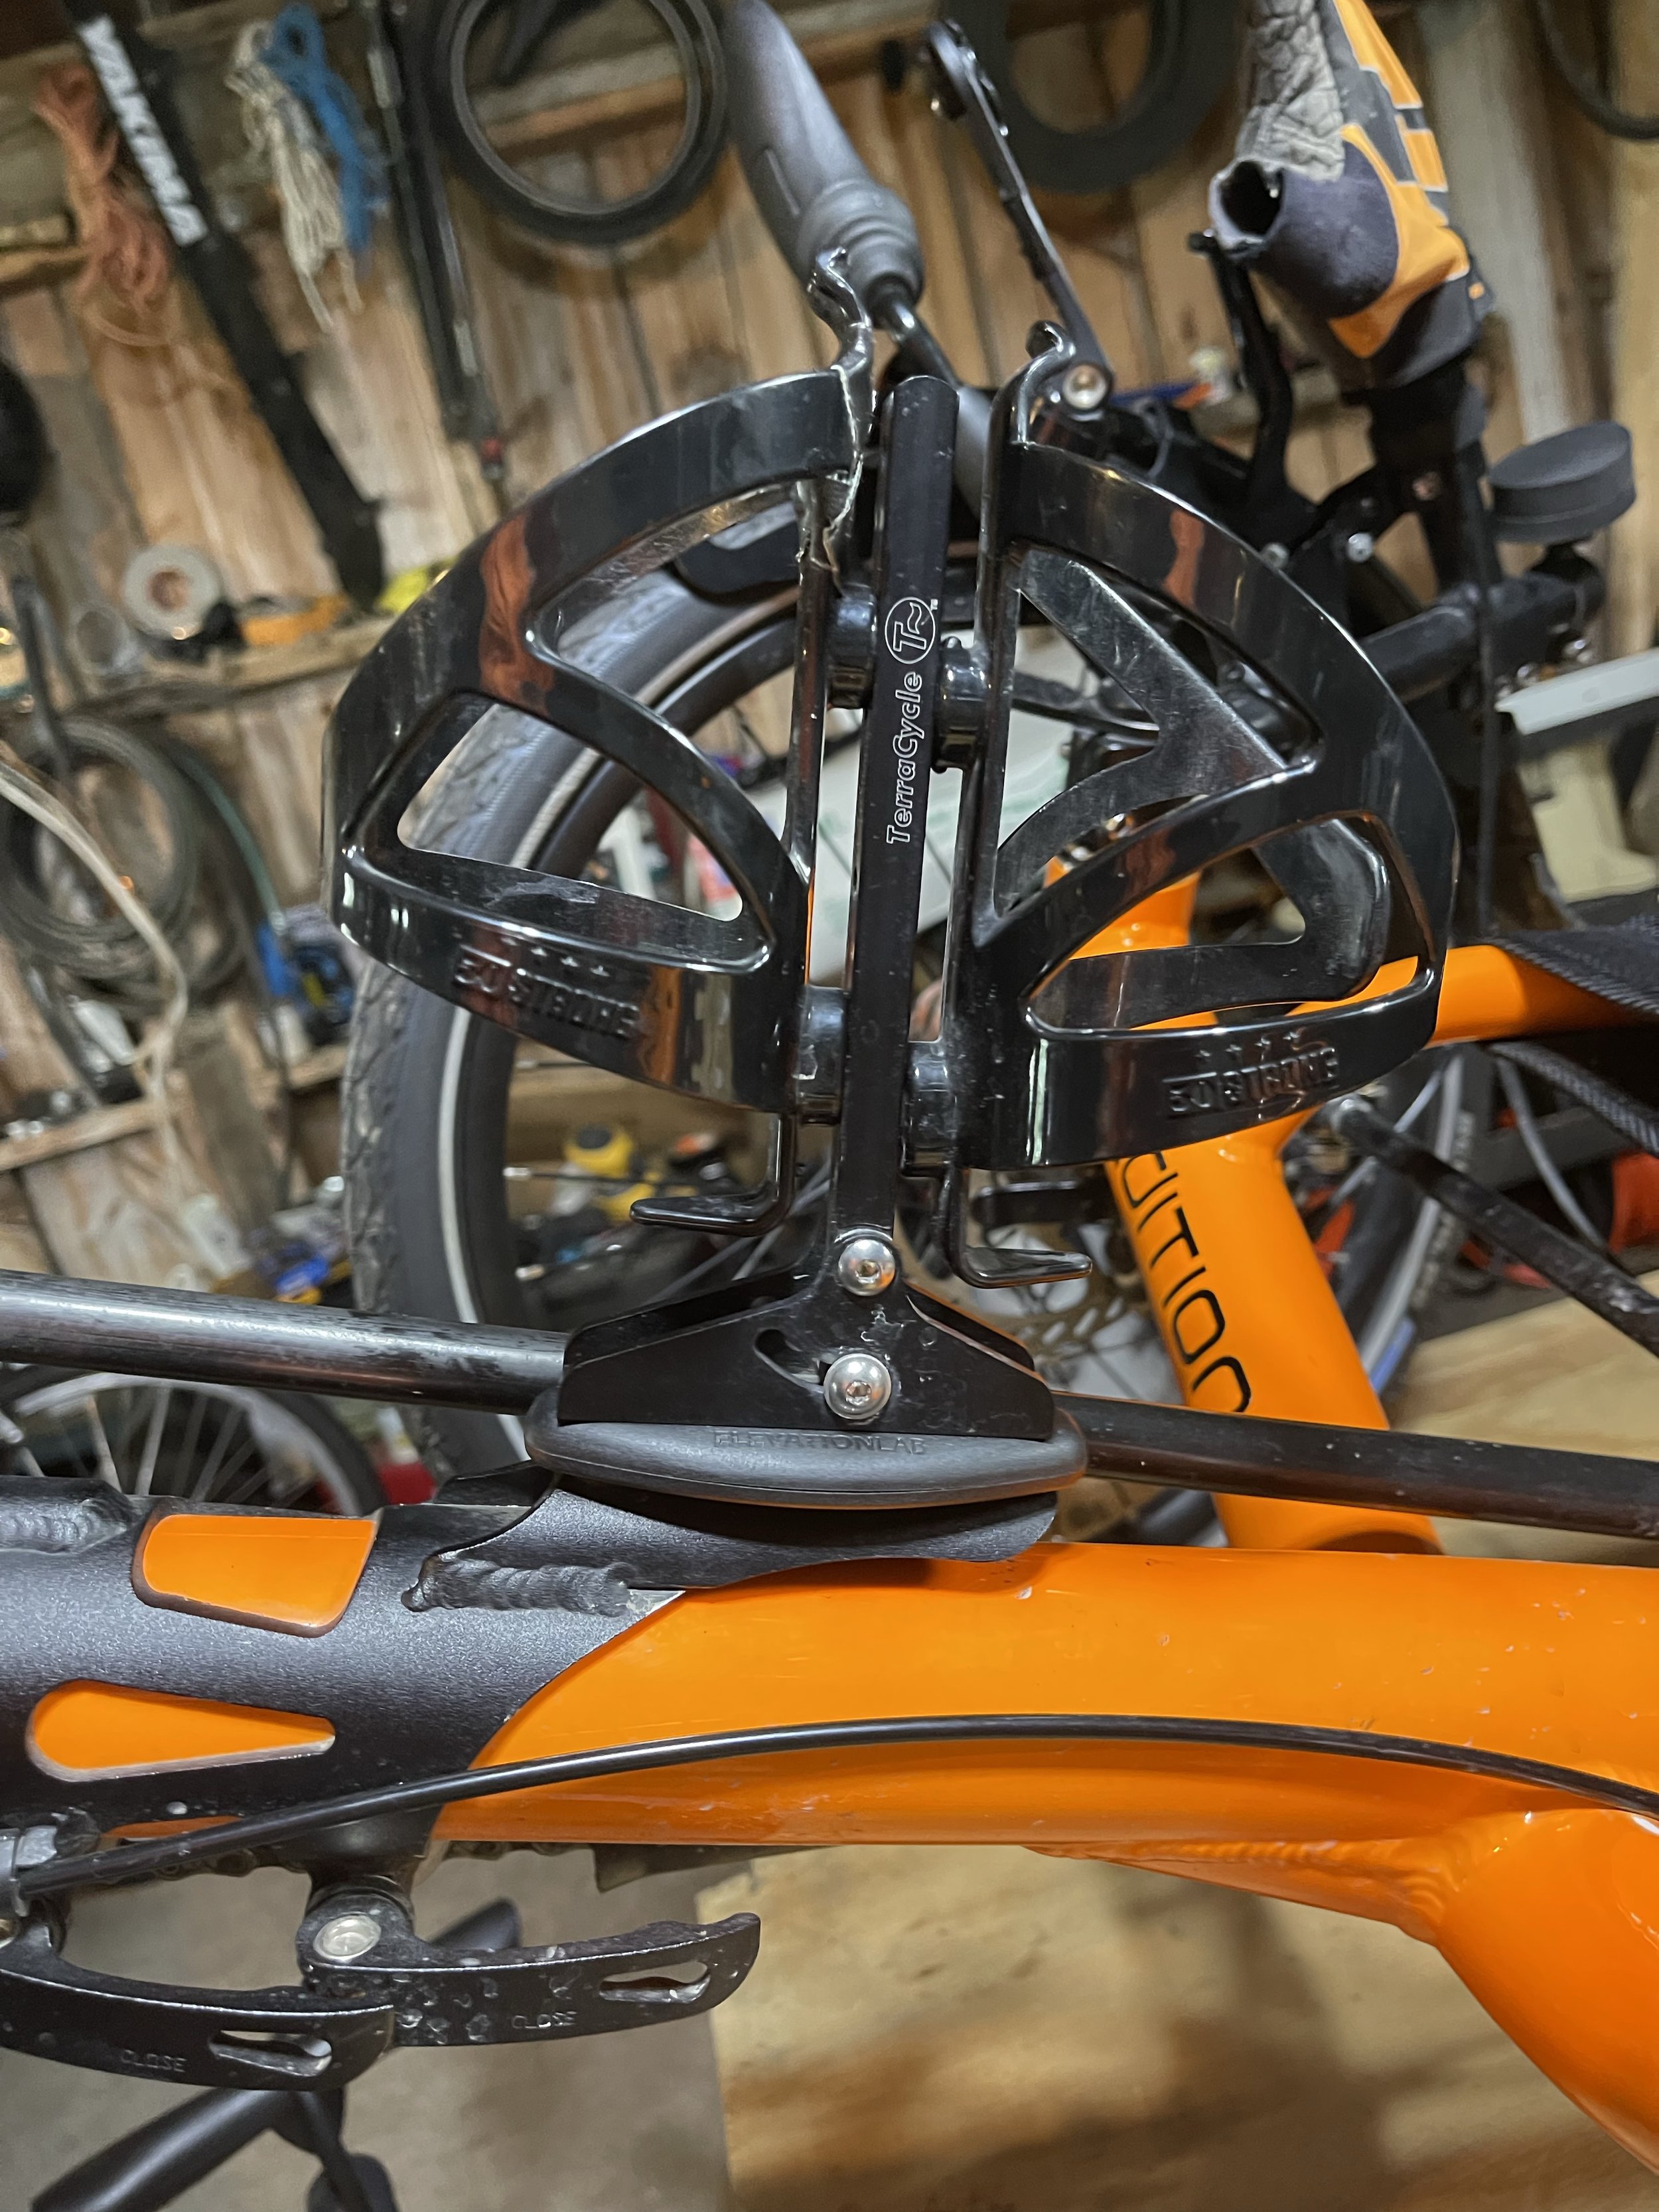
These worked perfectly - in combination with the pannier bags they swallowed everything I was carrying with the lone exception of my sleeping bag (which I strapped to the top of the rack). And, as described, they put the weight of the cargo down low, exactly where you want it. Plus, the bottle carriers on the top of each bag keeps your extra fluids right in reach. It’s an extremely well thought out design. And - because they essentially lay across the back of the seat, easy enough to remove when you get home and aren’t in need of the extra capacity.
Enjoying this post? Check out our Cycling page for links to other cycling articles on Applied Life
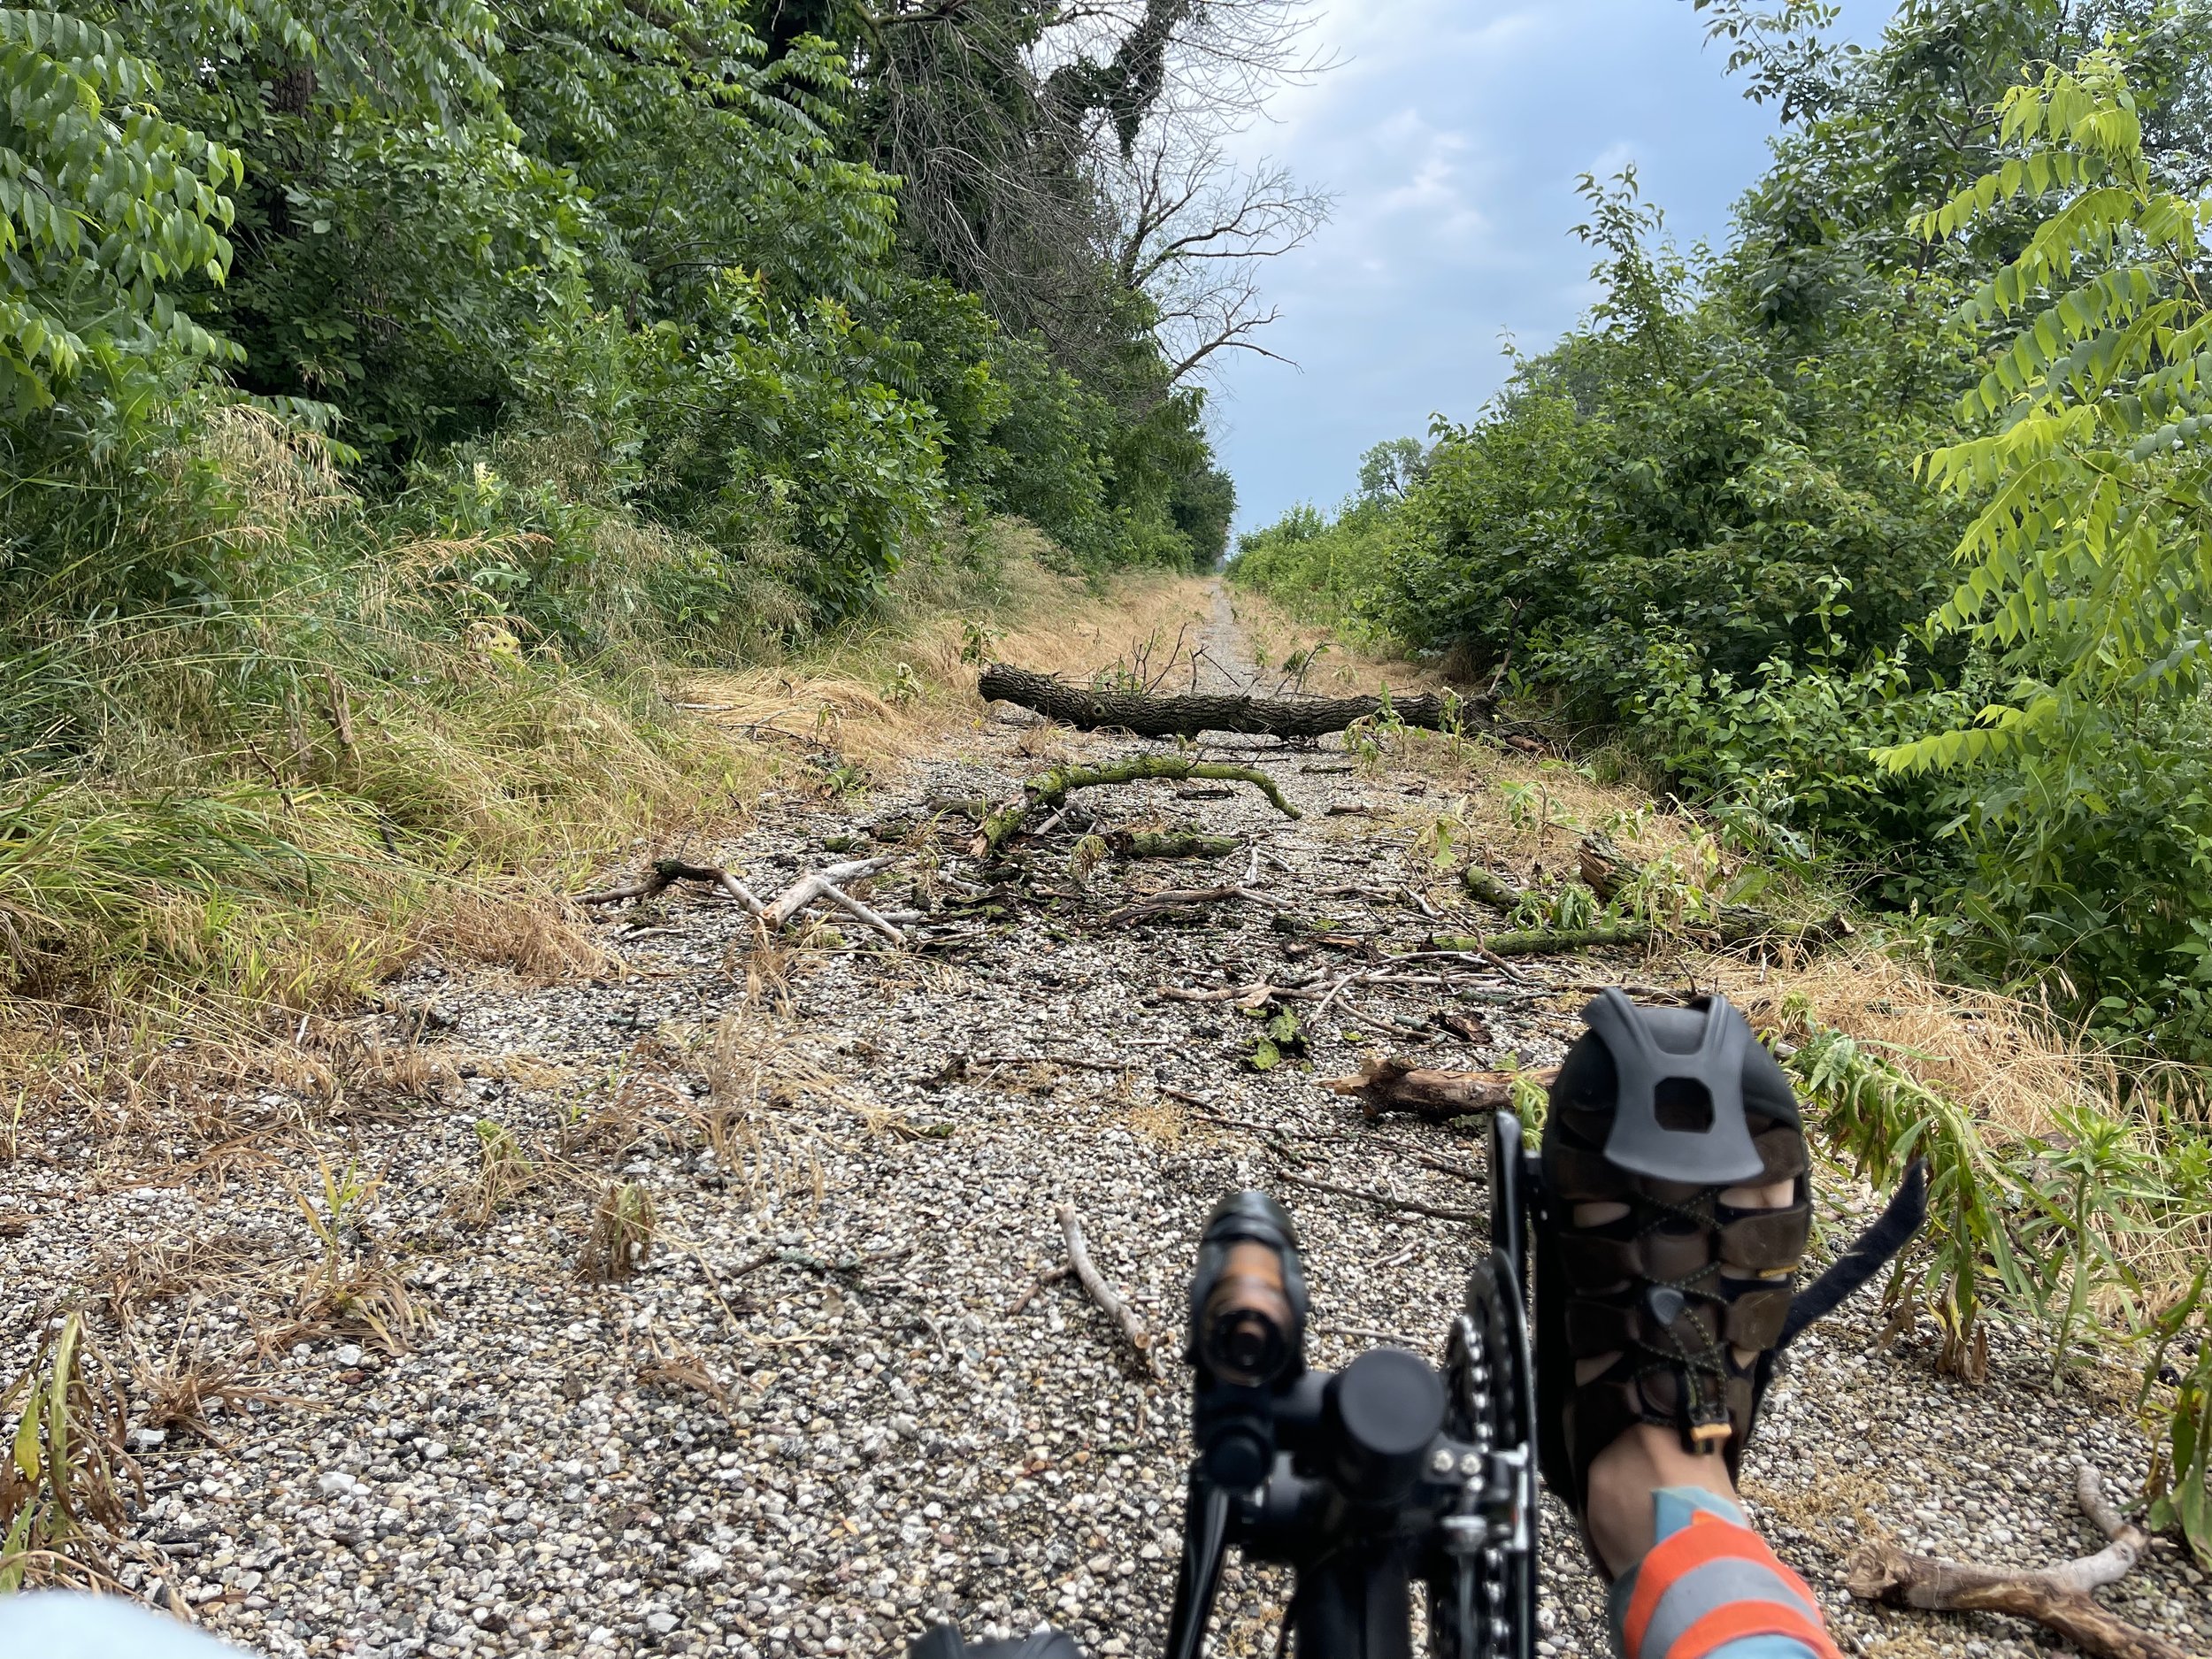
As for the trike itself - it’s right there in the name. She was built for expeditions, and handled all of the weight without issue. This ride covered multiple surfaces - from dirt and sand trail to asphalt and cement roadways. I knew the weight was there whenever I tried to move the trike by hand - on a regular day, when it’s not fully laden and I need to move it somewhere I typically grab it either by the back of the rack or by the handle on the neck rest and lift it a bit to steer it where I want it to go. The first time I tried this it was clear I wouldn't be just lifting it and tossing it about. But once I was underway the weight was barely noticeable.
And - in further testament to the design, two thirds of this ride was thru the middle of nowhere, with (as far as I’m aware) nothing resembling a bike shop anywhere nearby. I had my tools with me, and I’ve gotten a lot of practice making adjustments and repairs over the past few years, but there were no mechanical issues - not even a flat tire - for the entire trip. I had a similar experience last year during the Hilly Hundred, where I rode past many a person on the side of the road, making repairs to their very fancy road bikes, while I had nary an issue. These machines are built to live up to their name.
Do your Homework
Part of the established objective for this ride was to:
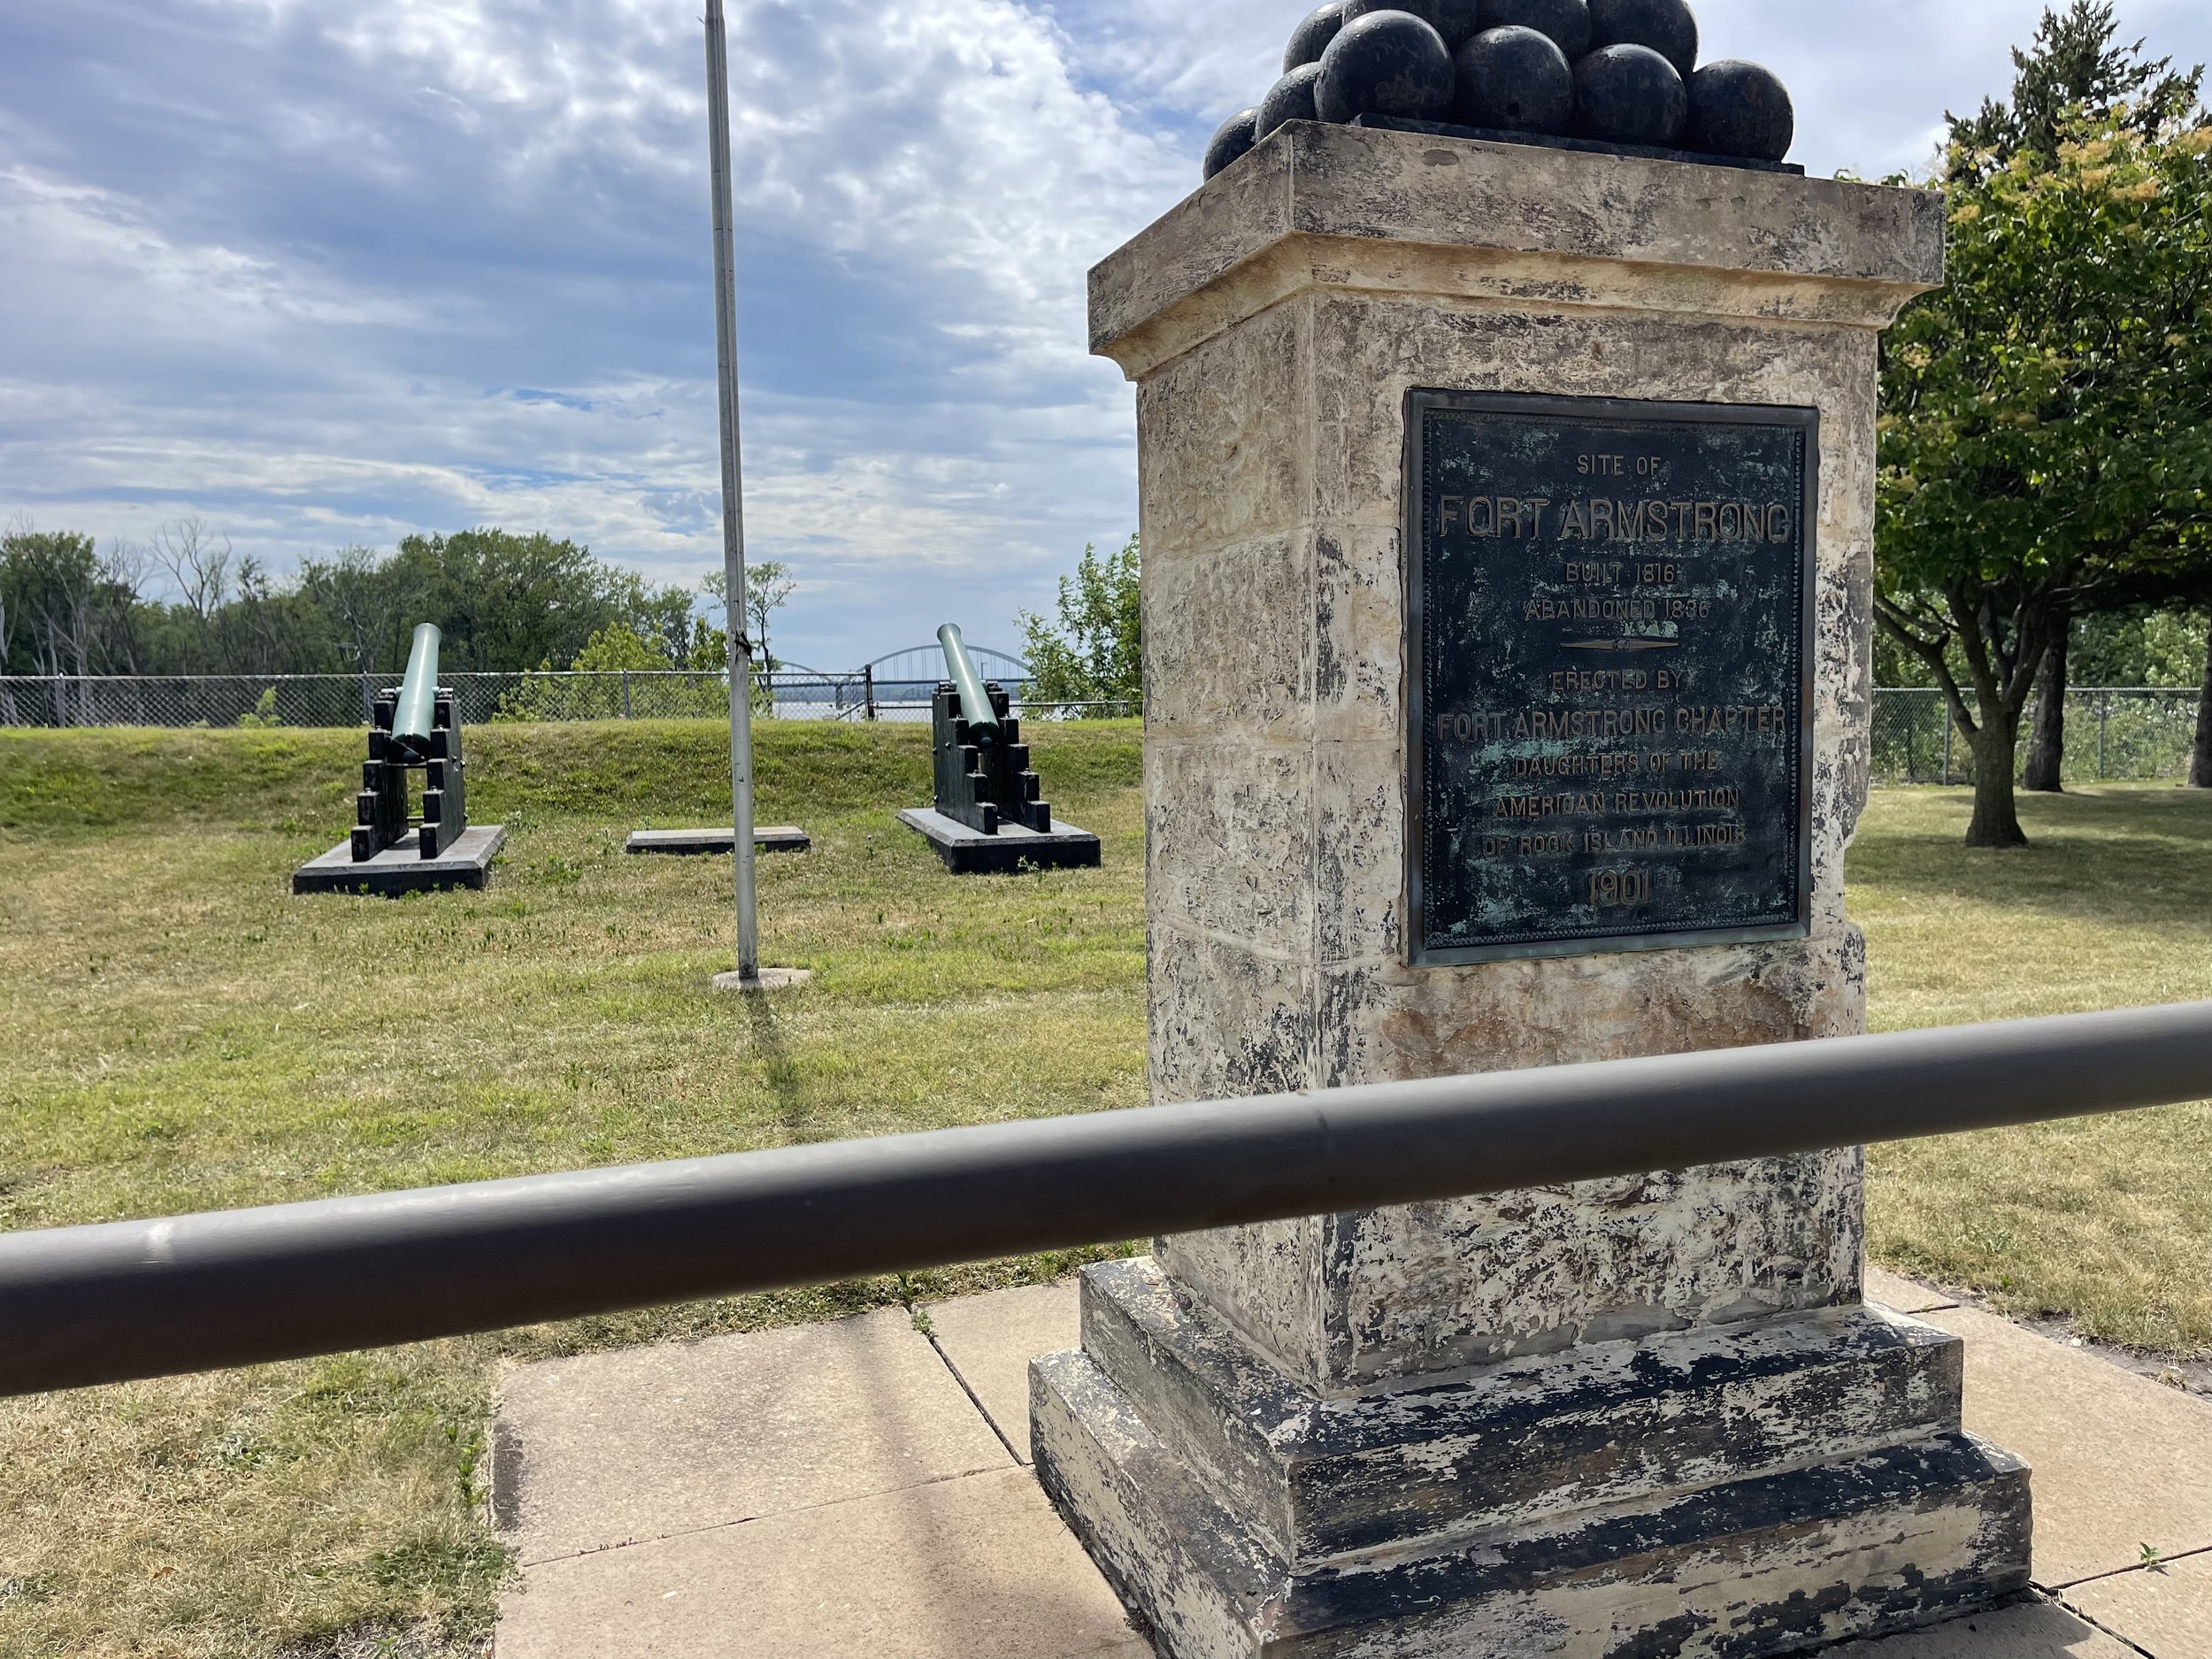
Recapitulate the original purpose of the Hennepin Canal - connecting the Illinois River to the Mississippi at the Quad Cities…
In looking at this, after my entry about the second part of day two, one gentleman online asked why I was riding into the Quad Cities and across the Mississippi when there was still Hennepin Canal trial to ride up to the Mississippi.
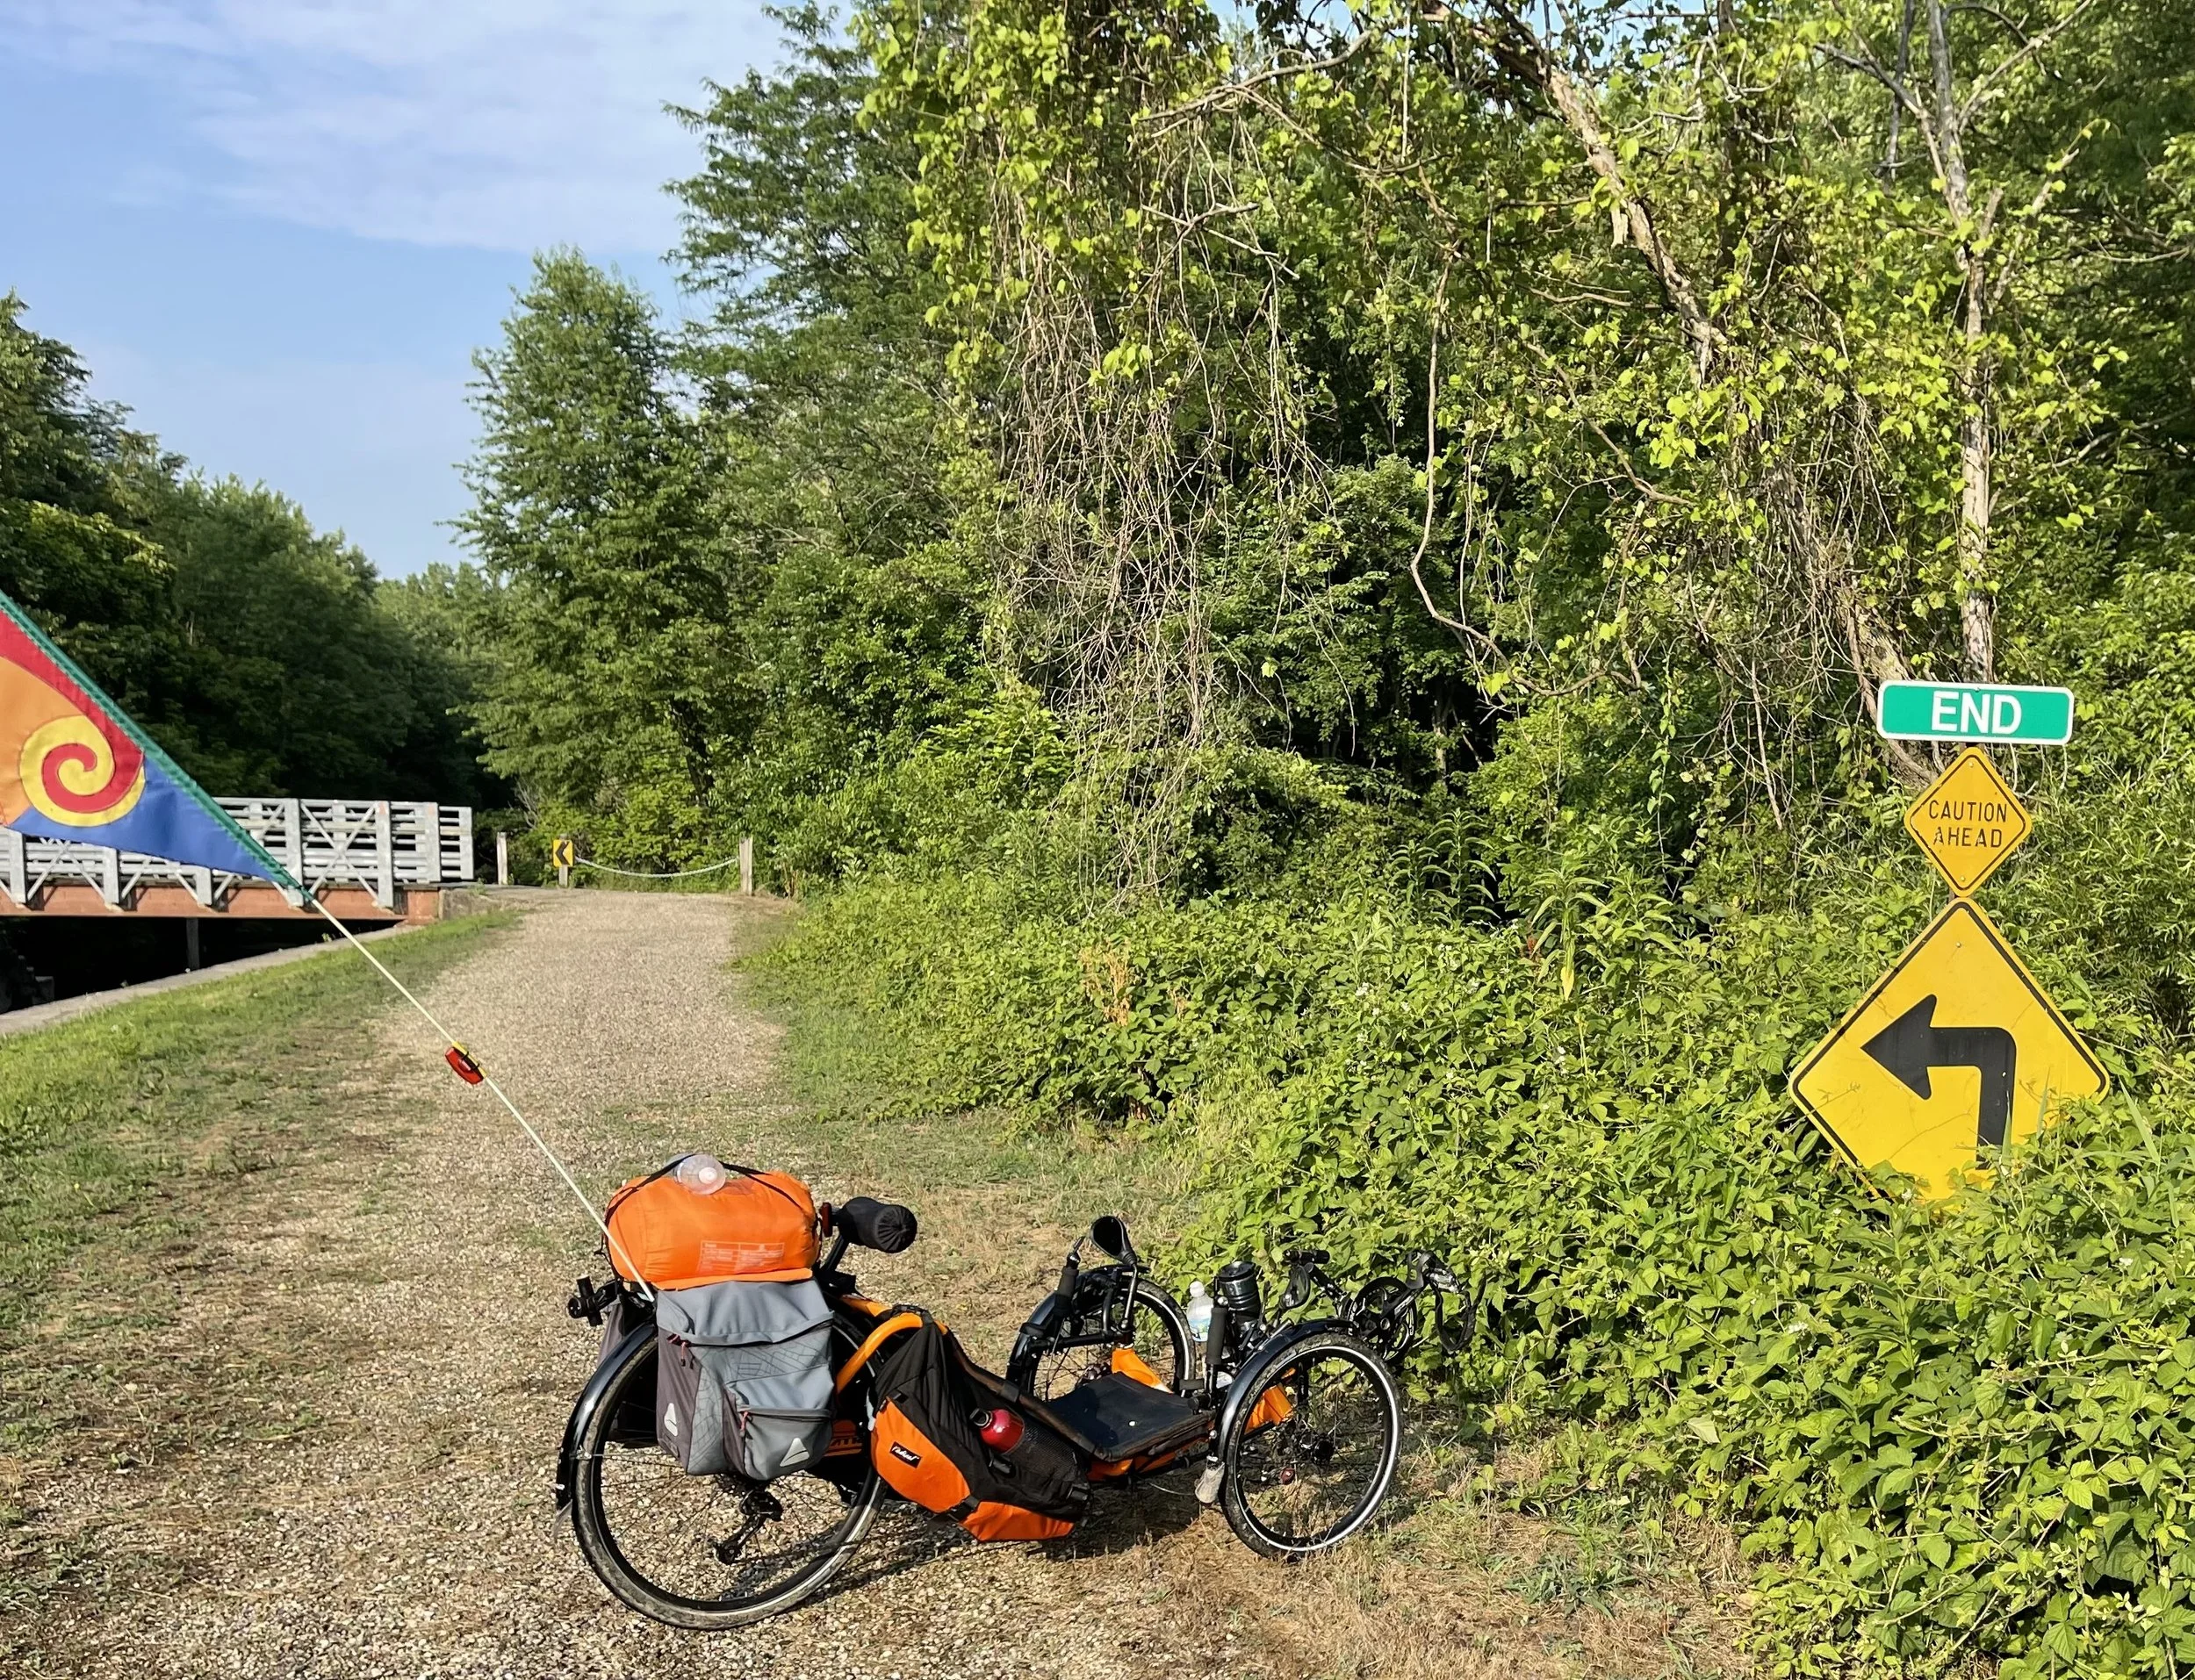
And… he was right. I thought the canal trail ended at Timbrook Field, where it empties into the Rock River - this is the way it looks on the map. I even made a joke about how frustrating it must have been to have only 29 locks instead of rounding it up to 30…
There is one final lock at the end of the canal - Lock 29 (you just know that somewhere in the mix there had to be that one guy who was just looking for a way to add one more lock to the system to get a round number at the end…)
I felt very clever…
For the record, there are 31 locks on the canal (also, distressingly, not a round number - but I digress). The canal stops at Timbrook field, but picks up again several miles down the Rock River and follows it till it empties in the Mississippi.
I’m going to openly admit I did not know about this last portion of the canal trail. But when I first started considering and laying out this trip, I did initially look for a way to follow the Rock River into the Mississippi. The thing is, while there are bike trails that start to appear as you get to the western end of the Rock River, much of what’s between Timbrook Field and the Mississippi along that route is major roadways and what appears to be commercially zoned territory. It did not look inviting for cycling, nor did it appear to offer anything like the very nice lunch opportunity that I found in Davenport.
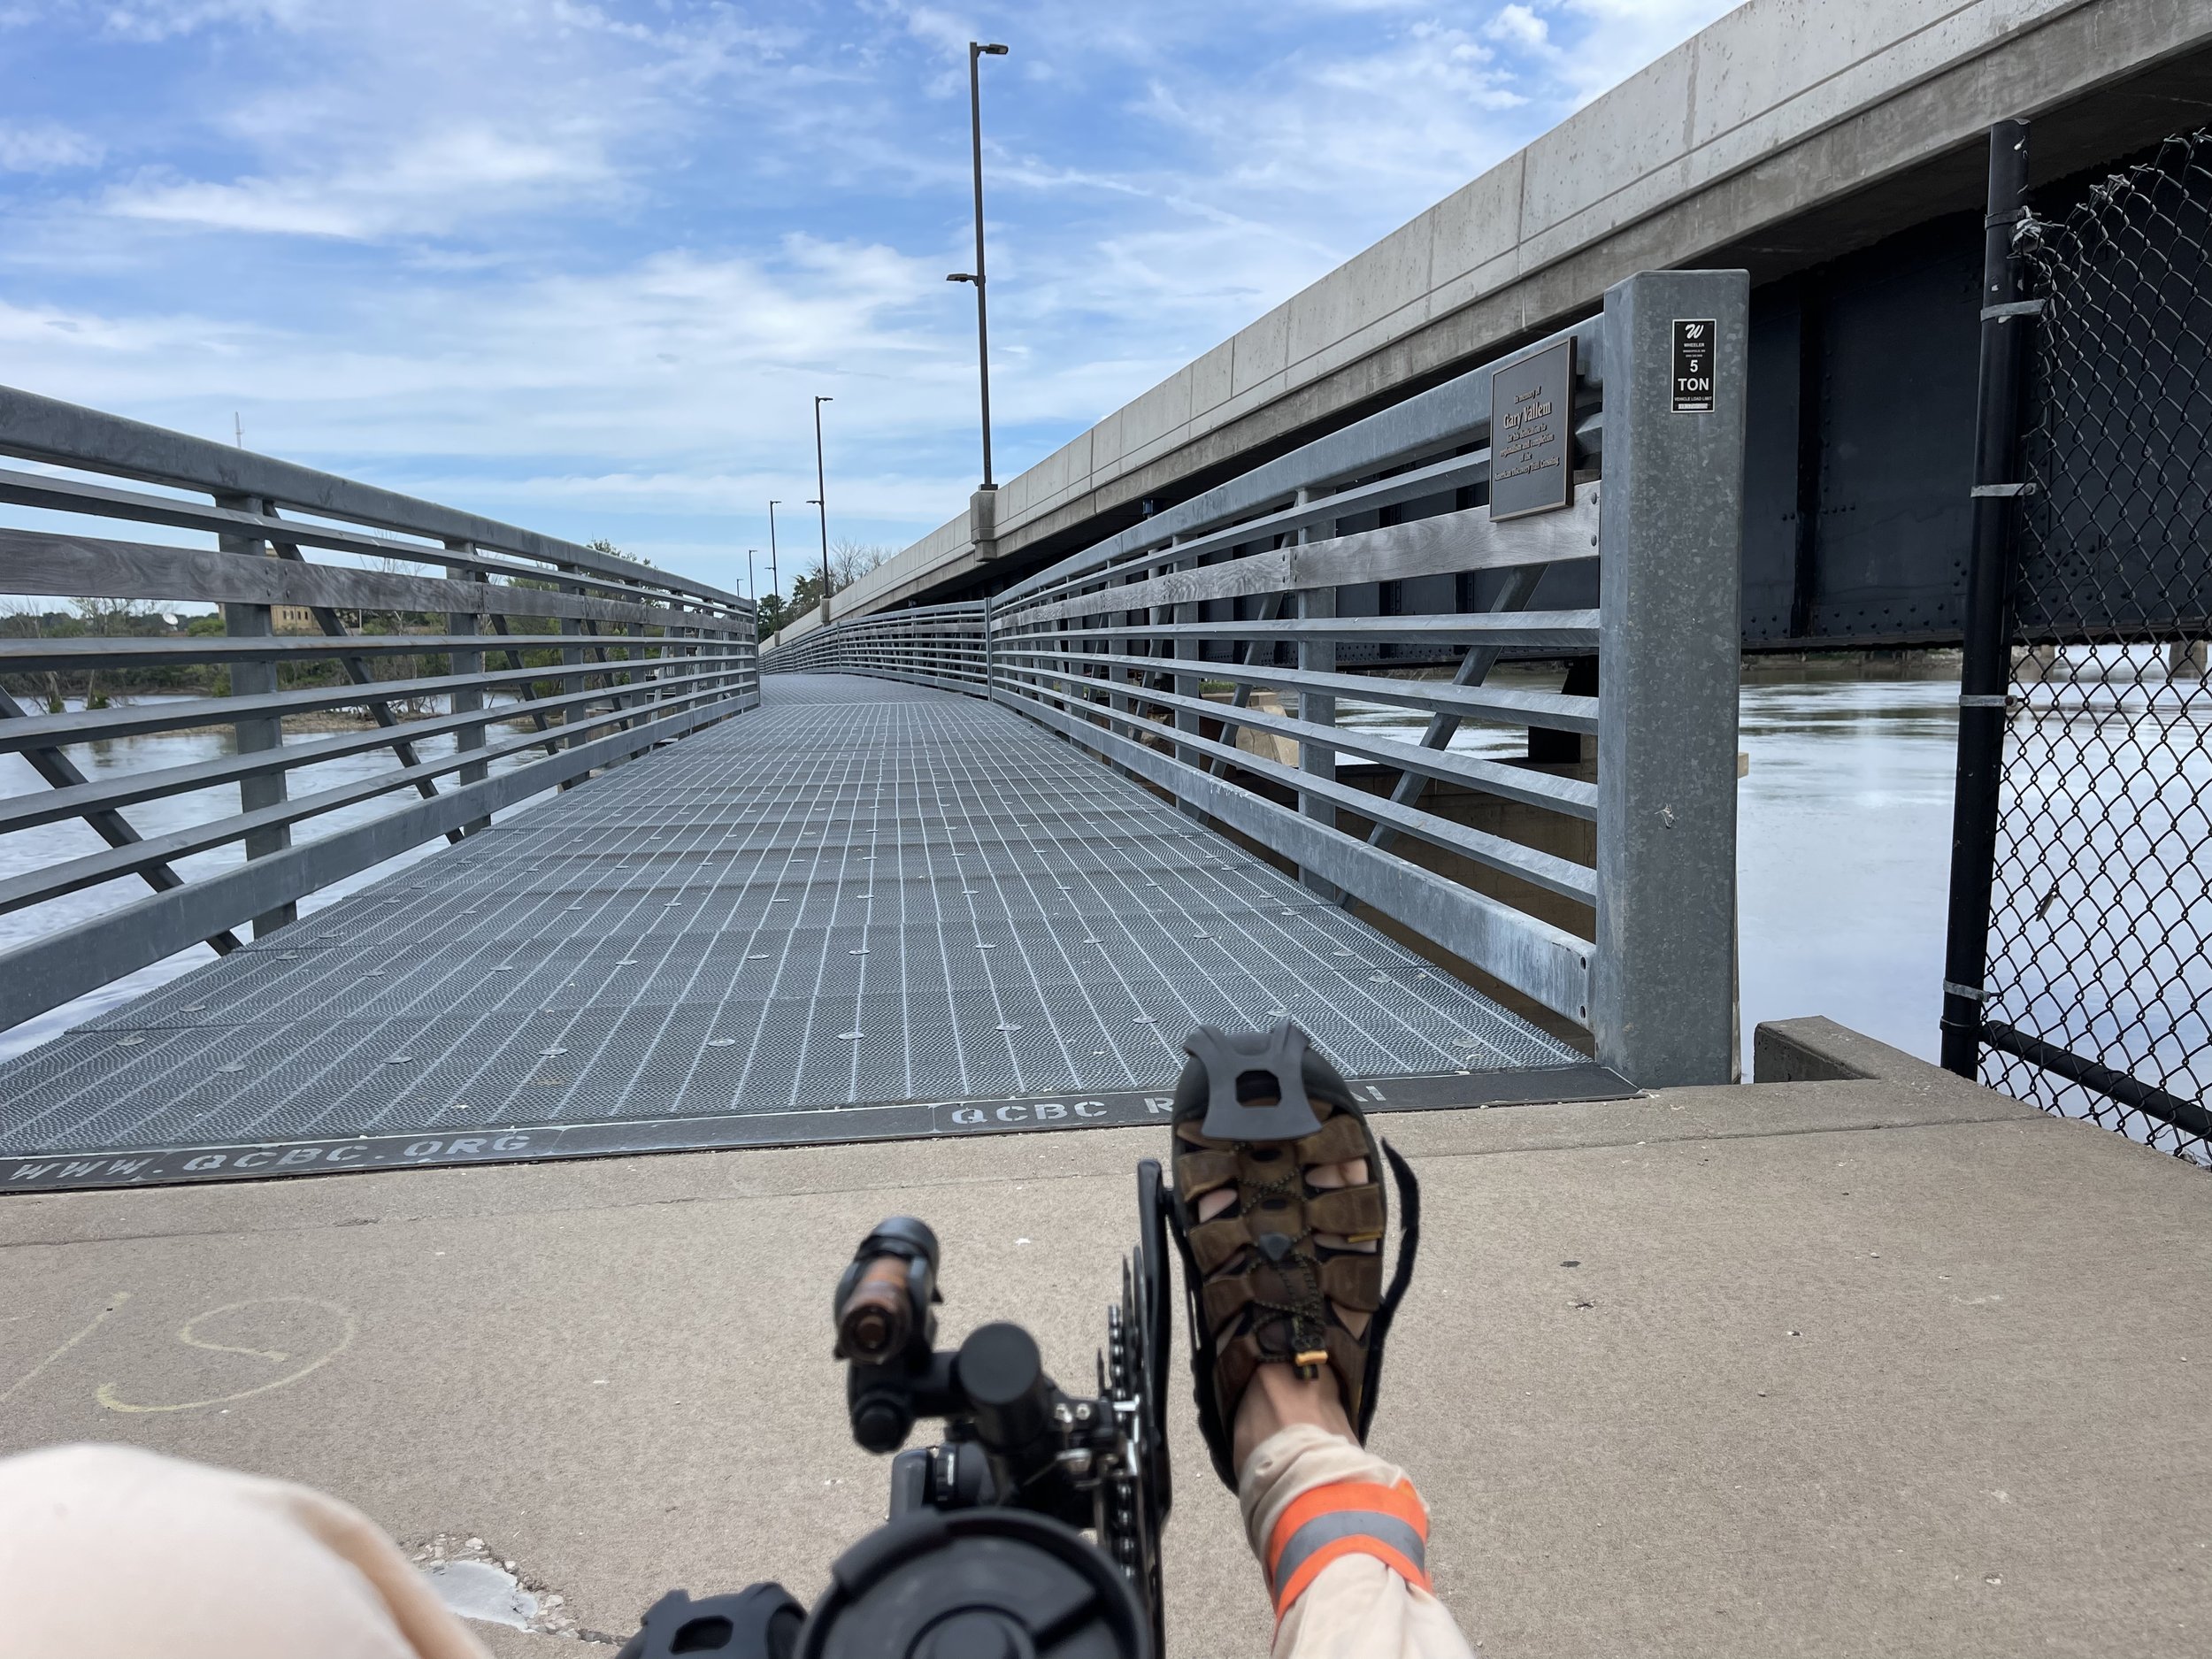
In fact, it doesn’t offer a bikeable bridge across the Mississippi at that location at all, so I’d have had to backtrack and ride through the Quad Cities one way or the other to nearly the same spot to get across in either case. And I wanted to cross the Mississippi specifically at the Arsenal Bridge (also known as “Government Bridge”) because that’s supposed to be where The Great American Rail Trail marks its crossing from Illinois into Iowa.
Speaking of which…
The Great American Rail Trail
I love the concept of The Great American Rail Trail (GART) - a coast-to-coast cycling trail across the country. I love it so much that I can even set aside, and not even comment on the fact that the overwhelming majority of the trail in Illinois is based on two canal trails - the Hennepin and I & M Canal trails - and so aren’t rail trails at all.
See how I’m letting that go without even mentioning it?
The route I followed from Timbrook Field doesn’t exactly mirror, but does closely follow the planned route the GART (I used Google’s cycling directions for my route).

GART Route
I wanted to get an idea of what this route was like now, an on-the-ground impression of what was still needed.
And there are absolutely improvements needed.
To their credit, Rails to Trails has done an analysis of this gap in their conceptual trail, and they pretty much peg the biggest problem correctly:
Most of the streets that are planned to be on-street signed routes are low-volume, low-speed roads, though the route is currently proposed to cross the Rock River on state Route 84/Colona Road, a major arterial road. A physically separated alternative should be explored in this section. (Emphasis added)
Yup - that section of Route 84 is four lanes of traffic and represents what appears to be the only bikeable bridge across the Rock River for miles in either direction. It is what Google identifies as their bike route across the river, and it does have a very wide shoulder. It’s only a mile of the trip in each direction, but it’s a butt-puckering mile. A separated cycling bridge is desperately needed there, along with an overpass to cross the highway where needed.
Also - for anyone looking at this route for themselves, I’d follow the course thru the towns of Carbon Cliff and Silvis laid out by the GART proposed map over the Google cycling directions. I’m generally comfortable riding on roads, and everyone was respectful of my space on my trip, but Google puts far too much of it on busy roadways.
It all leaves me wondering about the likely success of the GART, at least here in Illinois. There are only 28.8 miles of gap in Illinois, which seems like a small number. But much of that gap is between areas that are in rural and marginal land - along the Illinois river, for example. And the canal trails themselves are in need of resurfacing and ongoing maintenance attention if the intention is for the GART is meant as a realistic coast-to-coast byway.
But that depends on whether that’s really the intention. It is the concept, but if that’s meant just to drive an expansion of trails nationwide, then maybe its already doing its job. Still, I am a little distressed to see that, when they highlight the eight-of-twelve states who “will have added new trail segments since the route was initially developed” Illinois is not one of the eight.
Overall
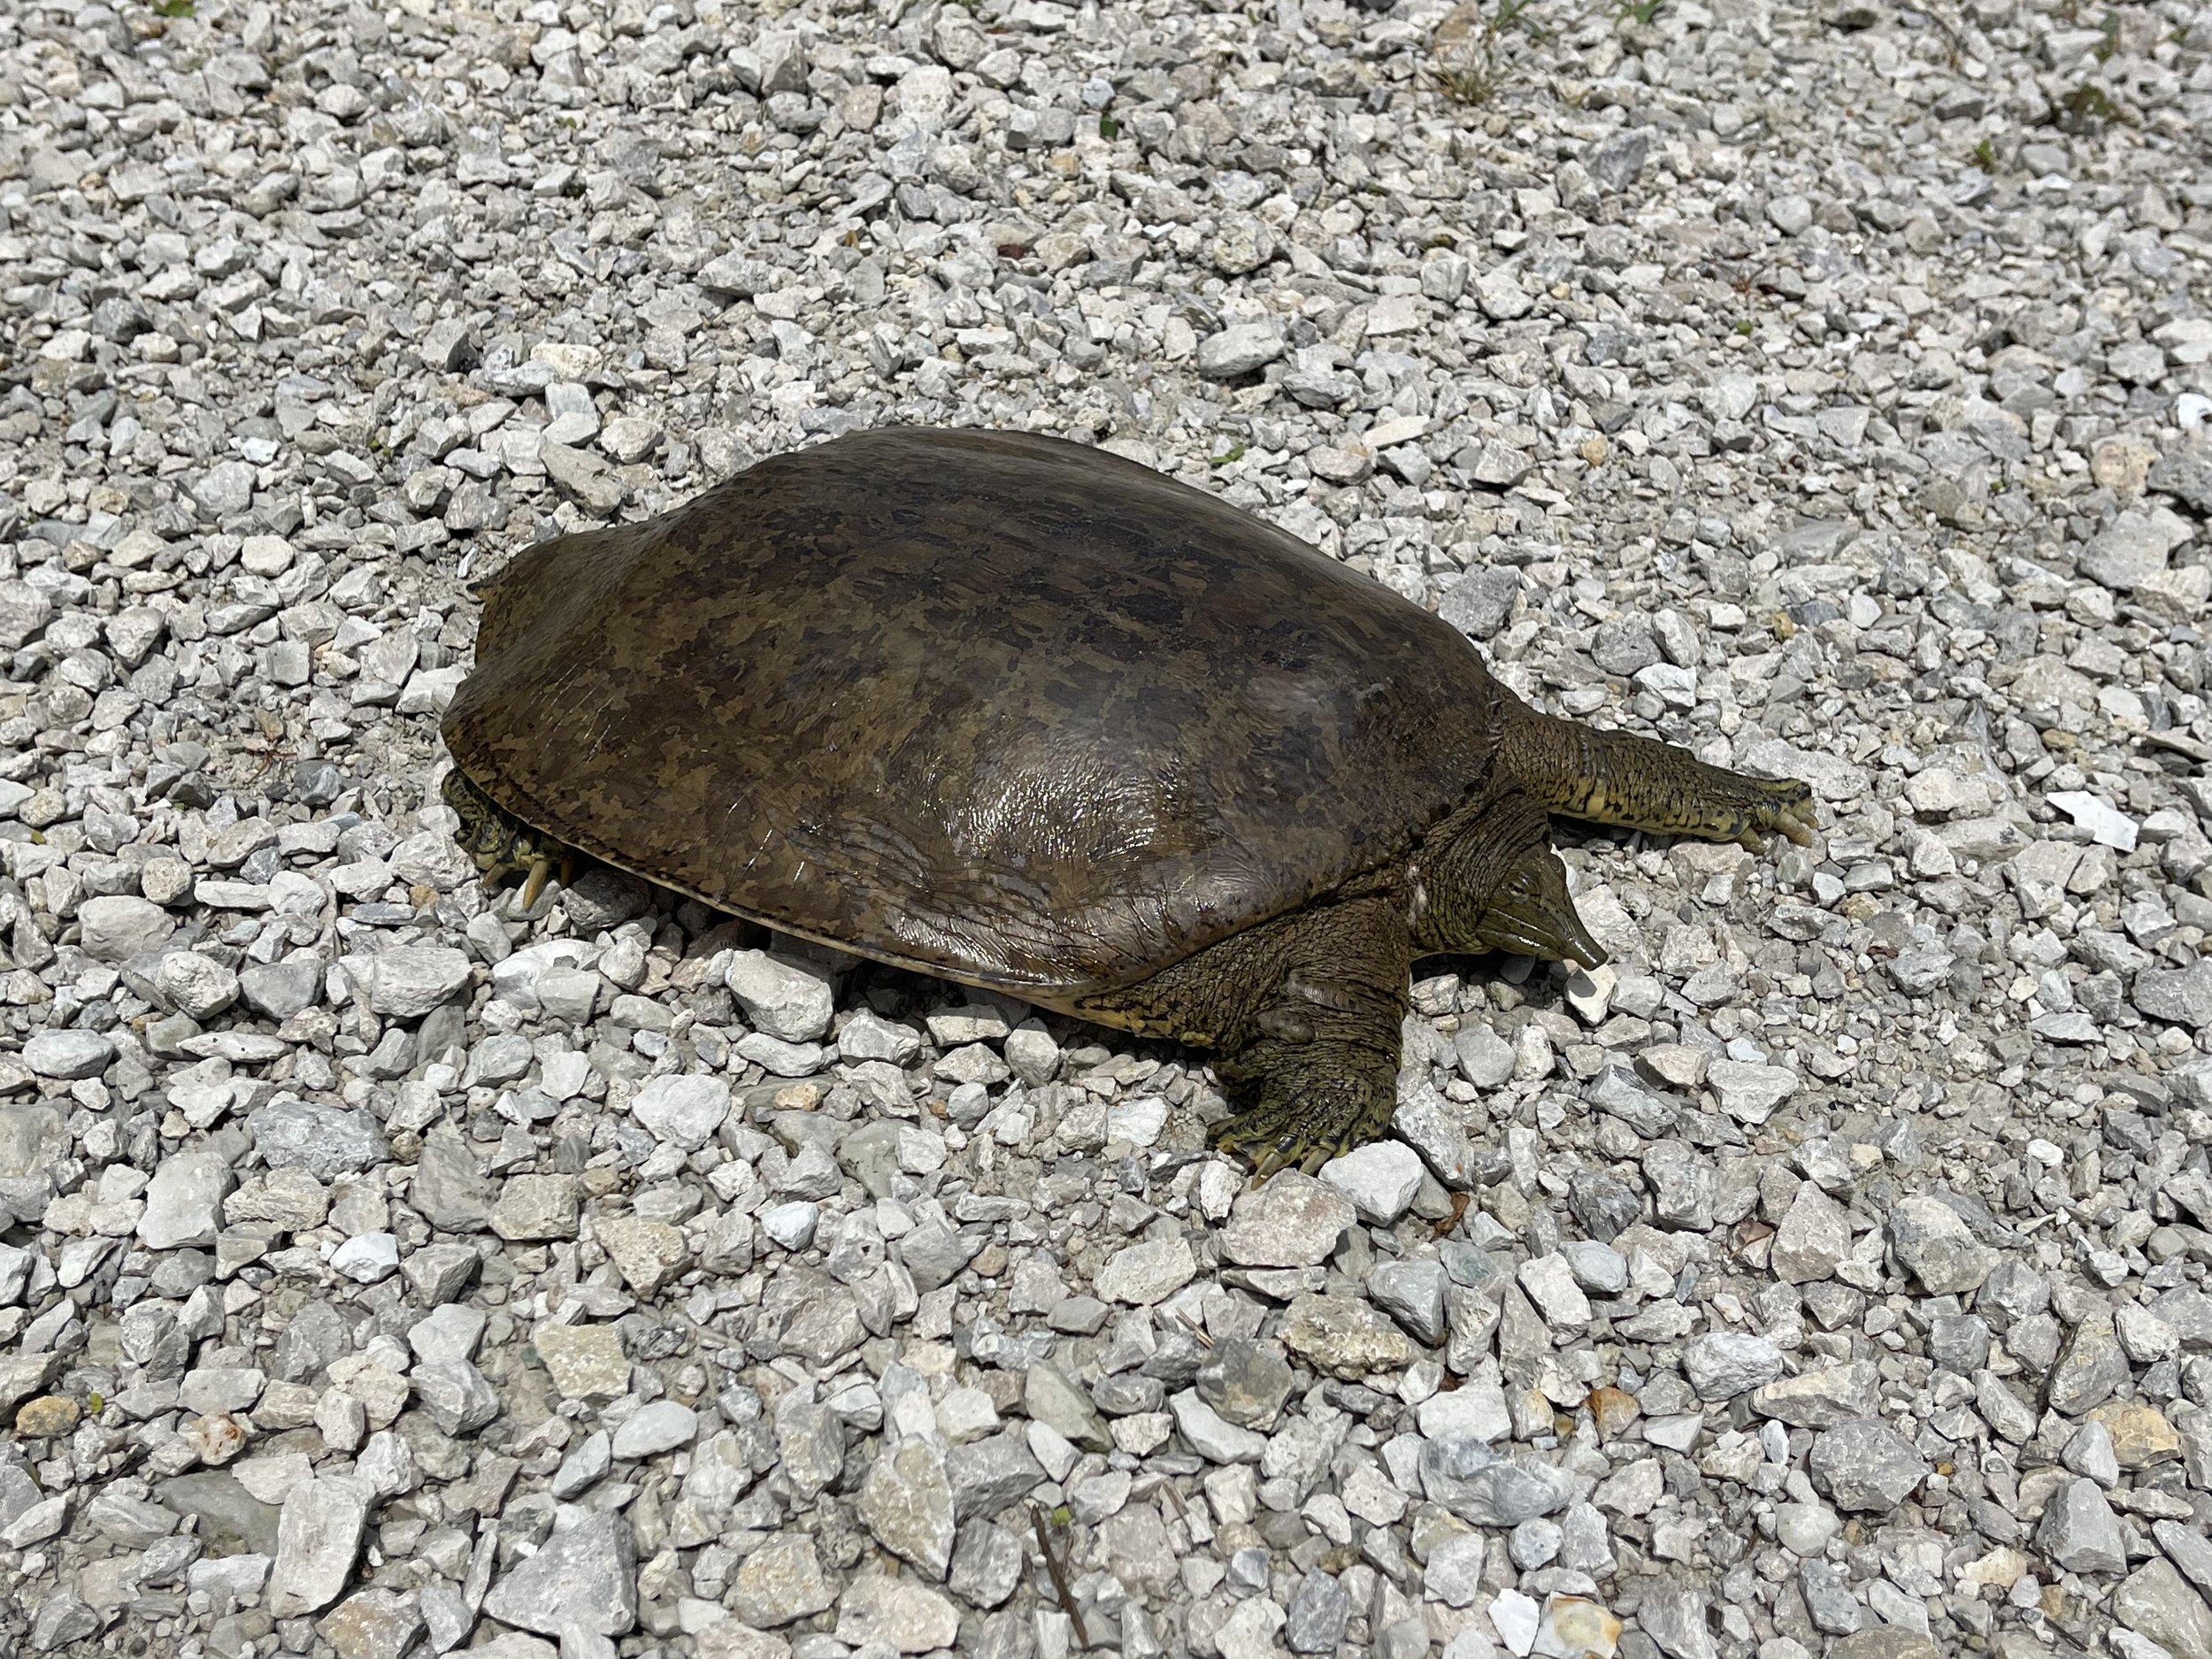
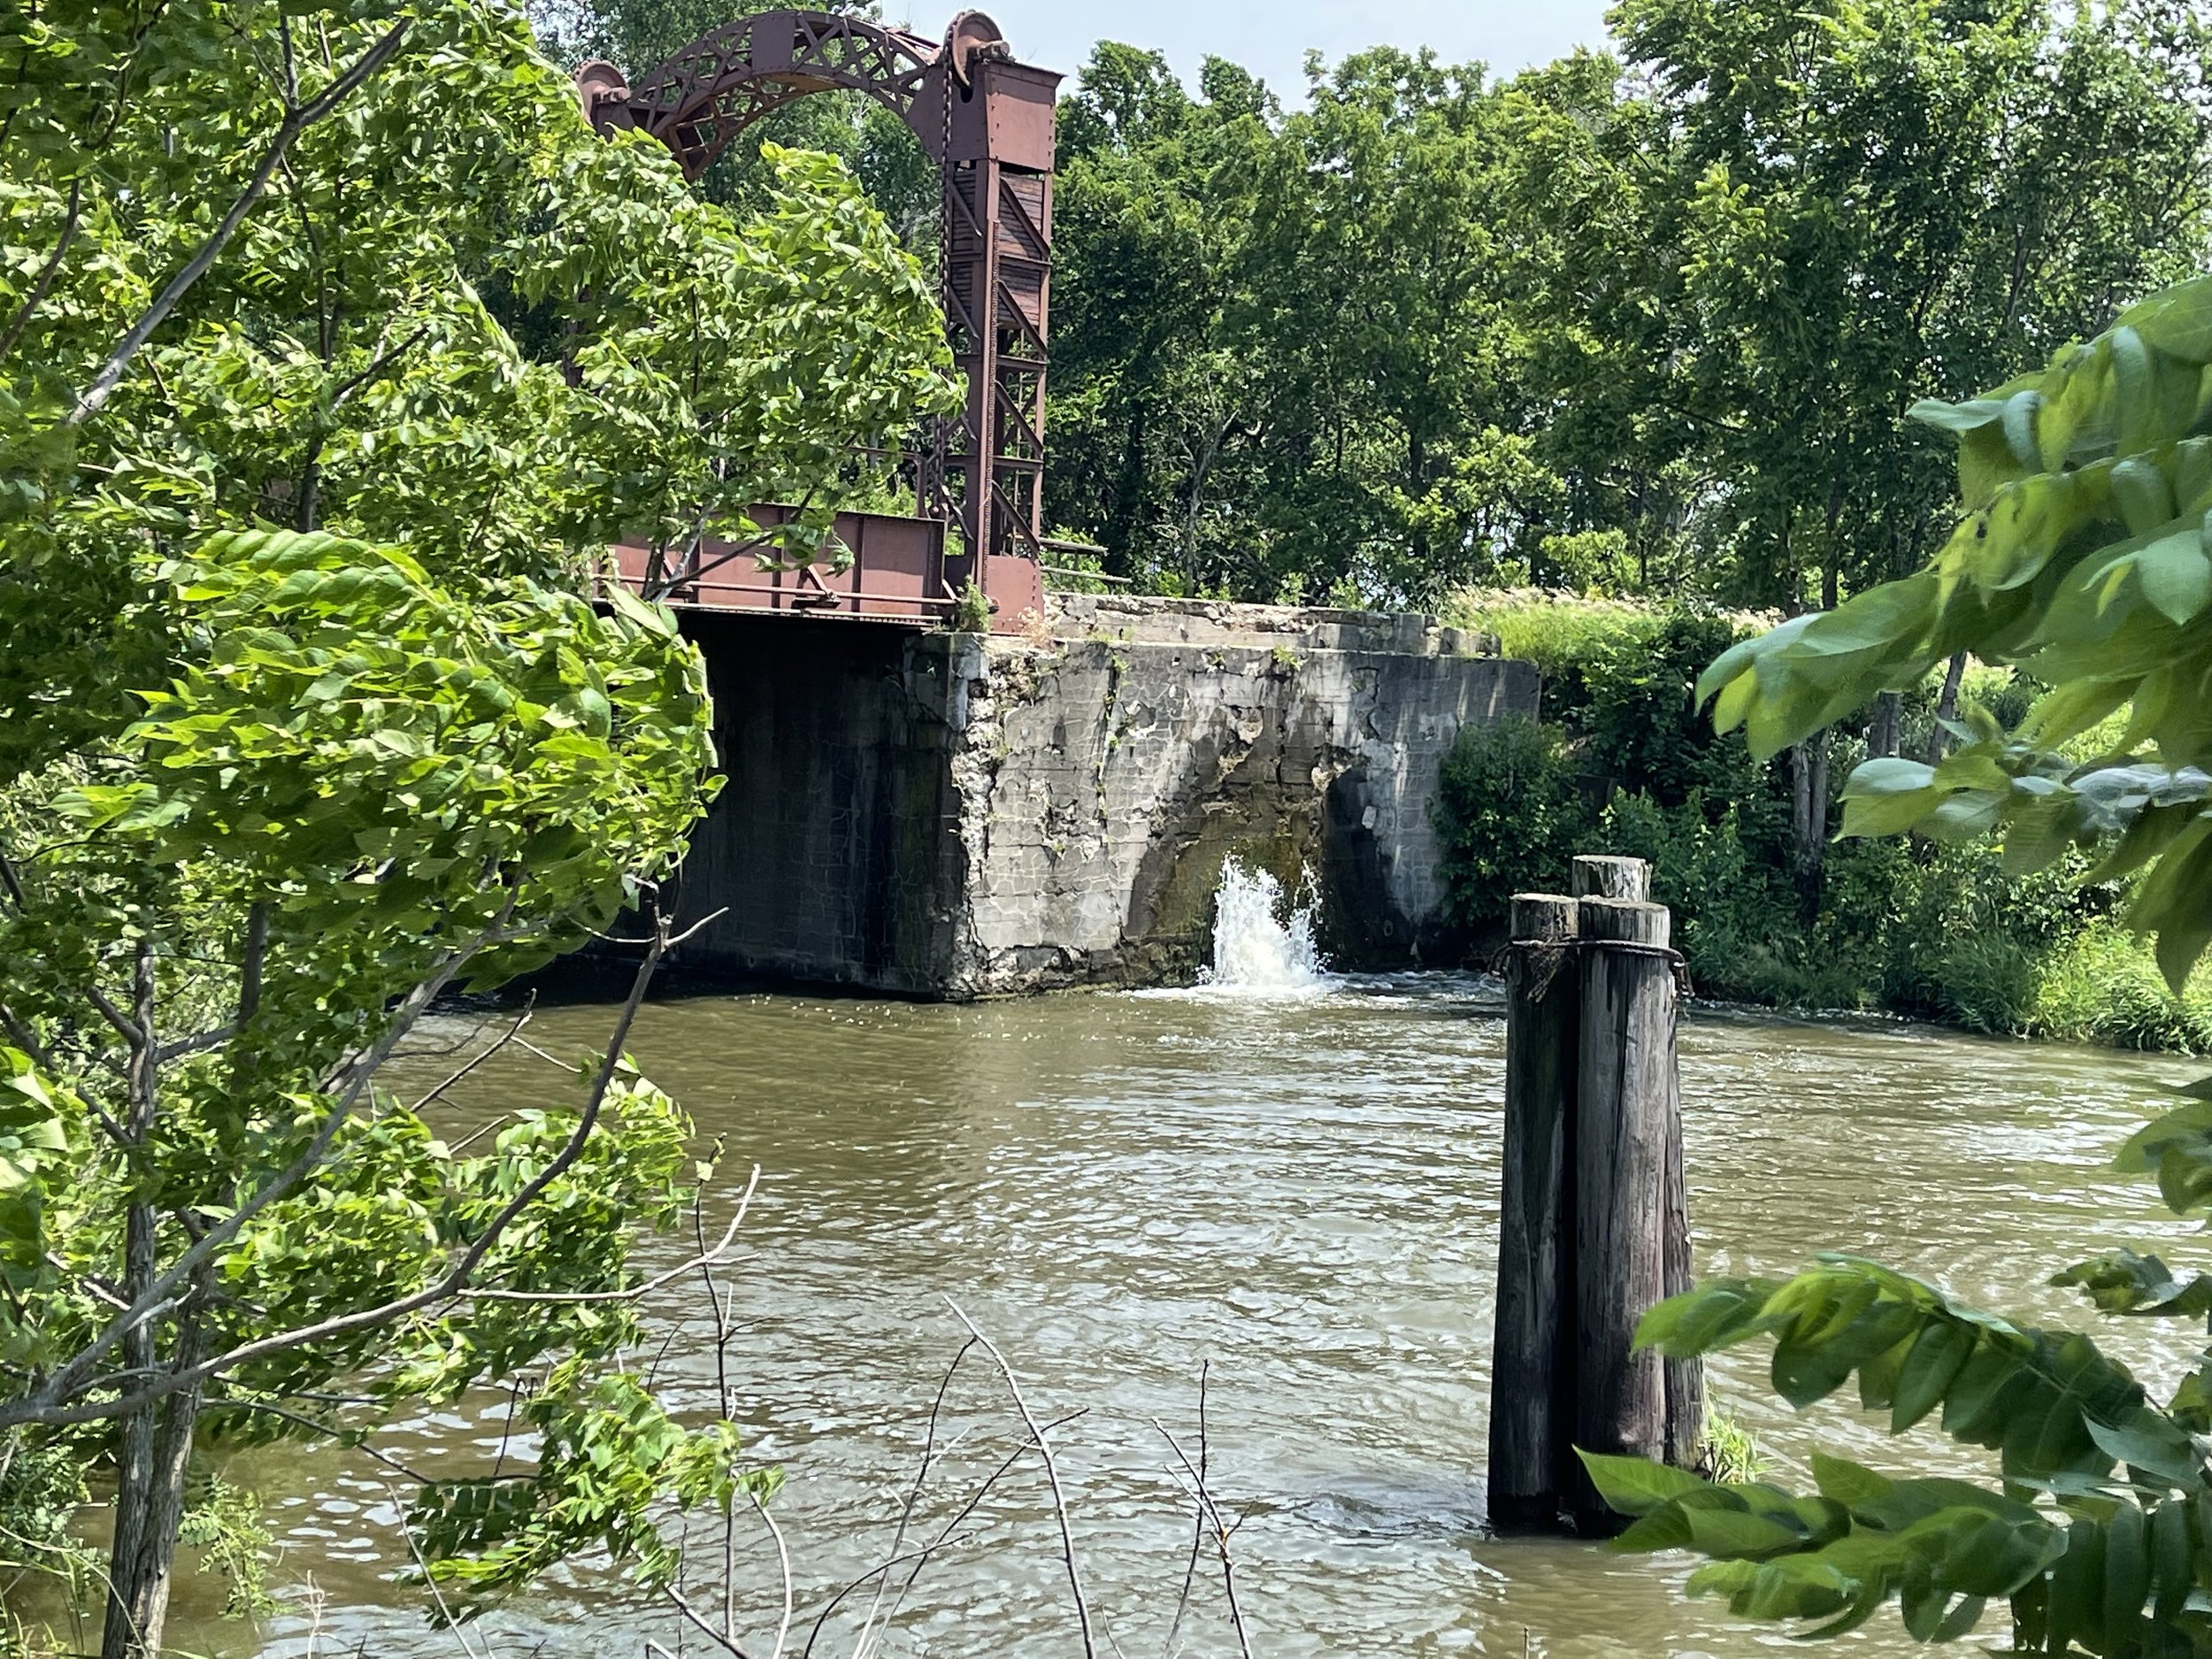
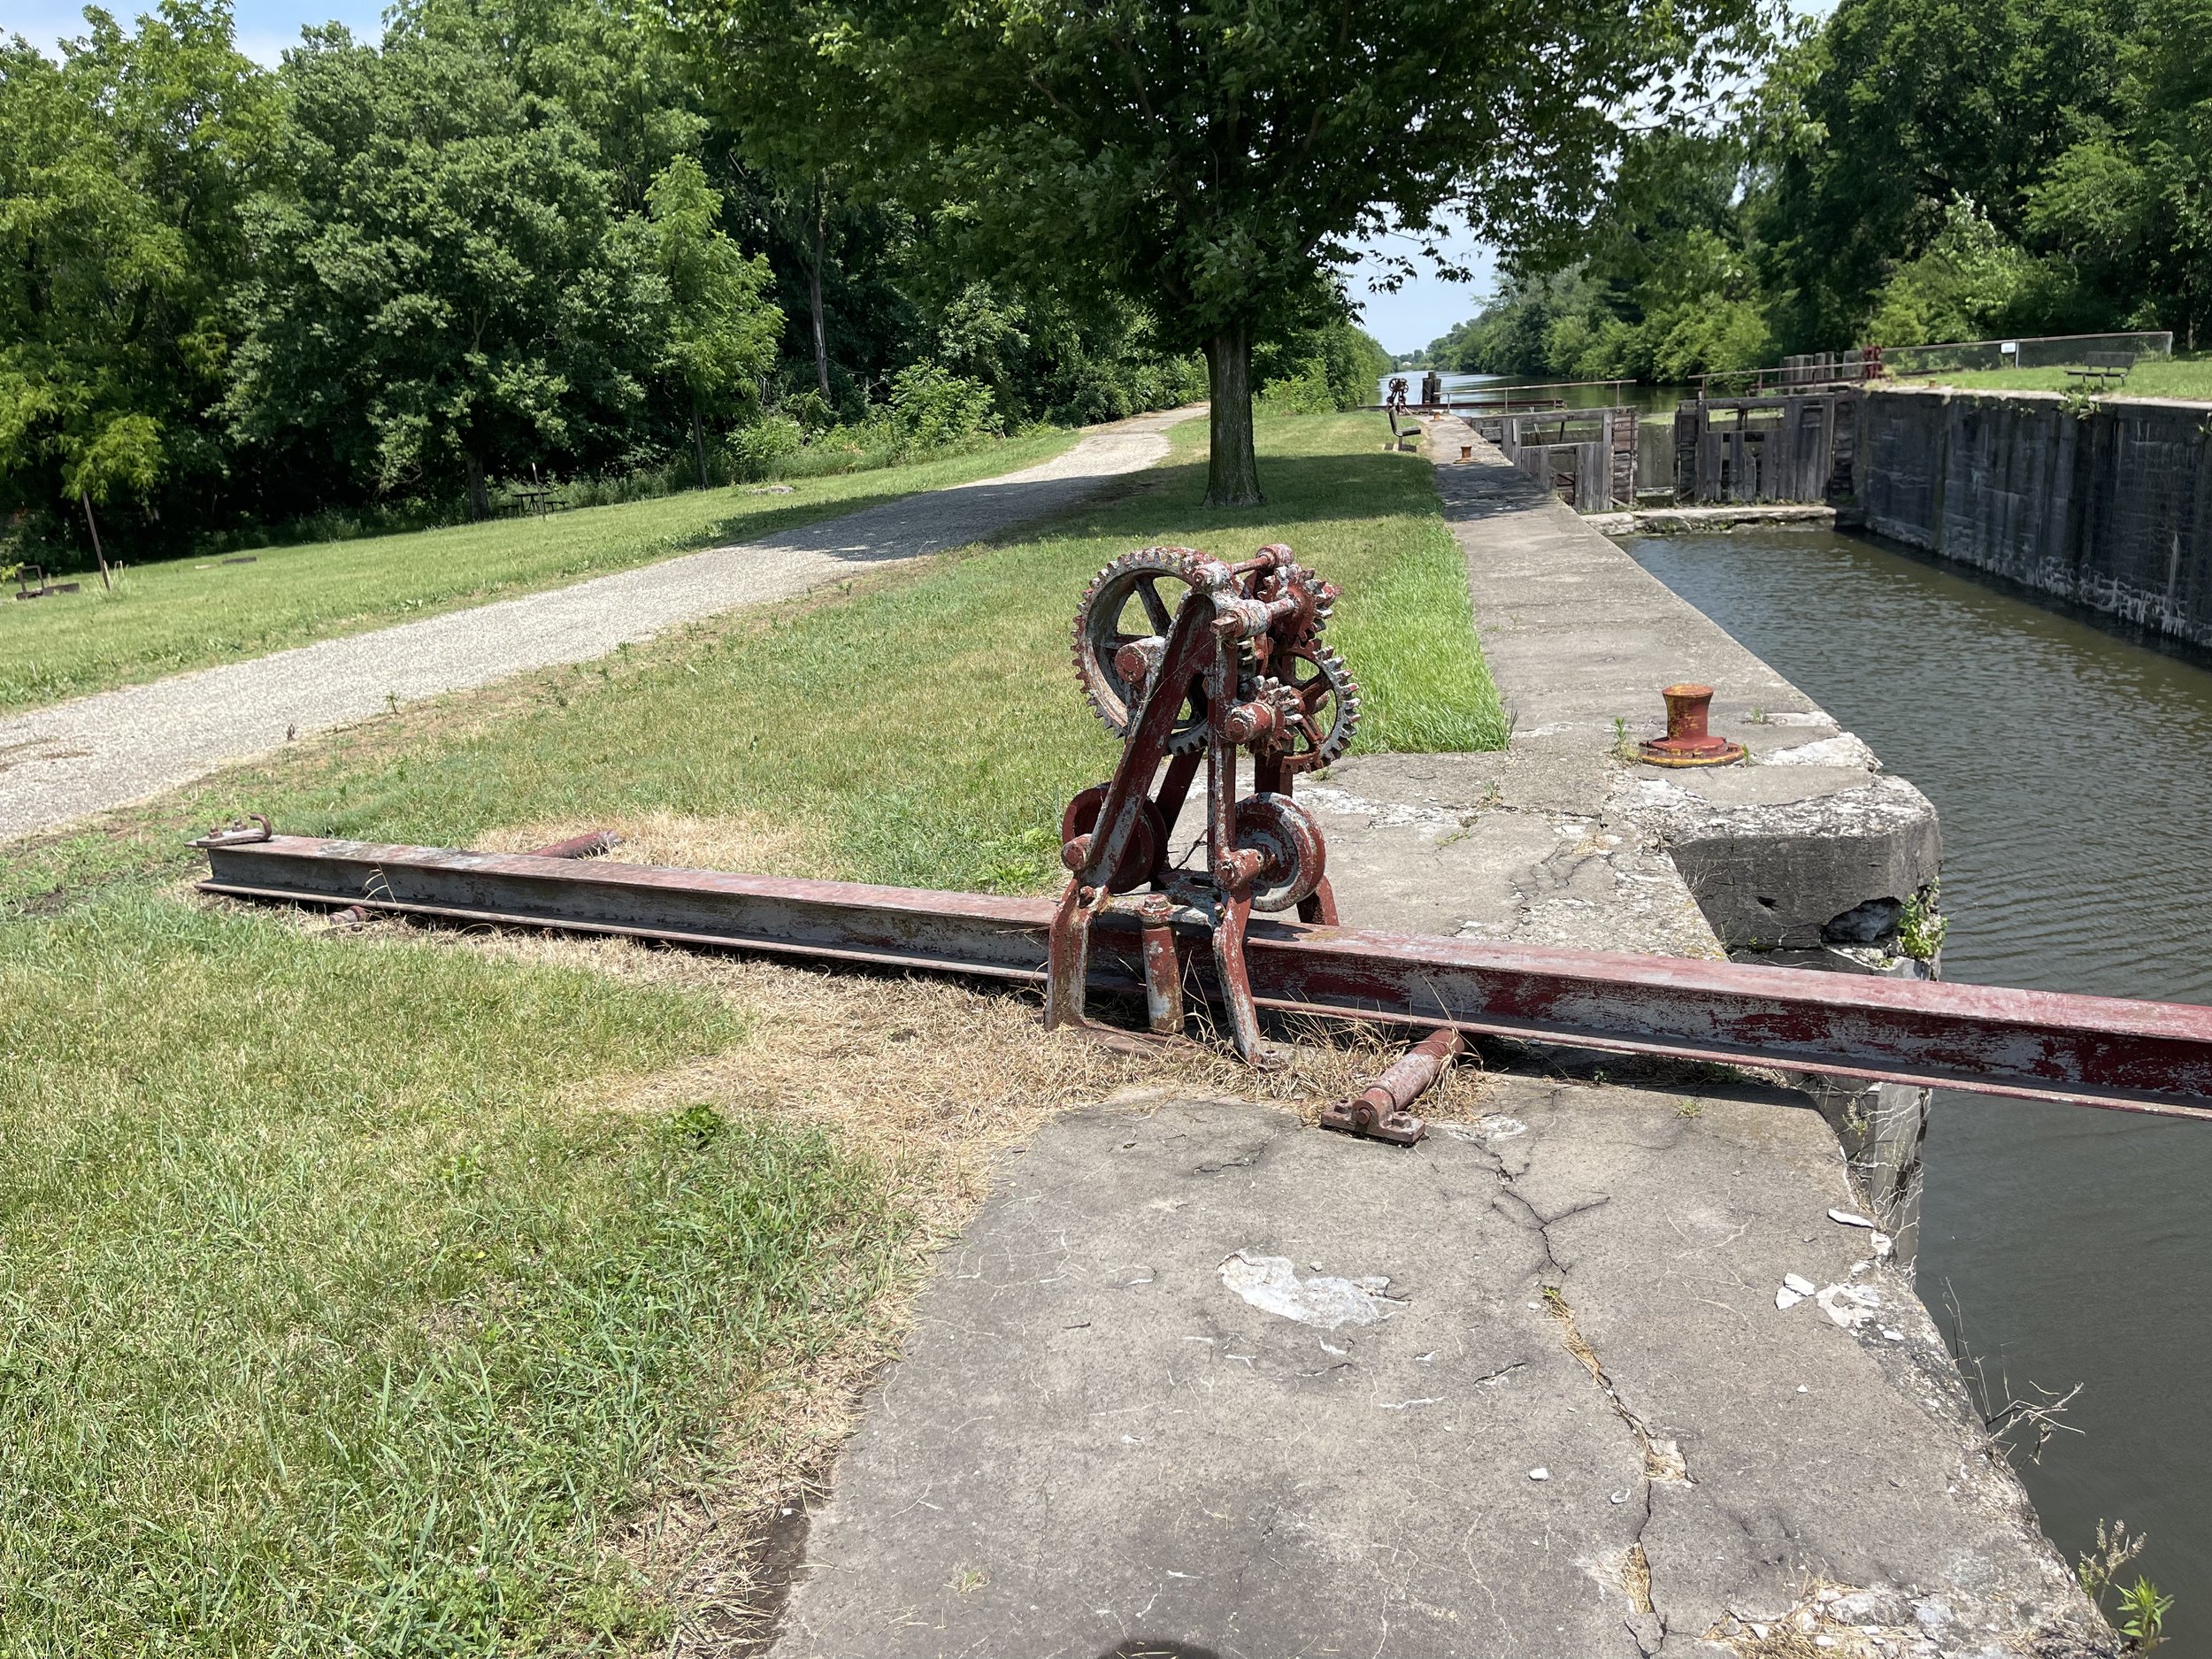
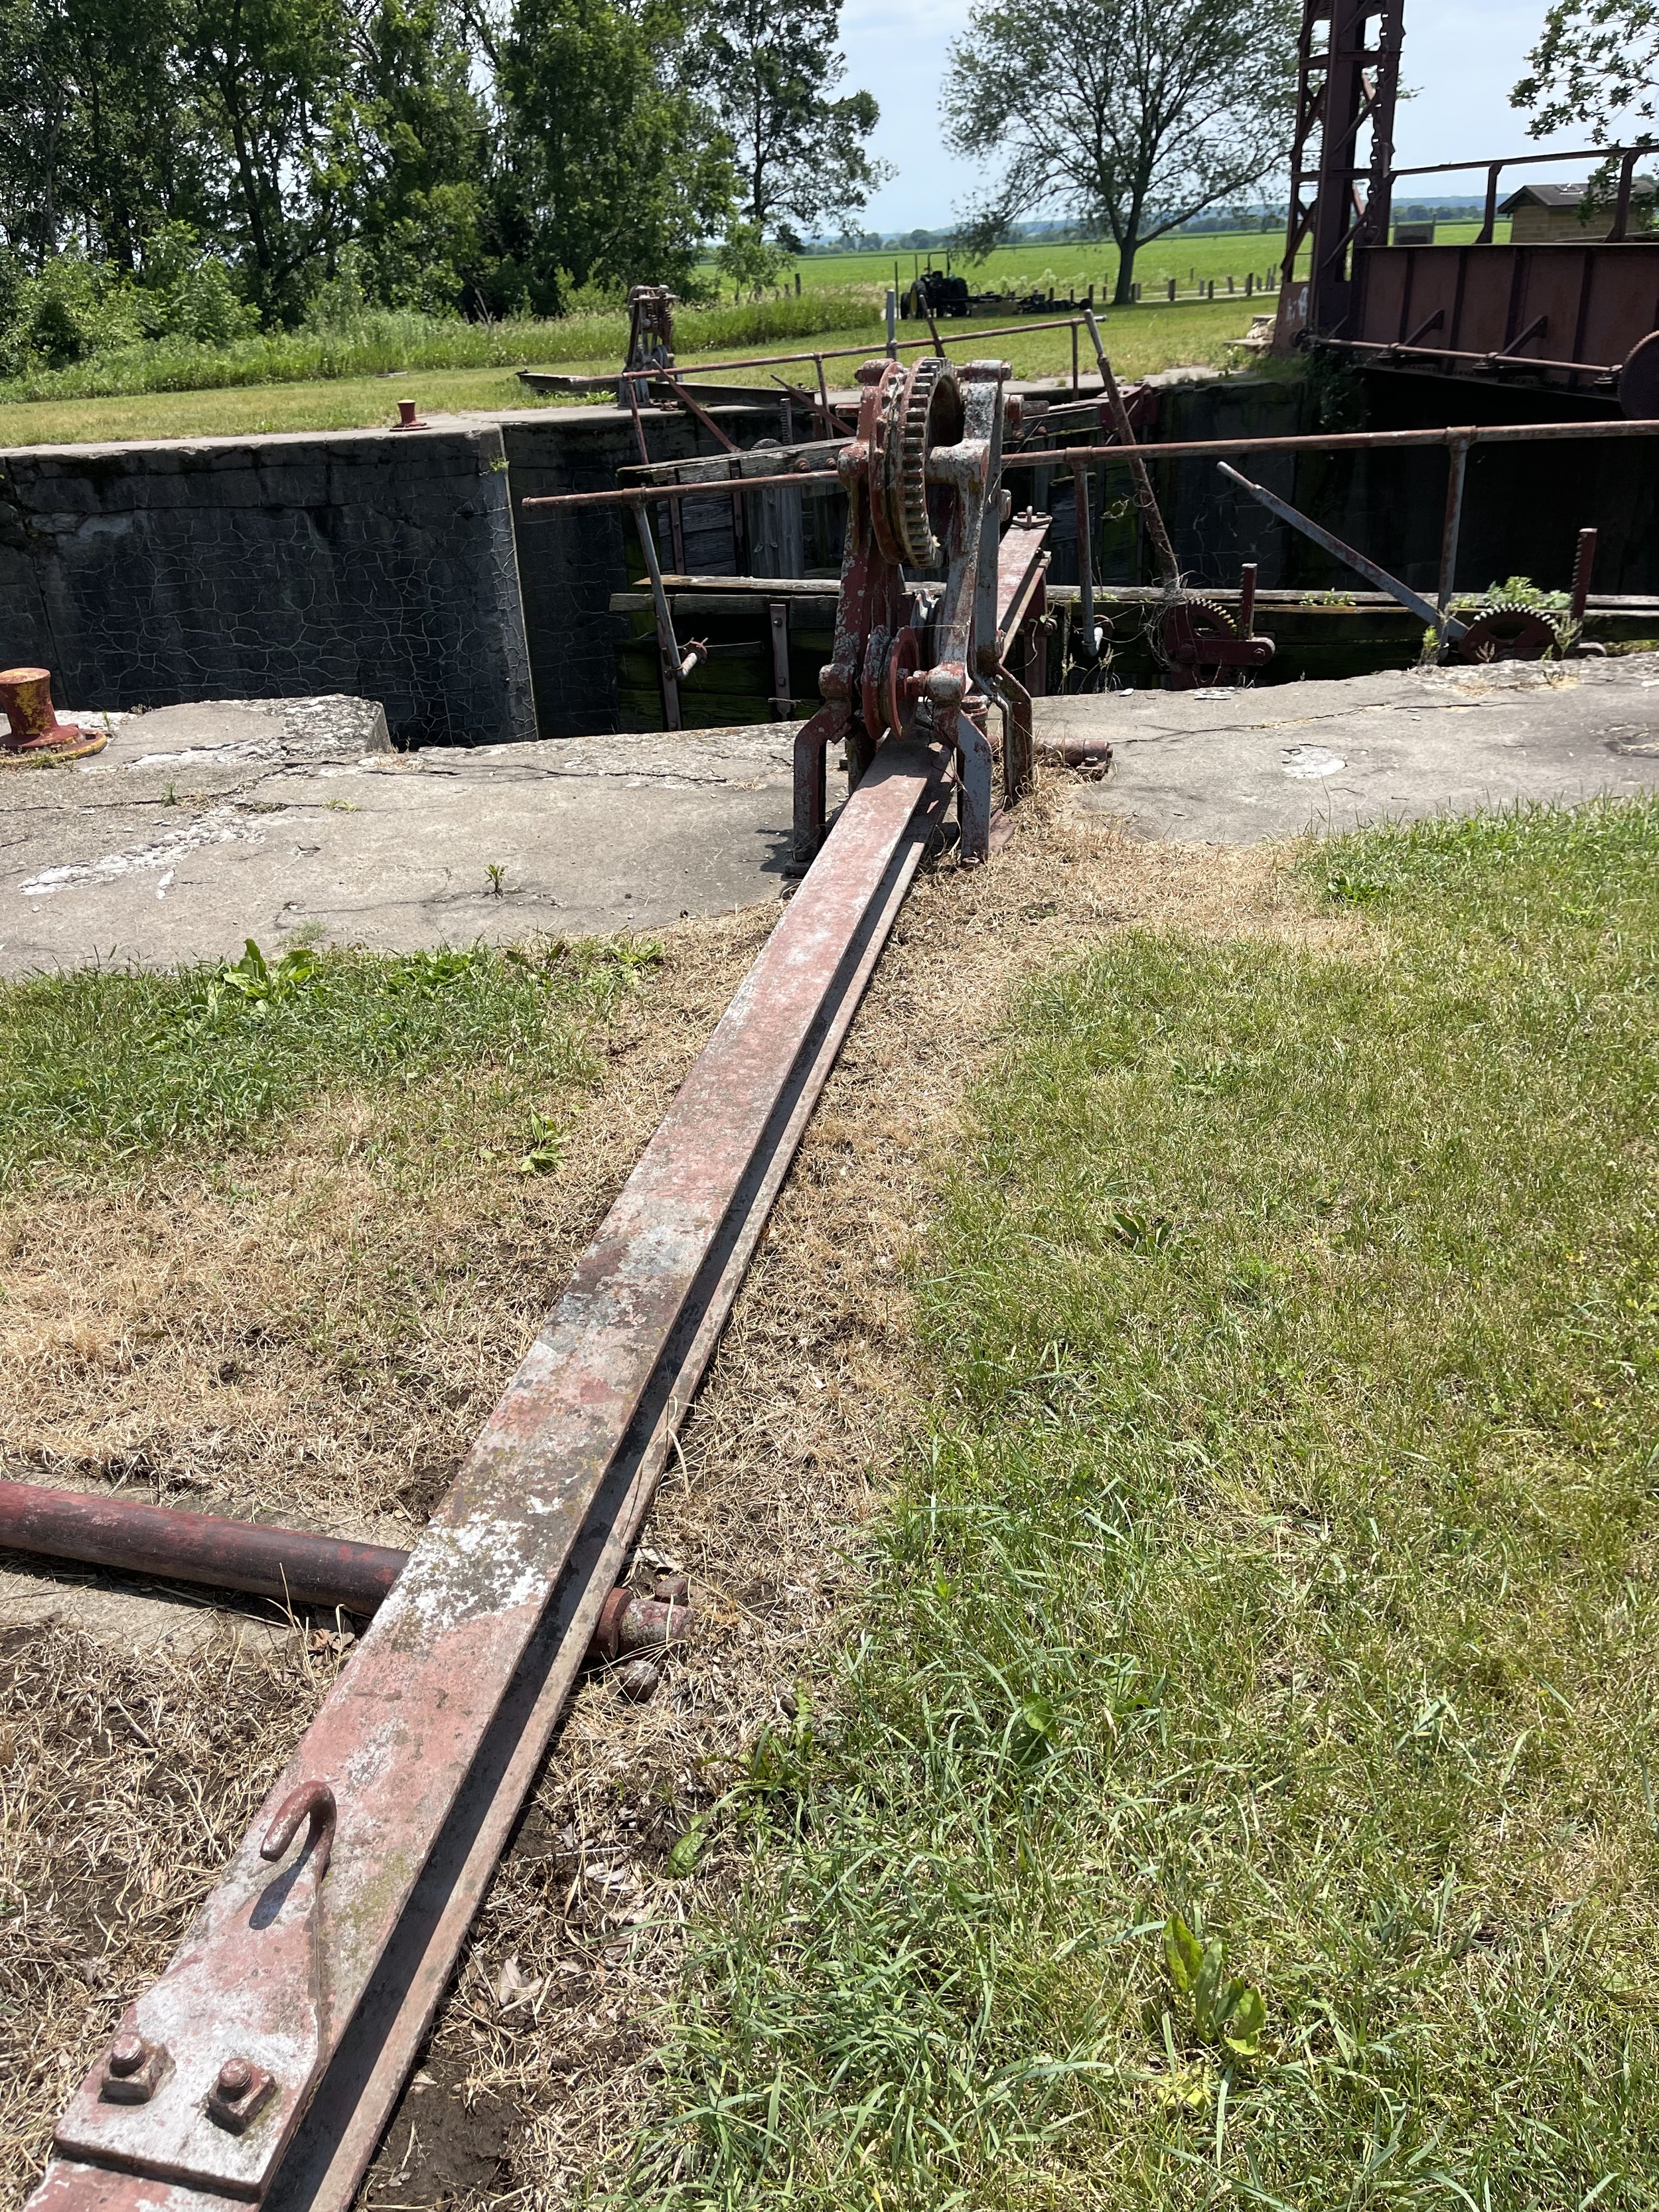
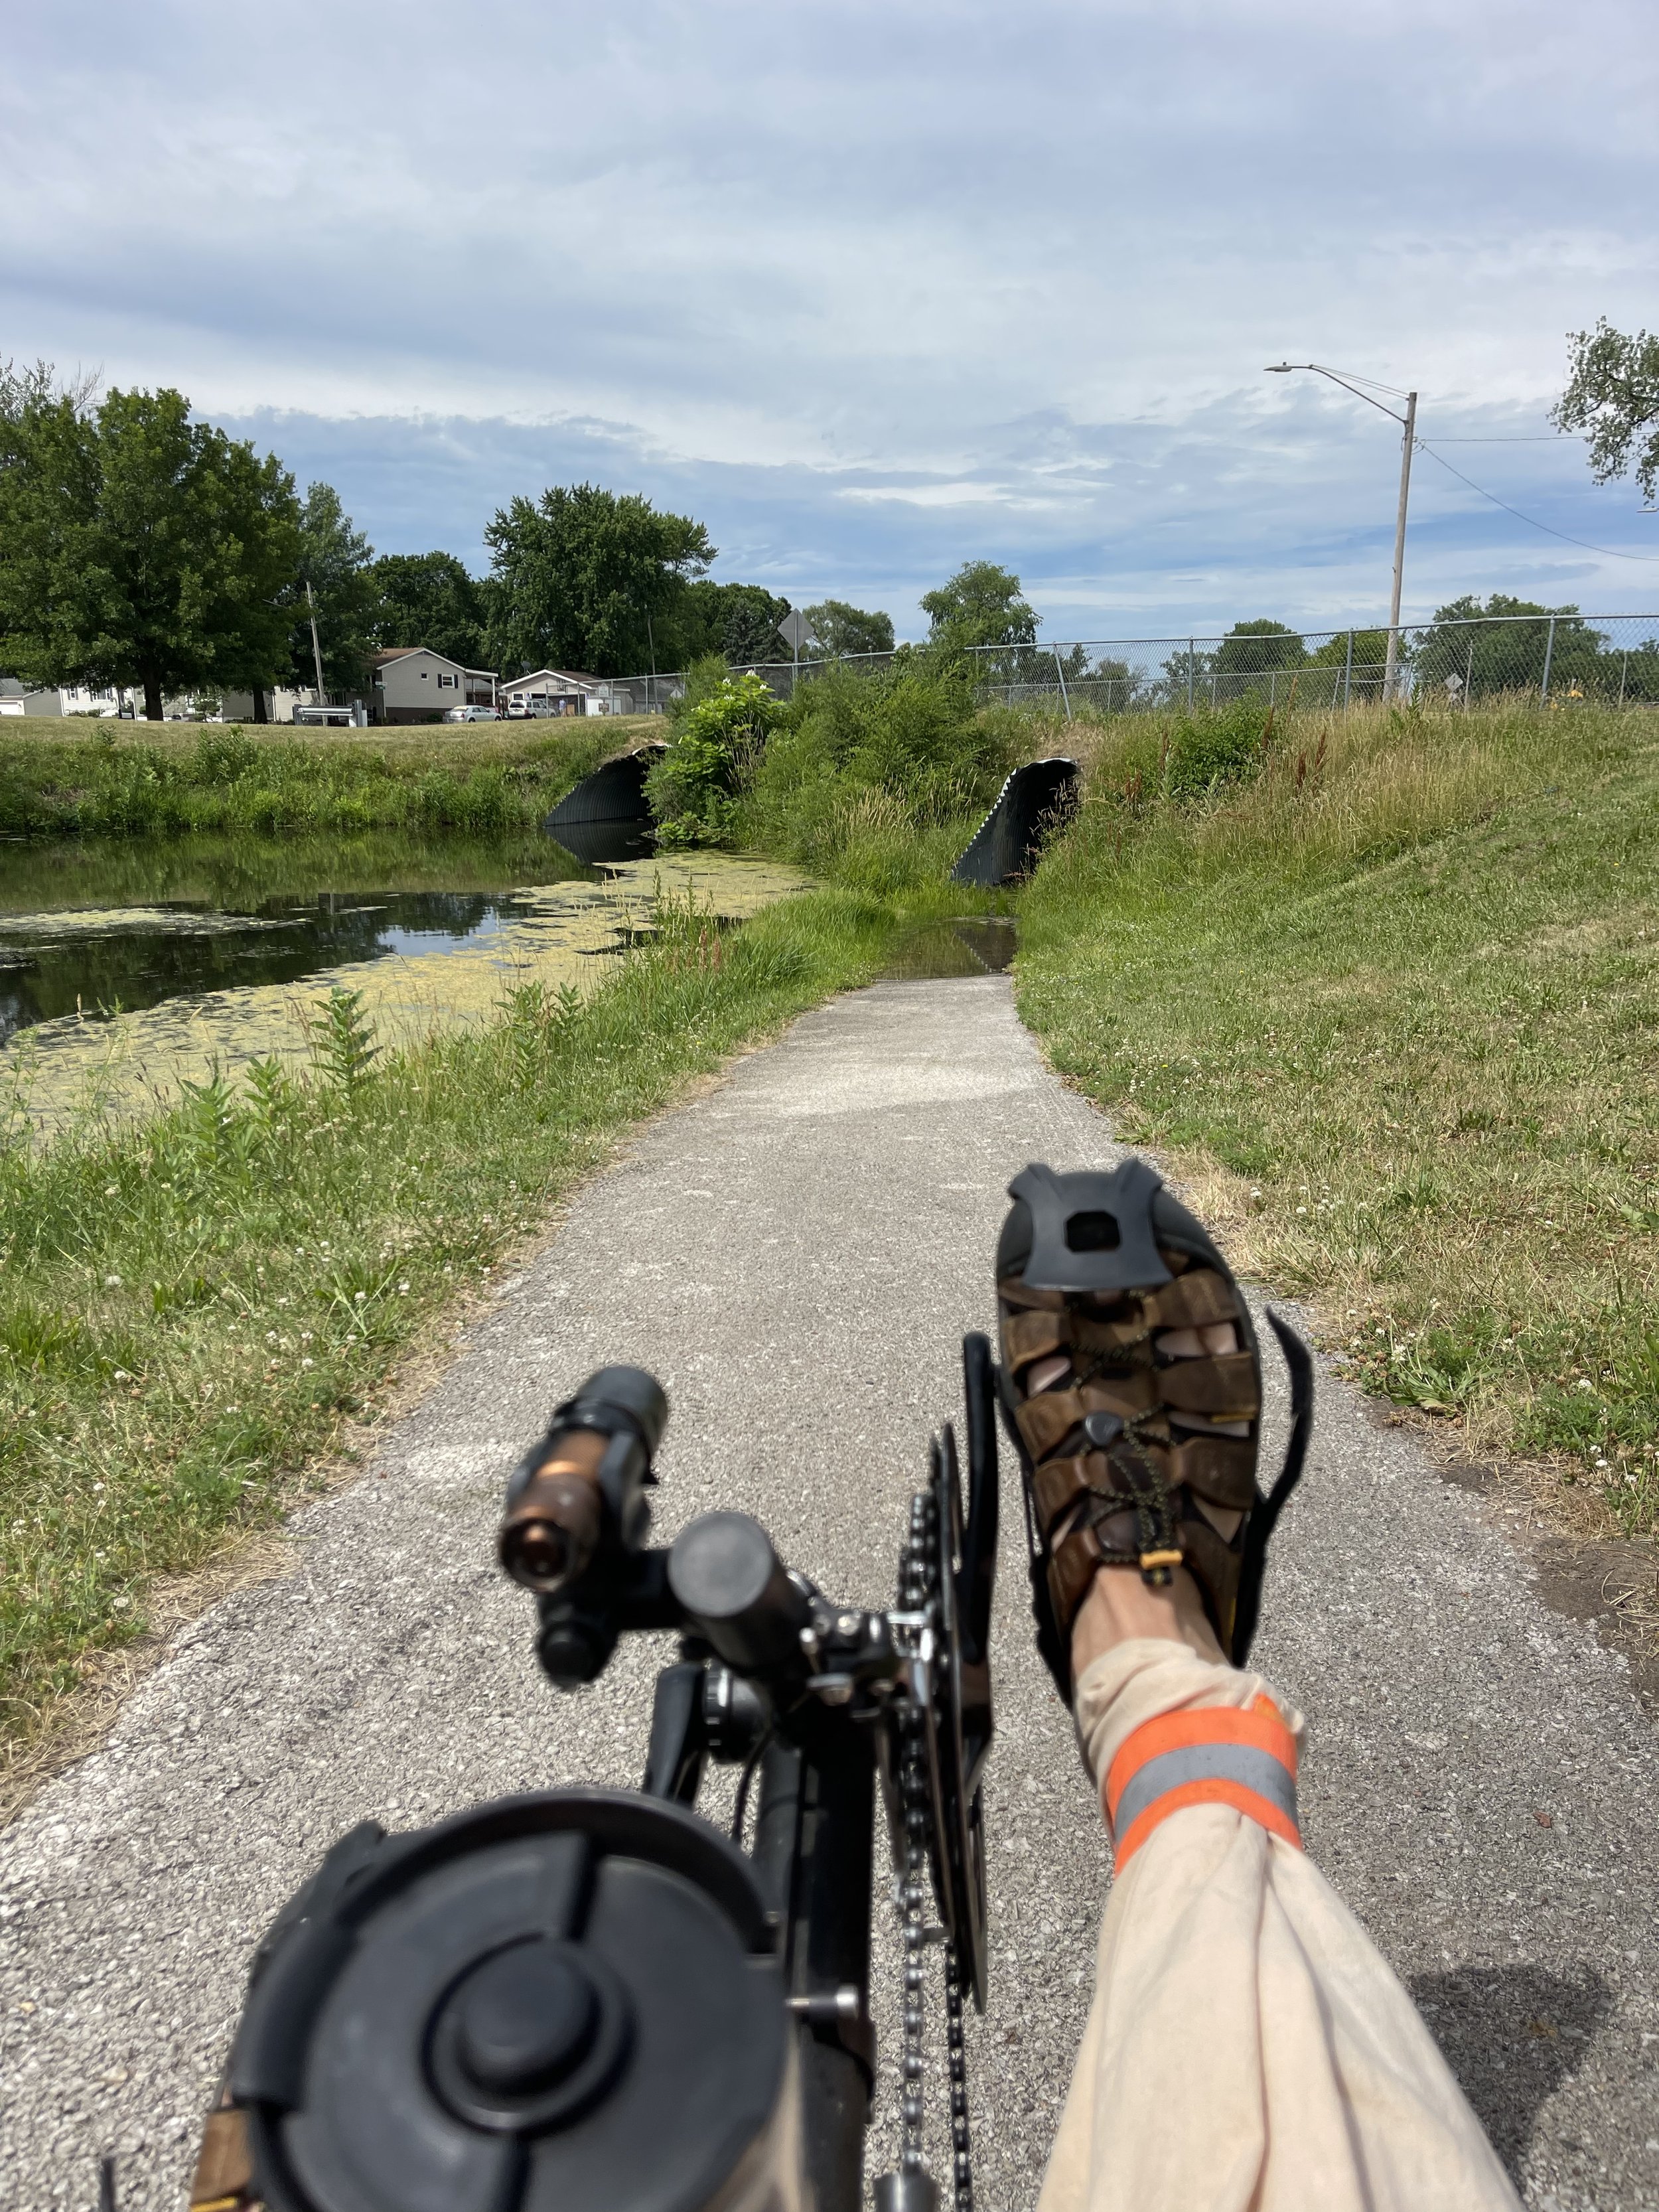
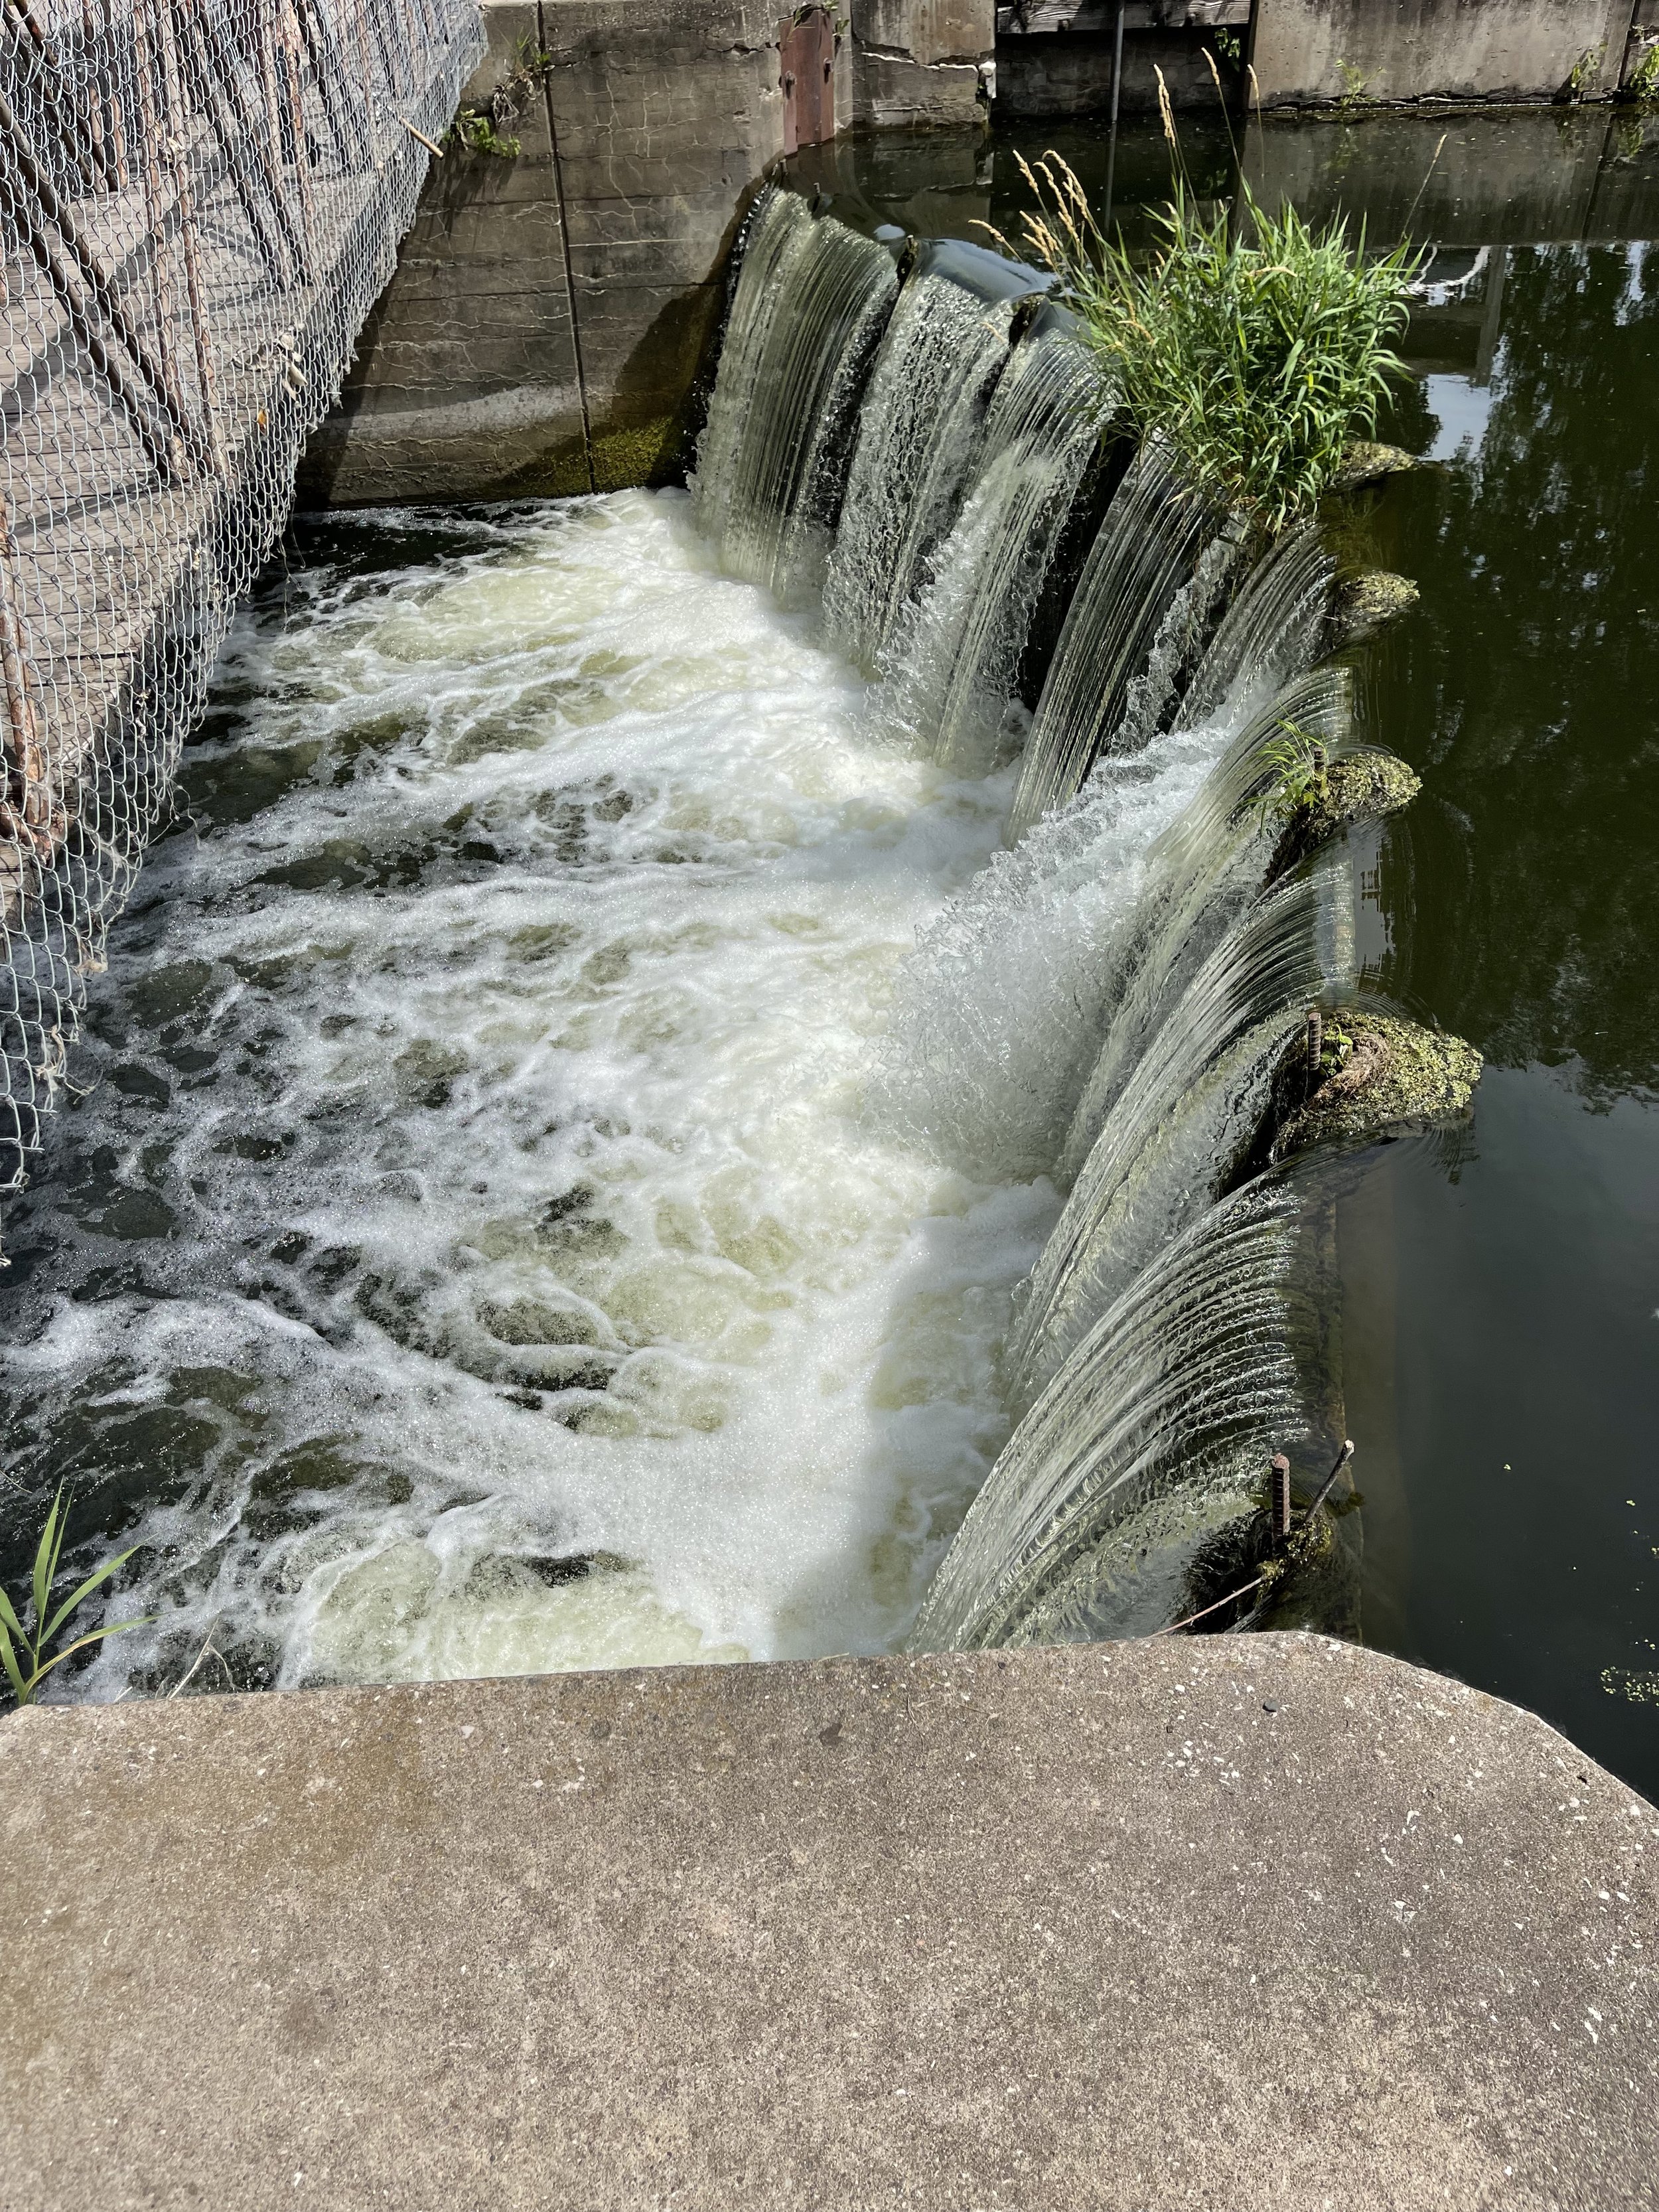
Overall I enjoyed the trip! I was pleased to find that I still enjoy camping, and three consecutive days on the trike, with two of them deep in natural solitude was definitely a positive for me. If that sort of activity is your thing, the backdrop of the Hennepin Canal is a wonderful thing, with lots of nature available, intermittently punctuated by examples of human ingenuity in the form of the locks and lift bridges.
The things that I’ve learned in preparation for this trip, as well as by taking it, should allow me to improve and extend my enjoyment for the next time out. Shorter distances, in particular on those days where I’d need to set up camp at the end, would go a long way towards making the ride a little more relaxing.
So now I’ll be looking for additional opportunities. I’m not sure if I’ll be able to fit anything else in this summer - multiple day rides are hard to fit around a work schedule, and we are starting to run out of season. But I’ll definitely be working out something for next year, if not this fall.